Blog>How-To Guides>How to fix a leaking stopcock
Last updated: 2 September 2021

How to fix a leaking stopcock
If you want to learn how to fix a leaking stopcock yourself, you've come to the right place. Our guide is going to take a deep dive into the potential issues associated with a leaking stopcock and how you can try to resolve them at home.

If you want to learn how to fix a leaking stopcock yourself, you've come to the right place. Our guide is going to take a deep dive into the potential issues associated with a leaking stopcock and how you can try to resolve them at home.
However, if the leak is particularly bad or our tips don't do the trick, then we highly recommend calling a professional to diagnose and rectify the issue. A leaking stopcock can cause flooding, mould and water damage that adds up in costly repairs.
How to fix a leaking stopcock
The first thing you need to do is locate the stopcock or 'stop tap.' There are two types in your home; one outside under a drain cover and one inside under your kitchen sink.
The one outside is the responsibility of your water mains company to repair, while the one inside is your responsibility as a homeowner to fix – either by yourself or by hiring a professional plumber.
For more information on how to find your stopcock, check out our guide.
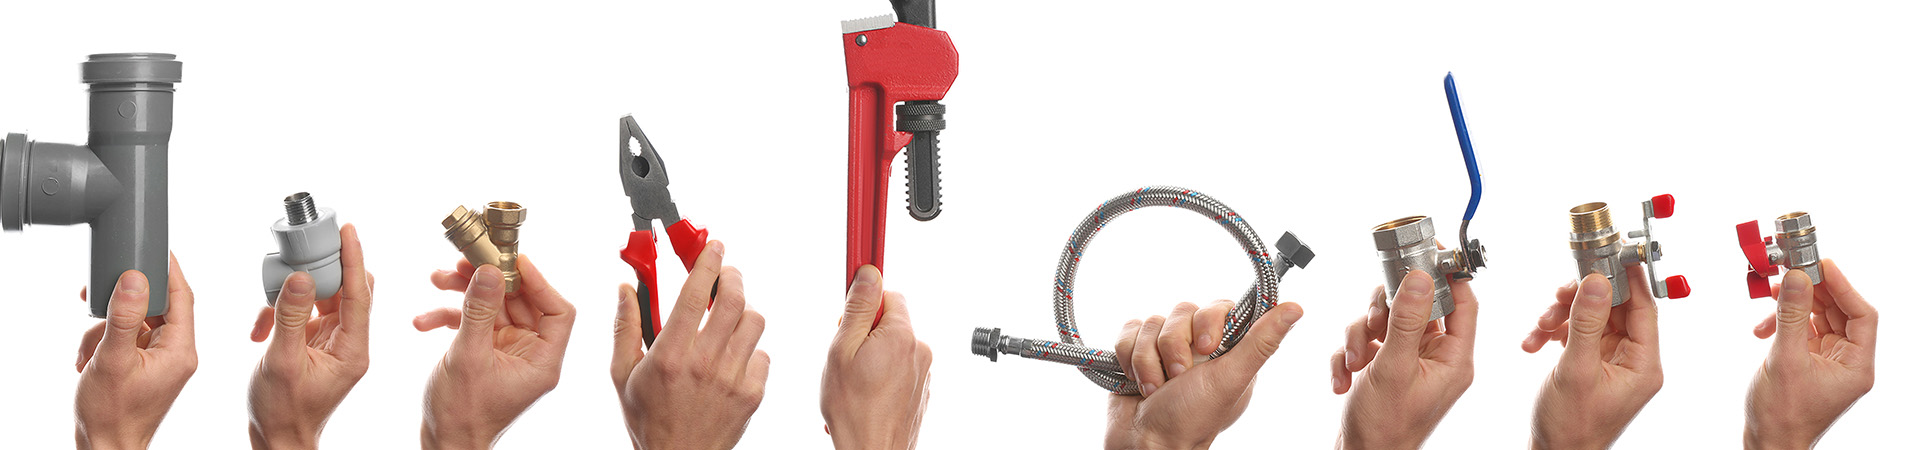
Tools you’ll need for the job
Bucket and towels
Spanner
Water pump pliers
PTFE tape
Spare washer/s
Step one: Confirm the leak
Once you've located the stopcock, make sure the leak is definitely coming from the valve. A stopcock is always on as it allows water to enter your home whenever you turn on a tap. However, it also lets you shut off your water supply completely in the event of an emergency, such as essential plumbing works or a burst pipe.
If the stopcock is causing the issue, the leak will either be coming from the compression nut, gland nut or head gear joint. The following steps will guide you through each potential fix.
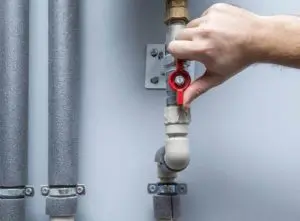
Step two: Tighten the compression nuts
These are located on either side of the water pipes, and if they're leaking, it will be obvious. Using your water pump pliers, grip the tap to keep it steady. Then take your pliers and turn the nut/s clockwise until the leak stops.
If the leak persists, you'll need to use the PTFE tape. This is a bigger job, so you might want to consider hiring a professional at this point.
To tackle the issue yourself, locate and turn off the outside water stopcock, run the kitchen taps until the water drains and stops, and then use your water pump pliers and spanner to turn the nuts anti-clockwise. You will now see a metal ring under the nut called an 'olive,' which you need to wrap with PTFE tape before replacing the nuts and turning the outside stopcock back on.
The issue should now be resolved. But if not, it's definitely time to call in a professional.
See the tradespeople we've checked for your job
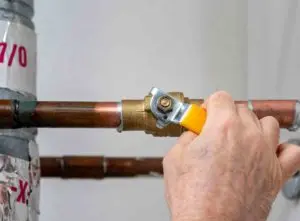
Step three: Tighten the gland nut
Located directly beneath the tap, it will be obvious if the gland nut is the problem. Its purpose is to create a waterproof seal that prevents water from leaking up the spindle. This is an easier fix that simply requires you to tighten the nut. However, be careful not to over-tighten it as the stopcock won't be able to open and close to let any water through.
If this doesn't work, the other issue might be caused by the gland nut packing, which will need replacing. Without turning off your water supply, follow these steps:
Keep the head gear still using the spanner
Use a different spanner to turn the gland nut anticlockwise until it's loose enough to slide up the spindle
Take a screwdriver and pick and scrape out the old packing material
Use PTFE tape or replacement gland packing to add clockwise layers around the spindle
Stuff or 'pack' the packing into the gland and slide the gland nut back over it
Tighten the nut without over-tightening it (quick tip: tighten all the way and then loosen slightly)
To prevent the stopcock from seizing, open it fully and then turn it back slightly
Step four: Replace the head gear washer
Located on the main body of the tap between the compression nuts, you'll know if the head gear is the issue if you close the stopcock and water still manages to seep through. In this case, you need to replace the worn-out washer attached to the tip of the spindle tap.
To do this, turn off the stopcock outside your home so the water supply is shut off and run the kitchen taps to drain the water. Next, use your water pump pliers to grip the tap and then use your spanner to turn the large nut in the middle of the stopcock anti-clockwise. Once this is done, remove the tap handle by unscrewing it until you can pull out both the spindle and handle.
Now, take the new washer and replace the old one, then wrap some PFTE tape just above the washer and around the bottom of the tap spindle. When this is done, replace the spindle to the body of the tap and tighten the large nut. Turn the mains back on and check the water isn't leaking anymore.
If it is, it's time to call a professional!
See the tradespeople we've checked for your job
FAQs
How do you fix a leaking stop tap?
A stop tap is another word for stopcock, so you can follow our above guide to fix a leaking stop tap. Good luck!
How do you stop a leaking valve?
Follow step three to fix a leaking gland nut, which is also commonly known as a leaking valve.
How much does it cost to replace a stopcock UK?
Depending on the severity and cause of the issue, replacing a stopcock will cost you between £100 and £400 including materials and labour.
Why does my stopcock leak?
Pressure build-up, wear and tear, and poor craftsmanship can all cause a leaky stopcock. Thankfully, you can try to fix the issue yourself using our above guide. If all these steps fail to resolve the issue, don't hesitate in hiring a professional.
Who is responsible for the stopcock?
As a homeowner, you are responsible for your internal stopcock repairs. However, your local water company is responsible for your external stopcock repairs.
More Water Leak Detection Articles

See the tradespeople we've checked for your job