Blog>How-To Guides>How to lay a patio
Last updated: 23 March 2021

How to lay a patio
Whether you want to know how to lay a patio or paving slabs on sand, grass, concrete or on a slope, we have outlined all of the steps to help.


So, you're wondering how to lay a patio?
In this guide, we will be covering this project with step-by-step instructions, perfect for beginners. We will also look further into areas like how to lay paving slabs and how to lay a patio on soil.
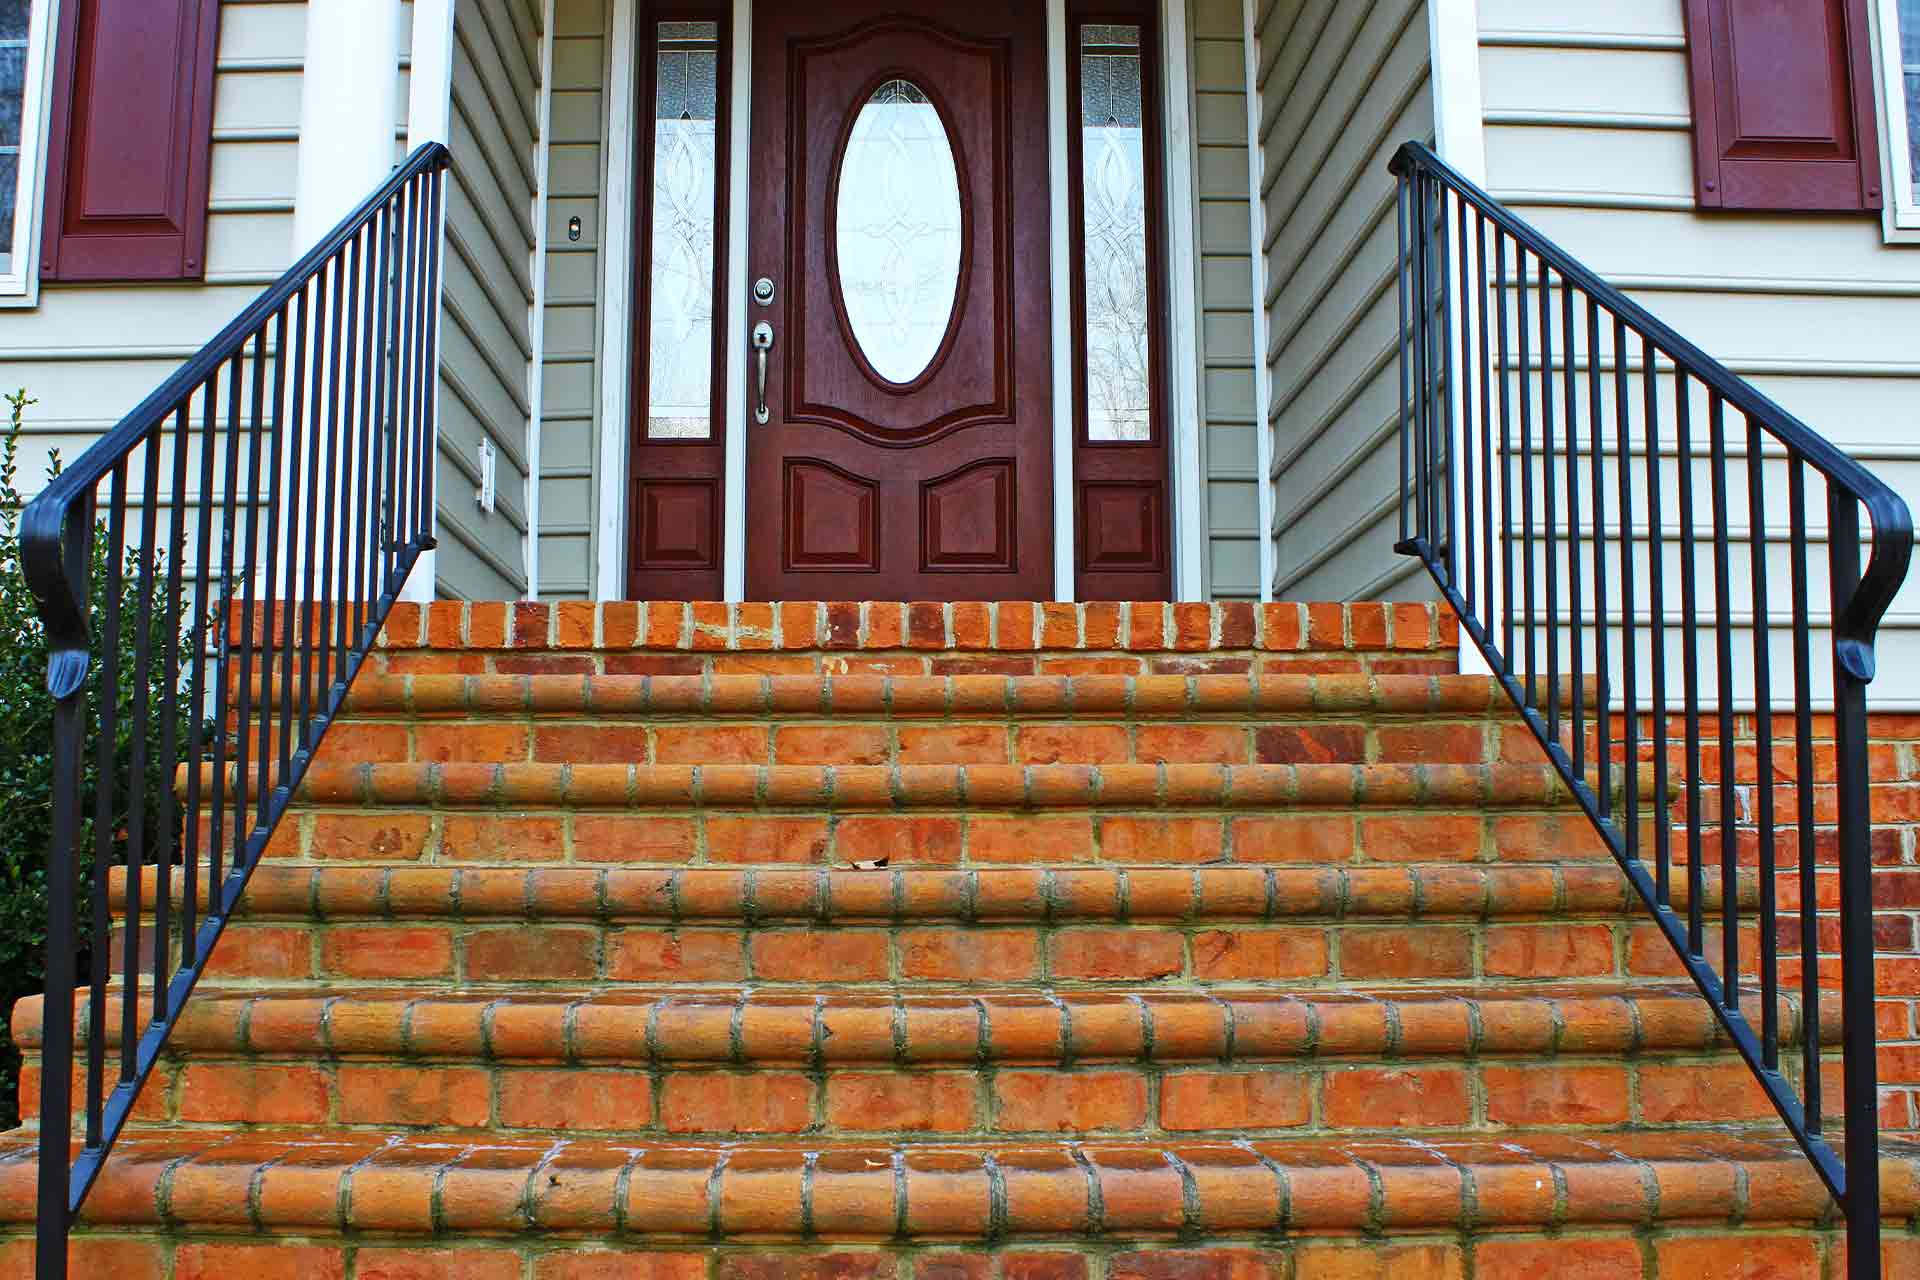
How to lay a patio for beginners
Laying a patio can be a little tricky, especially for those with limited experience but it really only involves five main stages, as outlined below.
Tools and materials
You will need the following tools and materials to properly lay your patio:
Your chosen patio slabs
Cement
Sand
Sub-base material
Bucket
Shovel
Trowel
Rake
Rubber mallet
Tape measure
Spirit level
Dust mask (if cutting the slabs to size)
Goggles
Knee pads
Rigger gloves
Find a checked landscaper near you
Preparation
To begin with, you will need to prepare the area where you will be installing your patio. This is essential to ensure your new patio stands the test of time and looks great for years to come. You can do this by first measuring out the area where your patio will be installed. Consider marking the border using string and pegs.
You will then need to clear the space of any debris and excavate the surface (grass or soil for example) down to 15cm with the shovel. It is also worth compacting the soil to make a stable base.
Step 1
Ok, you are ready to begin. Once your patio area has been excavated to the proper depth, you will need to lay your sub-base. Fill the area with 10cm of sub-base material, then rake and flatten this until you achieve a completely smooth, even surface. Please note, you also have the option of using a plate compactor for an extra flat surface.
Step 2
You can now create your concrete to hold the paving slabs in place. Do this by combining one part cement with four parts sand and mixing with water in the bucket until you achieve a smooth, springy mixture. The concrete should be able to hold a shape. Then, spread this over your sub-base to a depth of 4cm.
Step 3
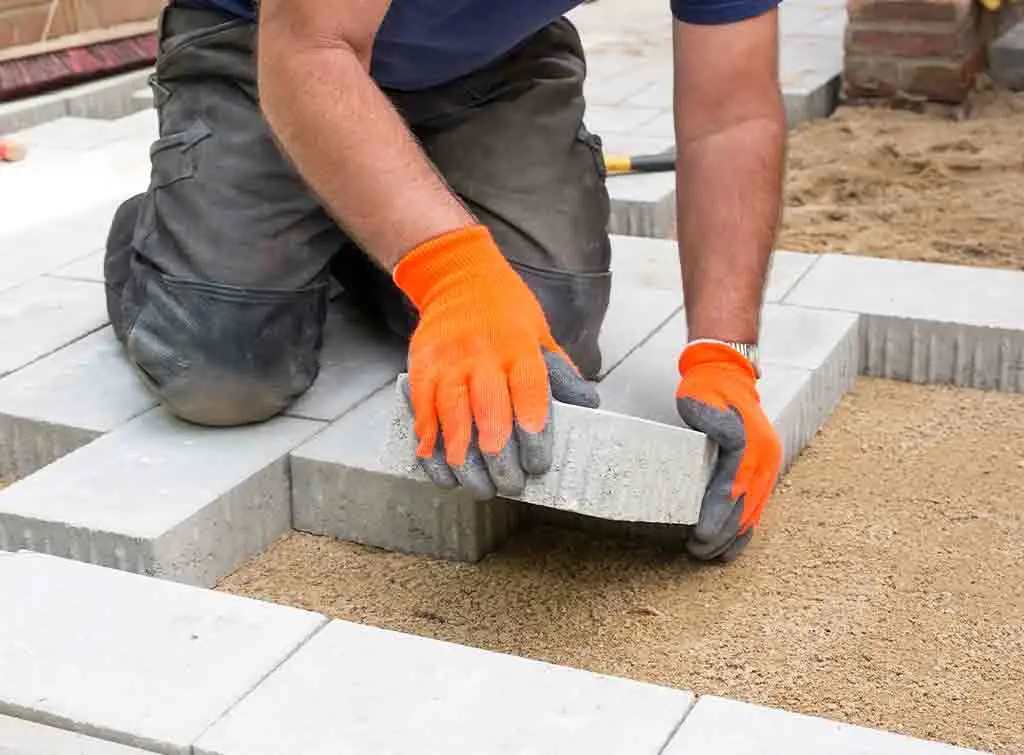
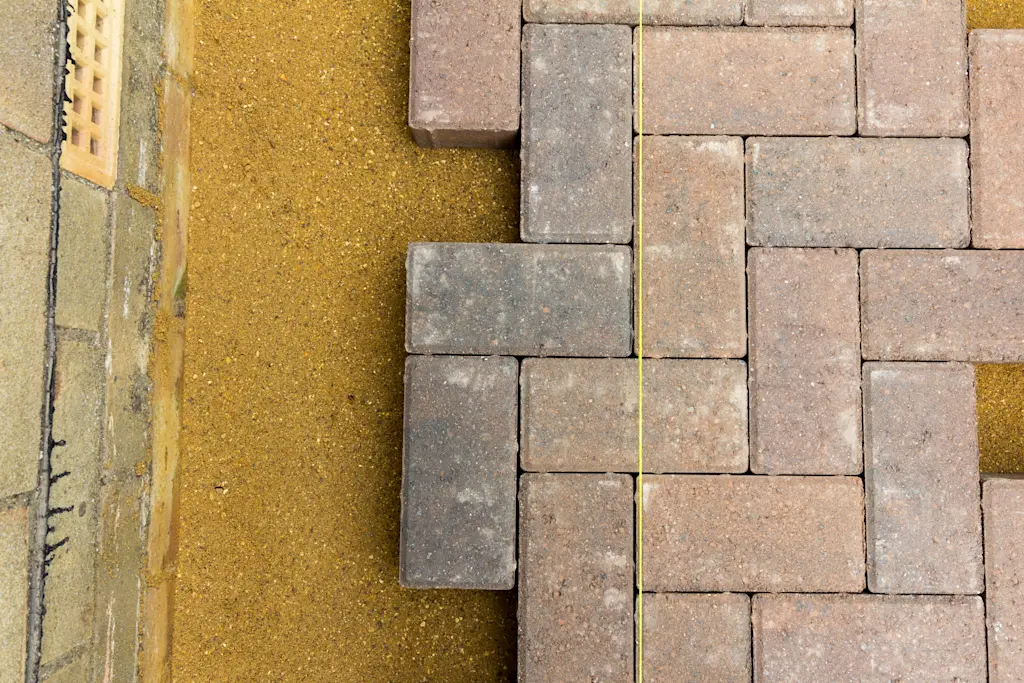
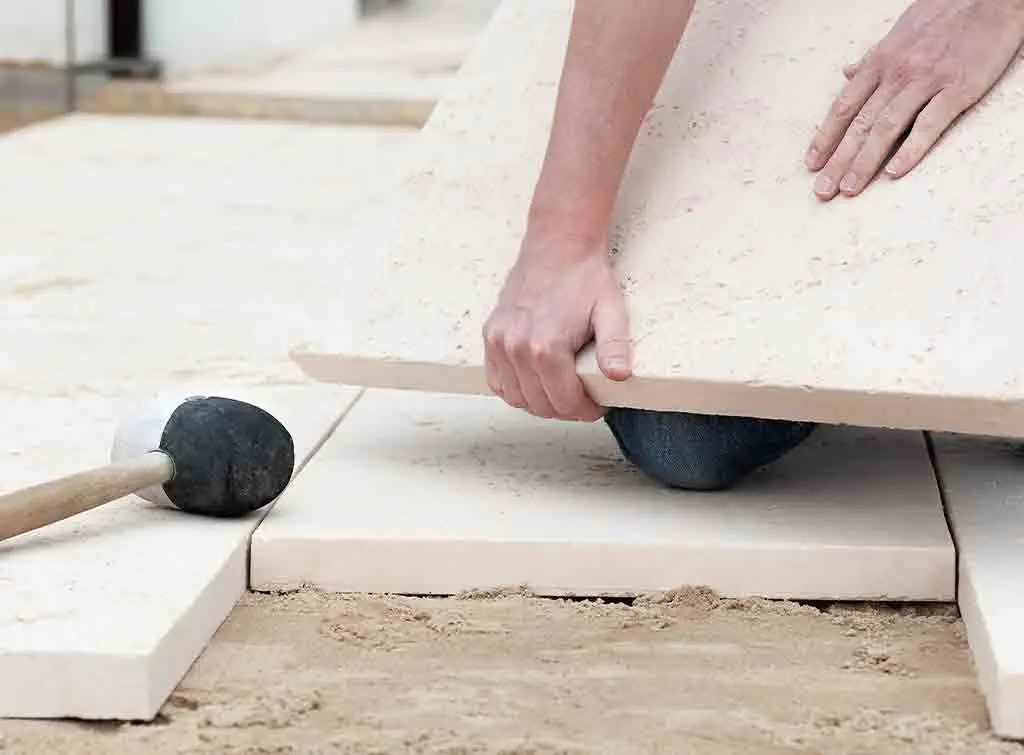
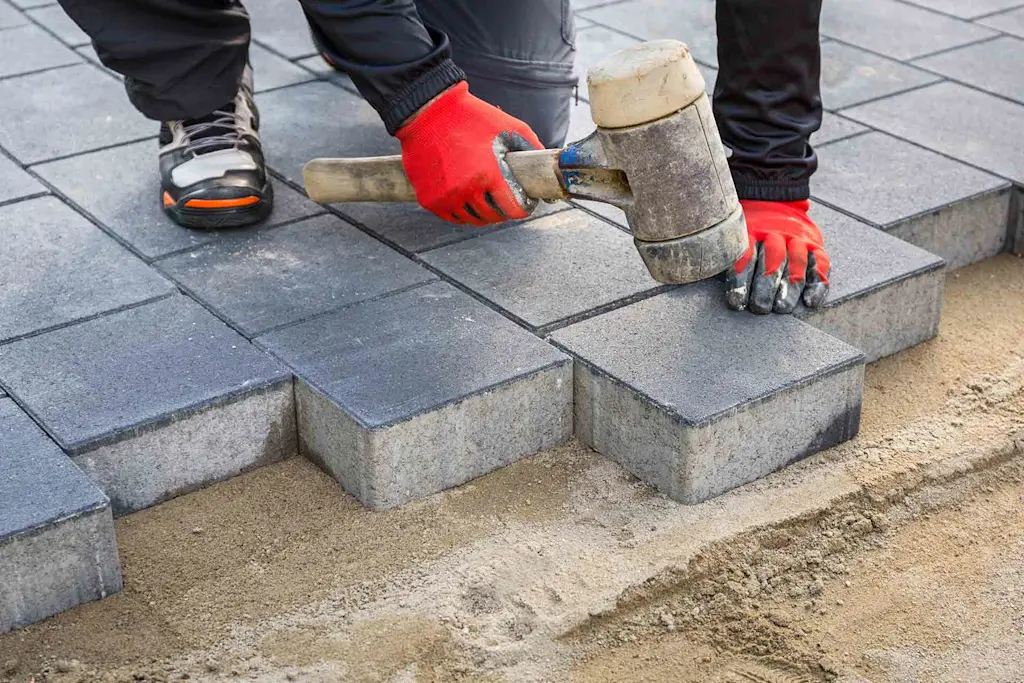
Next, you will be laying your patio slabs. Ensure they are slightly wet, otherwise they will absorb the moisture in the concrete, causing it to rapidly dry out. Carefully place the first slab into the correct position then use the rubber mallet to lightly tap it.
The slab should sink approximately 1.5cm into the concrete. Keep laying the slabs, always leaving a gap of 1 – 1.5cm between each one. Finally, cover the whole patio with water and leave for over 24 hours to dry.
Step 4
Once the patio is completely dry you will need to fill the small spaces between the slabs with concrete using the trowel. It is important not to allow any residue to sit on top of the slabs or this will affect the final appearance of your patio.
Your patio is now finished and - once the final layer of concrete dries - ready to use.
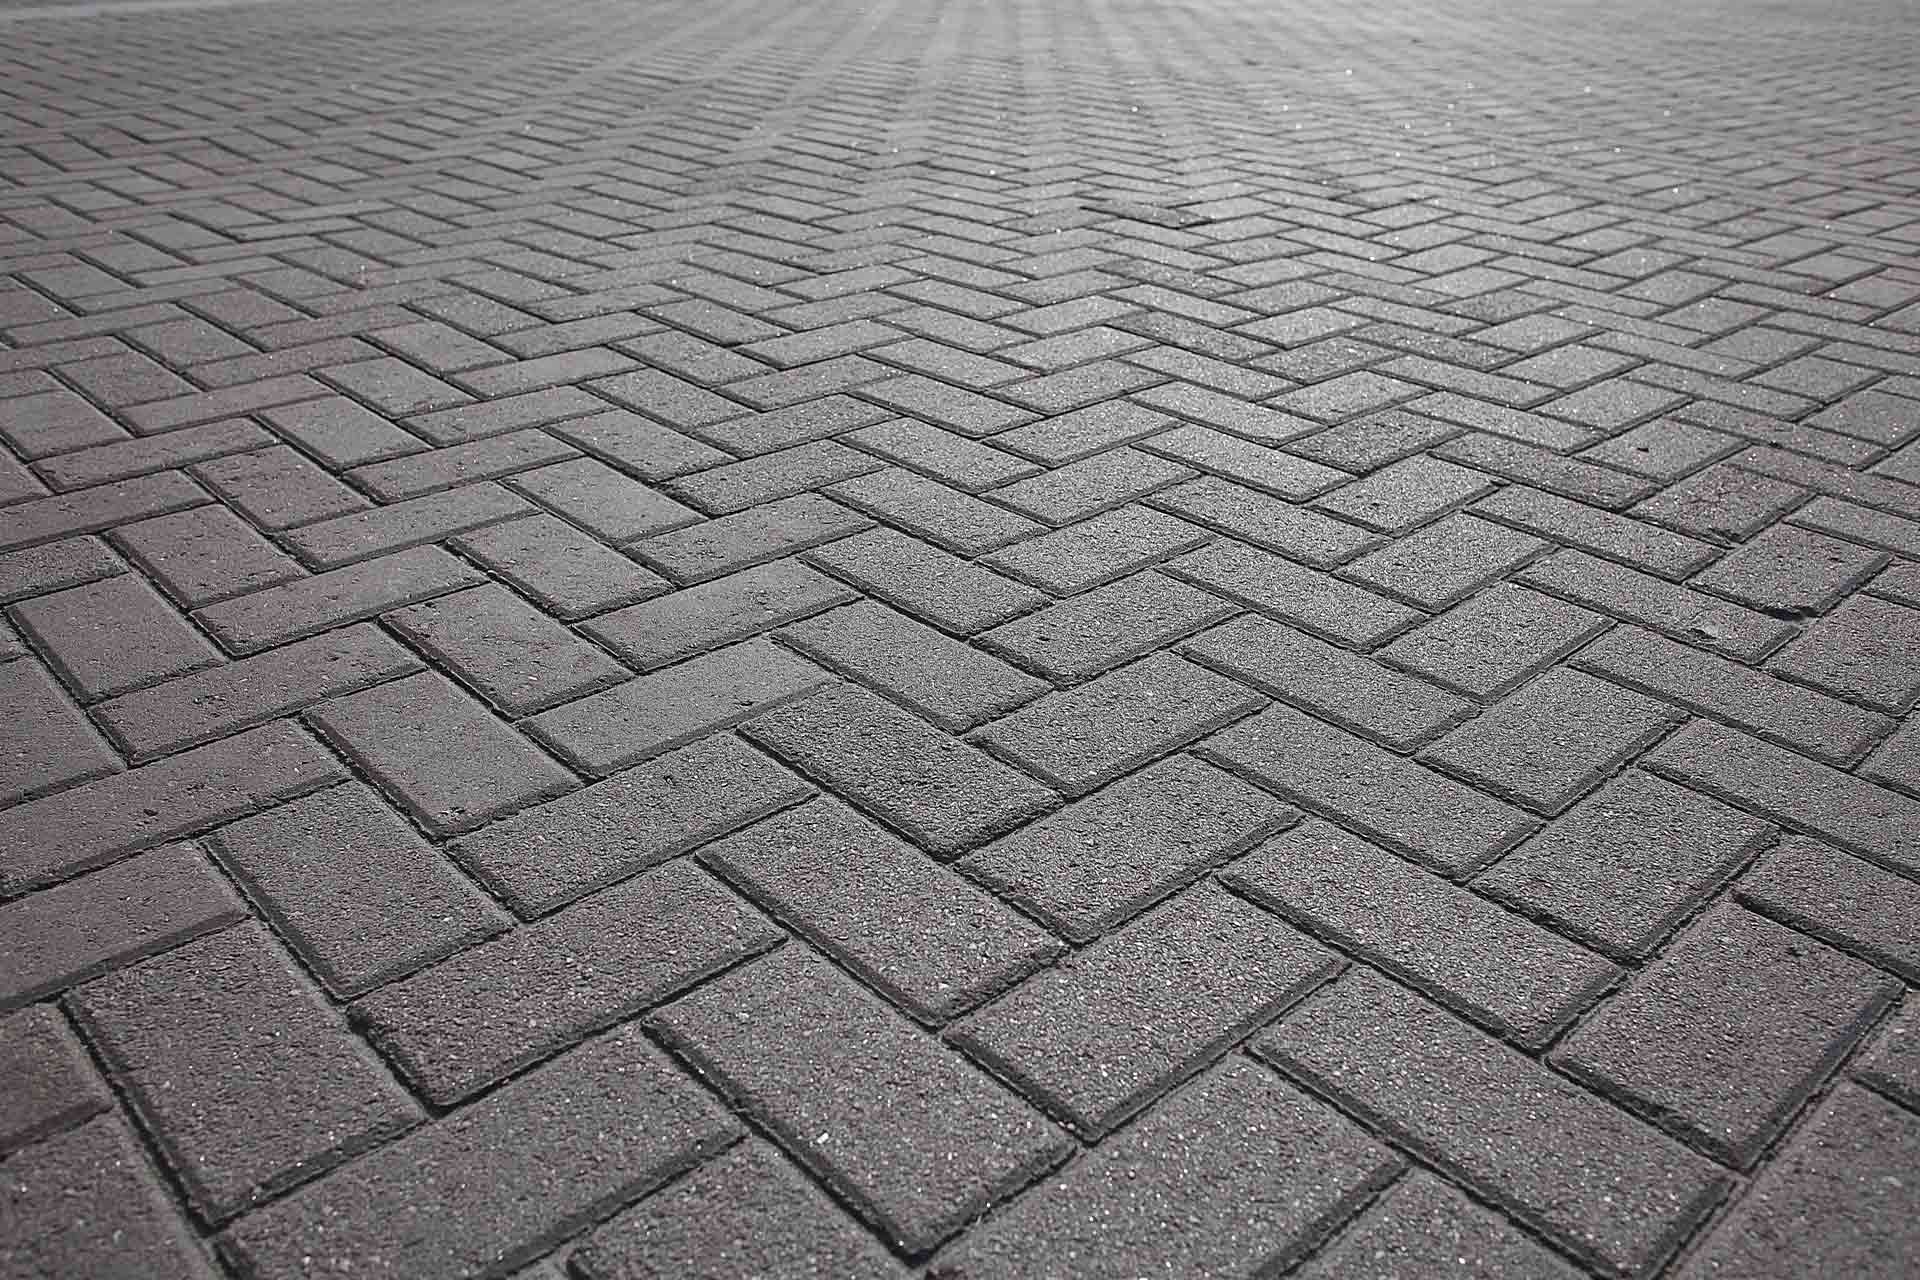
How to lay paving slabs
Learning how to lay paving slabs can be challenging but will be a skill you can use again and again. As with laying a patio, you will need to prepare the space in the same manner. You should ensure your paving slabs will fit in the space before beginning. Remember to leave a 1 – 1.5cm gap between each slab.
It may be necessary to cut the slabs to size, depending on the area your patio will cover. The best way to do this is with a disc grinder. Be very careful if using this type of machine as the potential for accidents is high.
If you are not confident about cutting your paving slabs, it may be worth contacting a professional who can do this for you. Furthermore, if your paving slabs are heavy, it is a good idea to seek assistance from a family member or friend.
Laying your sub-base will help prevent weeds from growing through your patio and is an essential step. When you are ready to start laying paving slabs, ensure they properly line up with the edges of your patio area and settle them into position with a block of wood and a rubber mallet. Continue following the above section ‘how to lay a patio for beginners’.
Find a checked landscaper near you
How to lay paving slabs on sand
An alternate way of laying paving slabs is to use a sand and gravel sub-base. Sand is affordable and easier to use than concrete while still making a secure base. Wondering how to lay paving slabs on sand? Follow the below tips:
As with any project, preparing the area is the key to a successful job. Ensure you choose a space for your patio that has no issues with drainage.
Gather your materials. This includes:
Spade
Rake
Tape measure
Wooden planks
Spirit level
String and pegs
Paving slabs
Sand
Gravel
Landscape fabric
After preparing the space as covered in our ‘how to lay a patio for beginners’ section, lay landscape fabric over the entire area of your patio. It is wise to excavate a little deeper when using sand, so choose a depth of 20 – 25cm.
Next, build a wooden frame the shape and size of your new patio. Use wooden planks to ensure your patio is the exact shape you are aiming for. You can also use an expansion joint device between your frame and your home.
Once your frame is finished you can pour a layer of gravel covering the space. Make sure your gravel layer is 10cm deep and smooth it down until you have a flat, even surface.
Begin pouring a layer of sand. Ensure you leave a depth of 10cm between the surface of your soil and the layer of sand. Again, compact the sand until you end up with a smooth, stable surface.
Lay your paving slabs as described in our ‘how to lay a patio for beginners’ section.
Finally, use sand to fill the gaps between your paving slabs and sweep the patio until there are no gaps left.
How to lay a patio on concrete
Surprisingly, it is possible to lay a patio over old concrete paving slabs. You can even do this without using mortar. You will need to lay a base of sand at about 2-3cm deep. The main issue with this project is drainage. That is why you should make sure your patio is slightly sloped away from your home. Alternatively, use a drill to make small holes in the concrete layer.
The below tips explain how to lay paving slabs on concrete:
Use sand to fill any gaps between paving slabs.
Consider adding edging to hold everything in place. You can also use mortar to hold your slabs securely.
It may be necessary to completely start from scratch if your current patio is in poor condition.
Don’t forget that once your new patio is laid it will be higher than the old concrete slabs. This can cause a tripping hazard so you may need to install a way of safely moving from the patio to your home and garden.
Mortar is much more secure than sand so if you want your patio to be durable, consider using this instead.
How to lay a patio on soil
The first step in laying a patio is to choose your paving slabs. There are a wide variety of options from different colours and shapes to different patterns, designed to fit every garden.
Learning how to lay a patio on soil begins with planning. If you spend time perfecting the design of your new patio, you can eliminate mistakes and unnecessary slab cutting.
Follow our ‘how to lay a patio for beginners’ section but apply the following tips for laying a patio on soil:
It is a good idea to set your new patio over a gradual slope to help with drainage.
When excavating your turf, consider keeping some to use in spaces where your patio and lawn meet.
Keep your patio looking its best by regularly cleaning and brushing it. This will prevent discolouration and algae building up.
Also, keep on top of weeds that may break through the gaps in your slabs. Fill in any cracks as soon as possible.
How to lay paving slabs on grass
Many people are unsure how to lay a patio on grass but in truth, most patios will be laid in areas that are originally covered with grass. That’s why it’s essential to properly excavate the area before proceeding. You can use string and pegs to carefully mark out the area of your new patio and ensure any mistakes aren’t made.
Depending on the type of sub-base you are using, you will need to dig to a depth of between 15 – 25cm before beginning. This may be arduous but is crucial to make sure your patio sits at a level that is easy to access and to prevent any tripping hazards. You can do this using a shovel, trowel and measuring tape.
Finally, check your excavated area is flat and even before following our ‘how to lay a patio for beginners’ section.
How to lay a patio without cement
It isn’t necessary to use cement when laying a patio, but it is recommended. Learning how to lay a patio without cement can be easier than using cement due to not needing to mix and create the concrete.
The best alternative to cement is to use a sub-base of sand. While this isn’t too tricky (see our ‘how to lay paving slabs on sand’ section) it isn’t the most secure way of laying a patio. Unfortunately, the slabs will often begin to sink and shift eventually, plus, weeds will make their way through the sand base.
How to lay paving slabs on a slope
If your garden is not flat and has a small slope, it is still possible to lay a patio. If you are worried how you will lay paving slabs on a slope, don’t panic, the process is simpler than it may seem. Follow the step-by-step guide in our ‘how to lay a patio for beginners’ section but with the following differences:
Begin at the lower part of your patio or pathway and start laying slabs.
Slowly lay paving slabs while matching the grade of the slope.
It may be necessary to further dig into areas where the slabs don’t sit evenly.
It may also be necessary to use a wet saw to trim any slabs that don’t match the grade of your incline.
Next, finish your patio/pathway by filling the gaps.
FAQs
What should I do if I get stuck or confused?
This is the right time to call a professional for assistance. Never keep working on a project if you are unsure about the right method. This will lead to mistakes, potential accidents and a poor finish. There is no shame in asking for help and a tradesperson will be happy to assist, explain where you went wrong and fix any issues.
Use our free search feature to find a trusted landscape gardener in your area.
How much would it cost to hire a professional to lay my patio?
It may be cheaper than you think. Hiring a professional will ensure your project is finished quickly, looks fantastic and will last for years to come. To learn more about costs, please see our patio laying cost guide and our informative block paving cost guide.
How should I mark out the area of my patio?
You should always be careful to mark the exact shape of your new patio before beginning to prevent issues down the line. There are a few methods of doing this, as shown below:
String and pegs
Spray paint
Creating a frame
Flour
Useful patio laying checklist
Concrete is a much more stable sub-base than sand and gravel.
Preparation and planning is key to a successful project.
You can lay a patio on soil, grass, concrete and sand.
Always use safety equipment to stay safe.
More Driveways / Patios / Paths Articles

See the tradespeople we've checked for your job