Blog>How-To Guides>How to lay a concrete floor
Last updated: 2 December 2021

How to lay a concrete floor
Need to lay a concrete floor in your garage, garden, or indoors? Although it can be a tricky job, with this how to guide you'll learn what's required to lay a concrete floor and create a hard-wearing base.
There are many types of concrete floor and many different areas where you can lay one. For example, hard-wearing spaces like garages or outdoor slabs for patios and driveways will suit a rough brushed, pitted or rugged concrete floor, which is a relatively easy DIY project to learn.
Whereas if you're keen to have a dramatic polished concrete floor for your industrial-style modern kitchen diners, mastering this technique and creating a flawless finish can be challenging and may be best left to the professionals.
One thing is for sure, whatever type of concrete floor your choose, you'll have durable, robust, and super easy-to-maintain flooring that will last for years. Read this guide on how to lay a concrete floor so you can decide if it's a job for you or a professional.
See the tradespeople we've checked for your job
How to lay a concrete floor
Tools and materials you'll need:
Rubber gloves
Sand
Gravel
Screed
Vibrating plate
Hand tamper
Wheelbarrow
Wooden mold (optional)
Wire mesh
Concrete mixer
Vapour barriers
Shovels
Bull float
Laser level
Curing compound
Steps:
Prepare the area you'll be concreting by removing any dust, dirt, or loose materials that can affect the pouring process and overall finish.
Unless you are concreting wall-to-wall, create a strong wooden mold, also known as a form, around the area you will be concreting. This will allow for effective pouring and neat edges.
Prepare the subbase, also known as the material on which the concrete will sit, which is commonly a hardcore layer made of sand and gravel. The concrete is then poured on top of this to create a robust floor covering. Aim to lay a 4-8 inch subbase, then compact the material with a hand tamper to allow for smooth concrete laying.
Add wire mesh across the subbase to the inside of your wooden form. Wire mesh will reinforce the structural integrity of your wire mesh, a benefit that is particularly helpful for any heavy load-bearing spaces, such as garages or driveways.
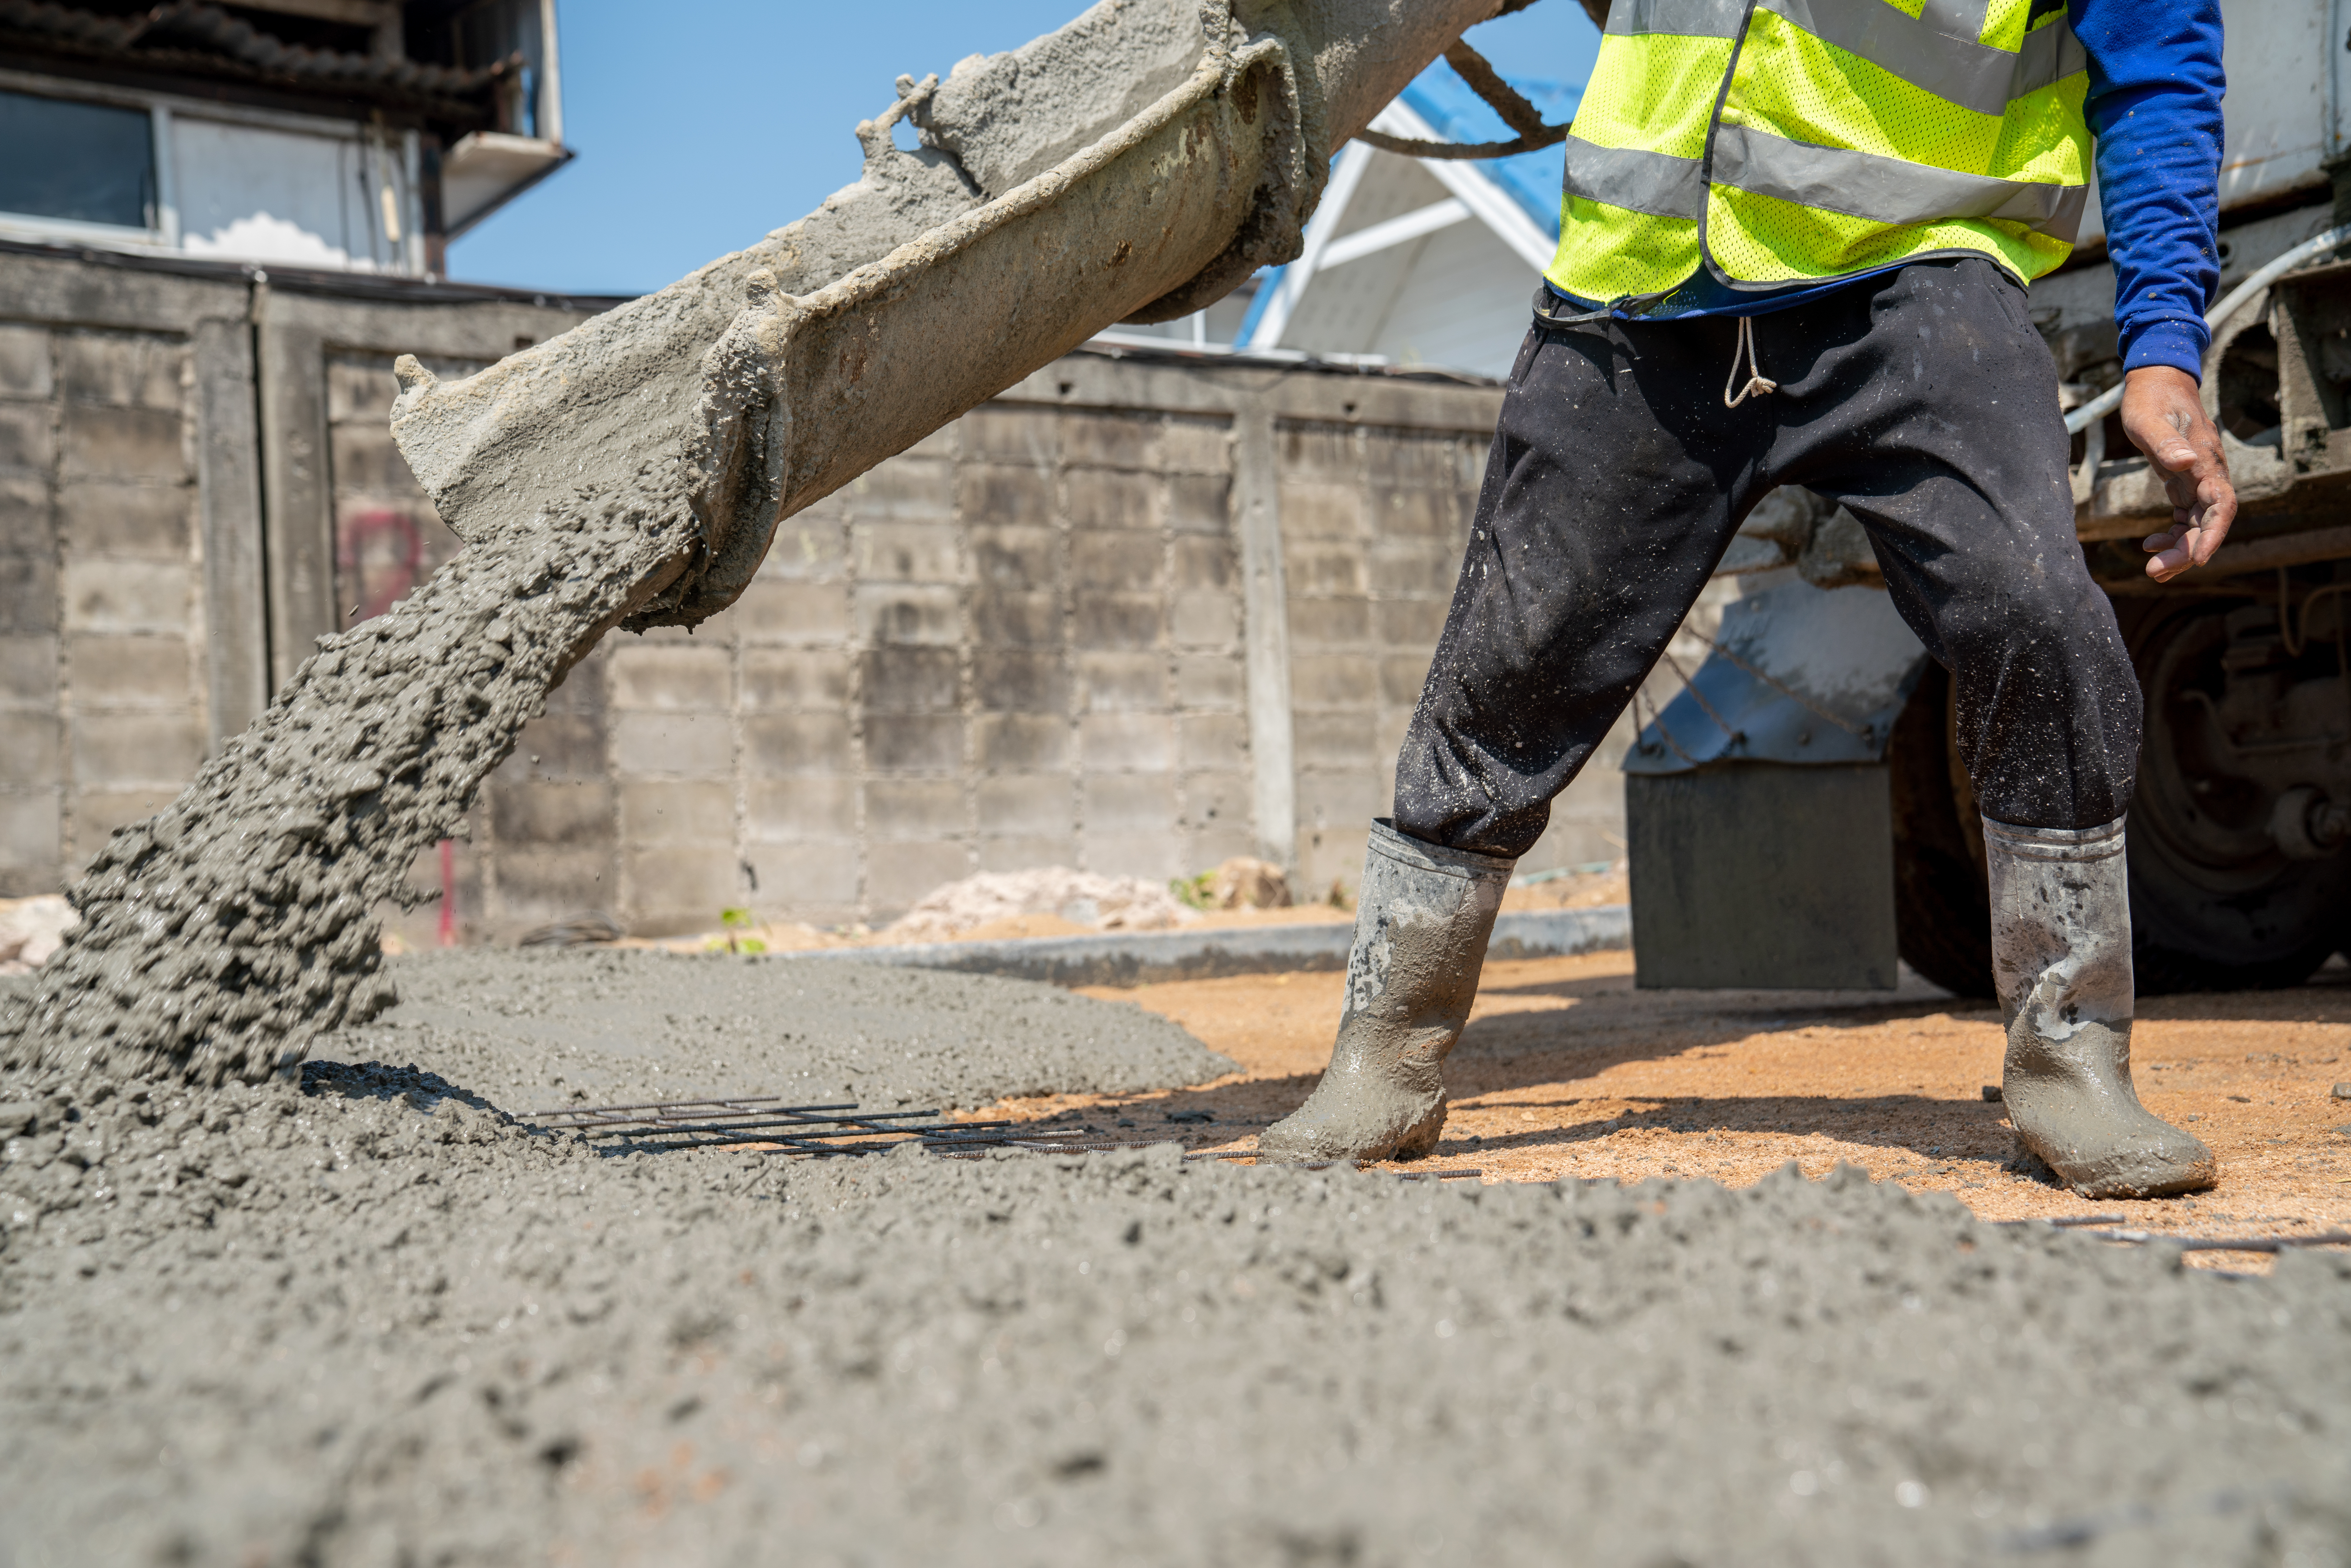
You are then ready to pour the ready mixed concrete into your wooden mold. Load the concrete into the wheelbarrow and out onto the wire mesh. You might need to enlist a couple of helpers at this stage to help spread the concrete evenly using shovels. At this stage, don't worry about creating a smooth finish. That comes next!
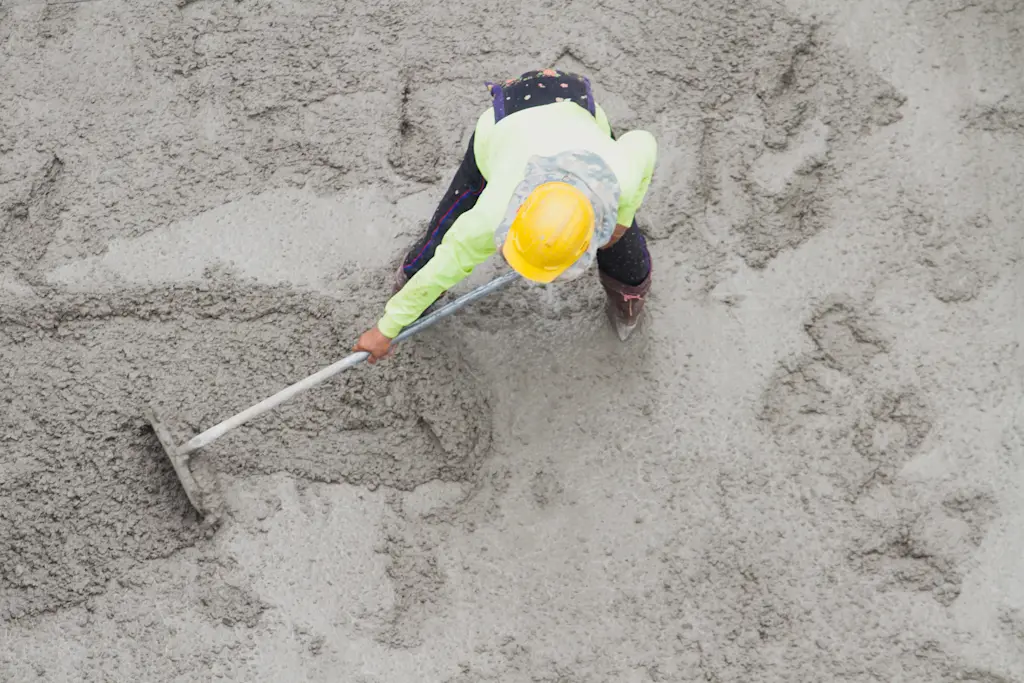
Using a screeding tool, flatten out the wet concrete to create a smooth surface. Work in one direction, from the top to bottom for example, for a professional finish.
Using a bull float, smooth and level the surface of concrete immediately after it is screeded before it sets.
Unless you are going for a super polished look, create a surface texture that ensures it's not slippery when wet by using a broom or a trowel to sweep across the surface in circular motions.
As soon as you've finished pouring, cure and seal the concrete to prevent cracking and discolouring. Curing can take up to 28 days.
Laying a concrete floor is not for the faint-hearted, and if you're not fully confident at following the nine steps, then we recommend getting a professional in to do the work. This will ensure a smooth result and ensure no costly mistakes are made.
See the tradespeople we've checked for your job
Top tips on pouring a concrete floor
When pouring your concrete, it's important that the mix is fresh and malleable.
Have a rake nearby to help even out the concrete.
Before using a bull float to smooth it out, wait until the moisture in the mix has risen to the surface.
How to pour level concrete
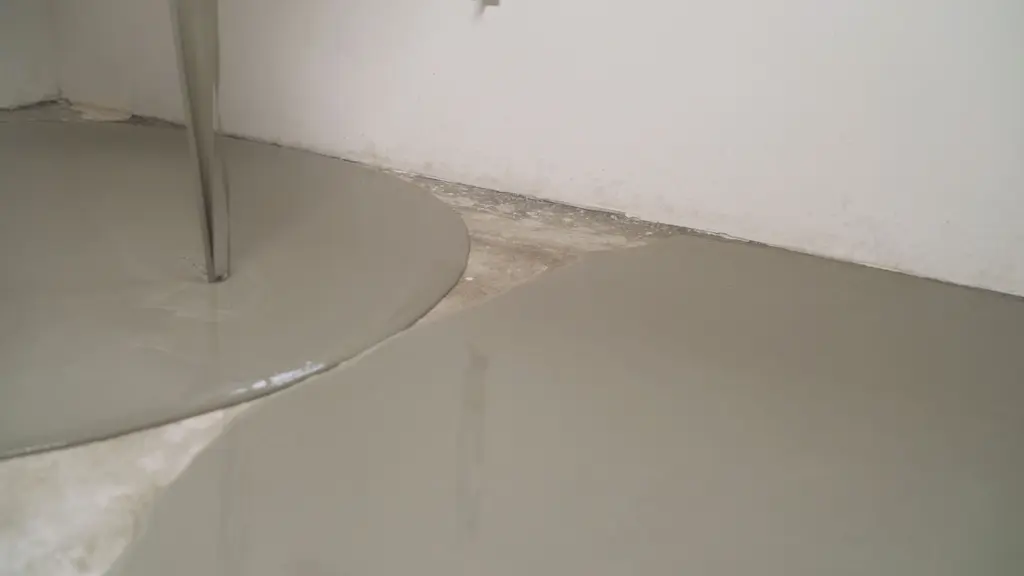
There's something magical called self-levelling concrete. Well, it's not magical, but it's pretty useful stuff.
Also known as a self-levelling floor screeding compound, this type of concrete mix contains latex and provides the layer of concrete the flexibility it needs to move without cracking.
Once mixed and ready to pour, the concrete will flatten out across an uneven floor and self-level with the help of gravity.
Top tips on laying a concrete floor
To avoid damp drawing up the wall, rotting the skirting boards and salting the plaster, be sure to seal the floor to wall join with epoxy grout.
Before pouring the concrete, spray the subbase with water to keep the base from sucking the water out of the concrete. This will extend the finish time of your concrete, giving you more time to rake it evenly into place. Spraying it with water also slows down curing, which makes for a stronger slab.
Pour the concrete in small sections at a time and then screed as you go. If you fill the whole form or giant sections, the mound of extra concrete you'll be dragging back with the screed board will get too heavy.
See the tradespeople we've checked for your job
FAQs
What common problems can occur when laying a concrete floor?
Cracking can occur if the floor has a poor or unstable foundation, or if the concrete has dried too rapidly when being poured. Holes, damp patches and hollow spots can also occur if there is an uneven foundation. Errors like these can be costly, so if you're not 100% confident on the task in hand, get in a professional.
How much does it cost to get a professional to lay a polished concrete floor?
The average concrete floor cost for a new polished concrete floor is around £120 to £150 per m2. That’s for the concrete to be poured, finished, and sealed.
To find a local, reputable, tradesperson in your area and get a personalised polished concrete floor installation quote use our free search feature.

See the tradespeople we've checked for your job