Blog>How-To Guides>How to lay slabs
Last updated: 30 March 2021

How to lay slabs
Explore our guide to learn how to lay slabs for lasting results. With step-by-step instructions and tips for laying on grass, soil, sand and concrete.
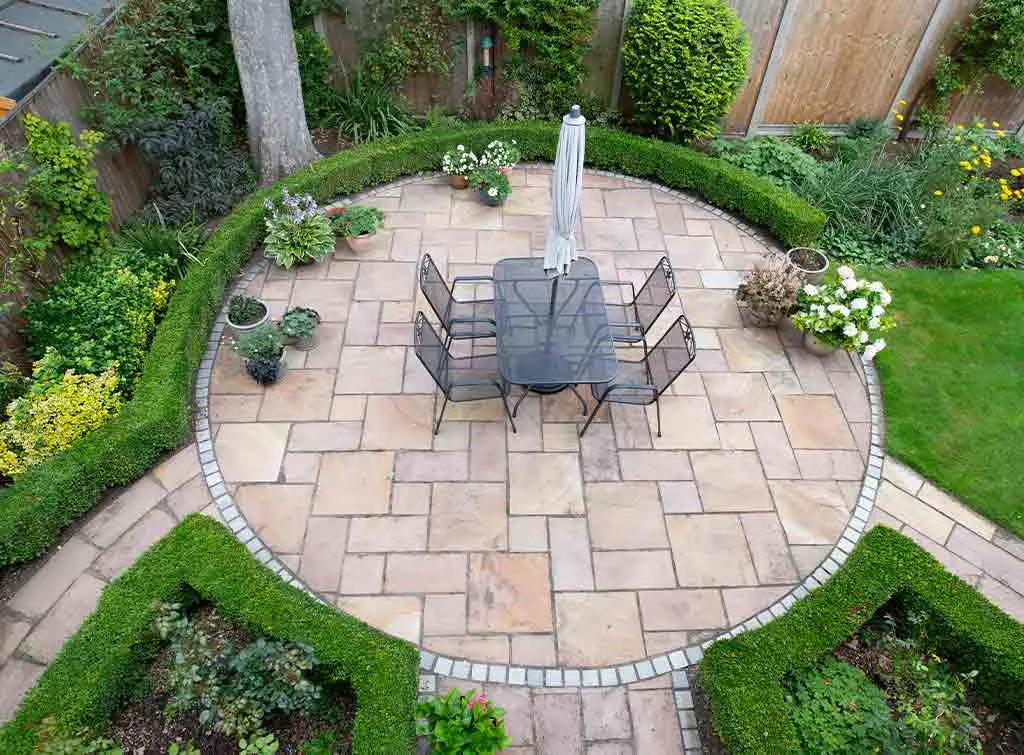
For those of us lucky enough to own gardens, making them into a sanctuary for relaxation, or as a hub for socialising with family and friends is essential. And, what better way to upgrade your garden than by laying new slabs and creating the perfect space?
If you're unsure how to lay slabs or just need to refresh your knowledge, this guide is perfect to support you during your exciting project!
Spring is the perfect time to lay new slabs and get your garden into tip top shape. This prep time means you can make the most of the good weather on its way. With sections such as how to lay slabs on grass, how to lay patio slabs and more, what are you waiting for?
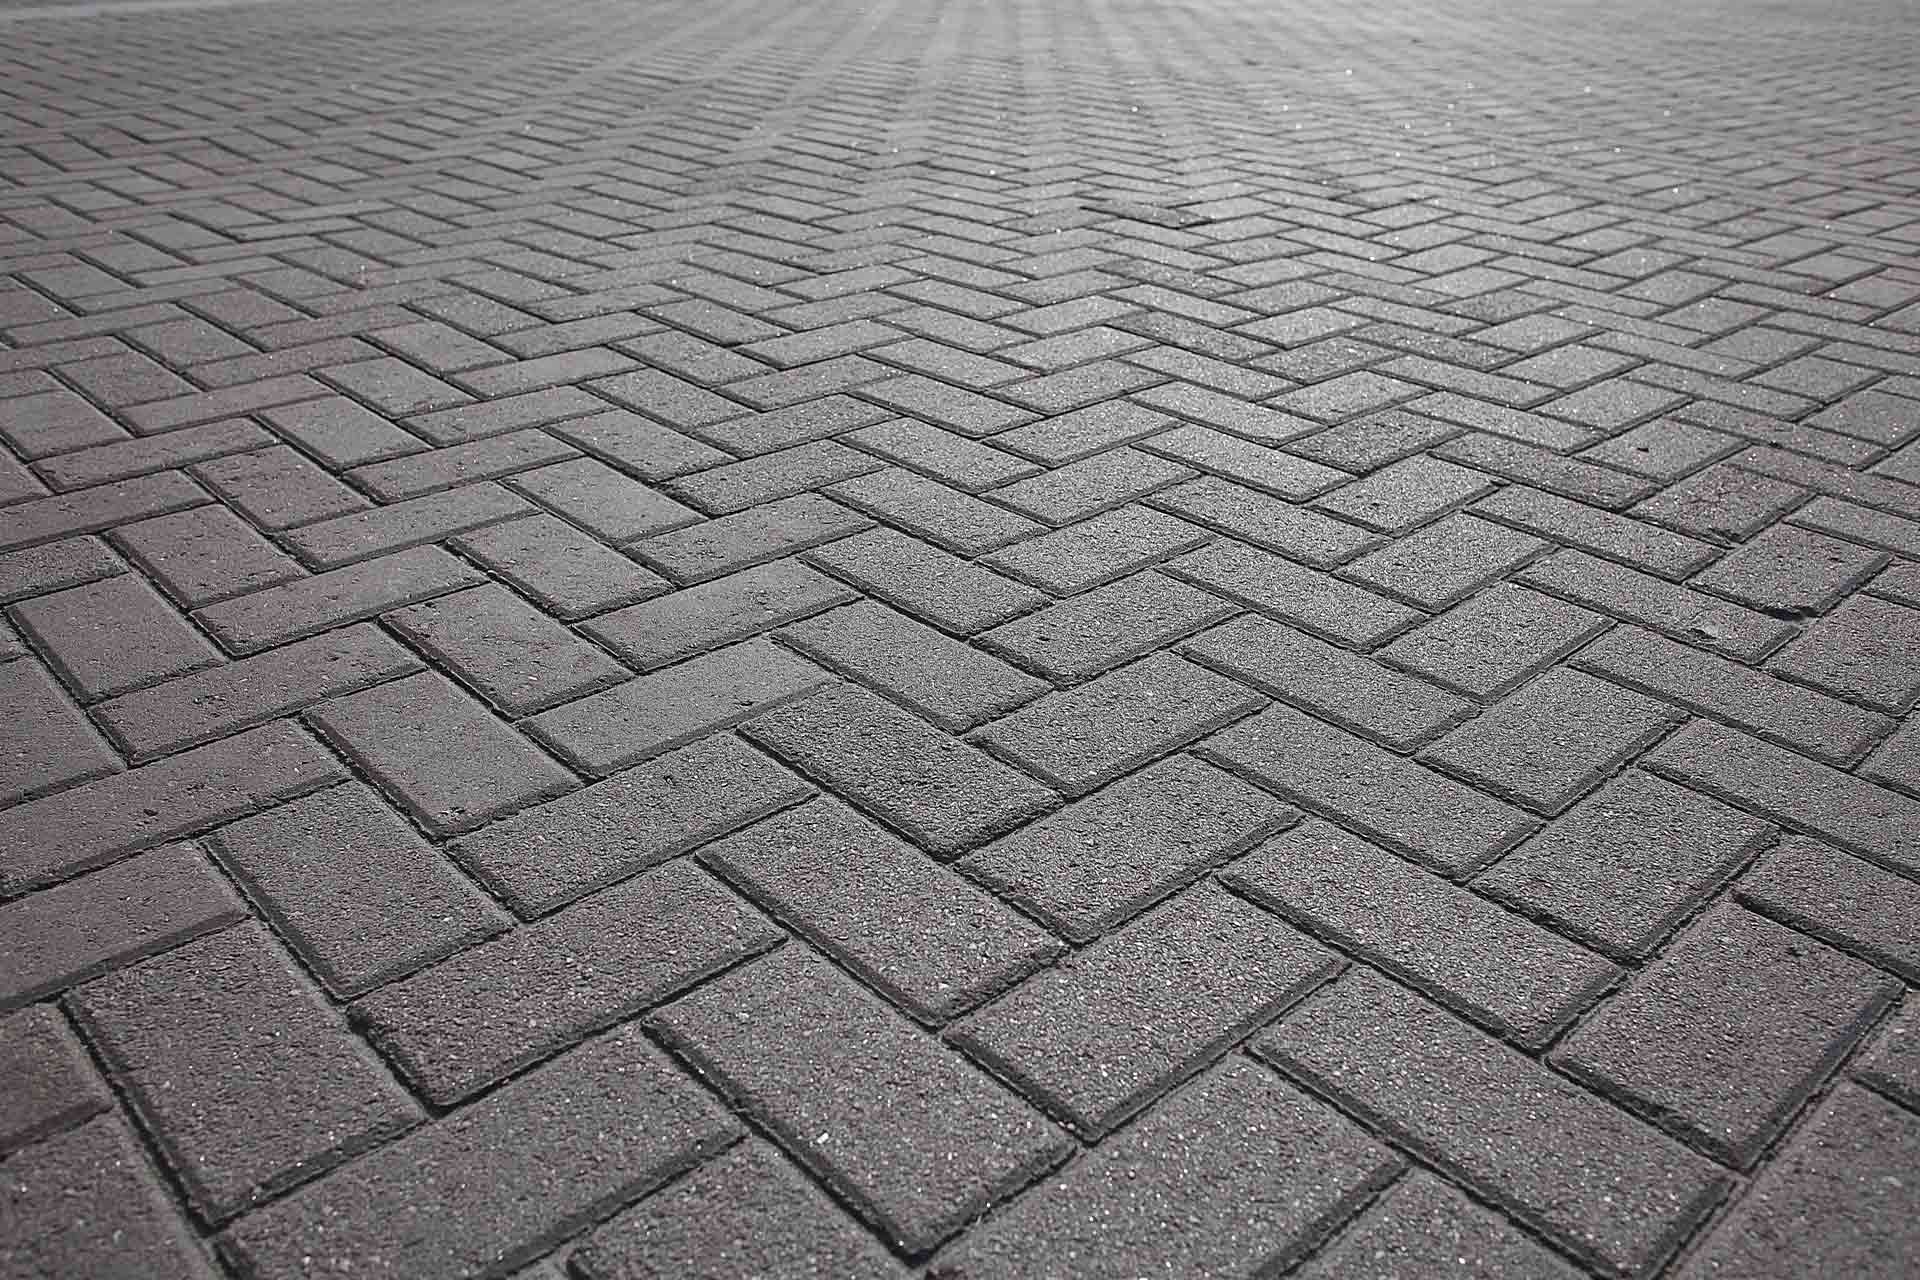
How to lay paving slabs
Choosing the slabs
The first step in learning how to lay paving slabs is to choose the type of slab that works best for your outside space.
Pick from:
Concrete: Concrete is often the cheapest option for paving slabs. These slabs come in a variety of finishes from antique flag effect, to textured, hardwearing, standard finish and even a minimalist polished, contemporary look. On the negative side, concrete doesn’t last as long as natural stone alternatives, although, sealing concrete slabs can help to protect against stains.
Natural Stone: Available in granite, sandstone or limestone, natural stone can be both contemporary and rustic. In addition, it has great durability, is a mid-priced option, plus as it ages and weathers it retains its charm.
Porcelain Paving : A relatively new advancement in paving, porcelain paving is made to be incredibly durable and dirt-repelling. With a similar appearance to natural stone, these slabs have been man-made so are stain and frost resistant and come in many different styles and finishes. Porcelain paving is a great choice for creating a seamless divide between indoors and outdoors, plus this style is very in at the moment. These cost a little more, but you must also consider the lifespan and ease of care of these types of slabs.
Preparation and planning
It can be very tempting to dive into a new project headfirst, but the best way of ensuring your hard work looks incredible and lasts for years is to properly prepare. Initially, you will need to make sure your work area is cleared of debris, then measure the space.
Divide the area by the width of your paving slabs to see how many you will need. Please note, if you choose an area that can be divided exactly by the dimensions of the slabs, this will prevent the need for small and awkward offcuts.
Also, it's worth making a scale plan of the site, showing positions and the number of slabs.
See the tradespeople we've checked for your job
The tools and materials you need
You will also need a number of different tools and materials for this project. It is a good idea to collect these before beginning as this will save any unscheduled trips to the DIY store from interrupting the job. Gather the following:
Tools
Trowel
Shovel
Rake
Wheelbarrow
Rubber mallet
Spirit level
Tape measure
Gloves
Breathing mask (for mixing cement and cutting slabs)
Eye protection
Optional tools
Garden roller – If laying your slabs on sand
Cement mixer
String line and pegs
Materials
Sharp sand
Cement
Slabs
GSB Type 1 (Granular sub base) for laying patios on sand
Wooden planks – For timber edge supports when laying on sand
Tip: When storing paving slabs, lean them upright against a wall, raised off the ground on two lengths of wood.
How to lay concrete slabs
Once you are properly prepared and have everything you will need, it is time to learn how to lay concrete slabs. We have chosen to use these slabs for the purpose of this guide but remember you can use natural stone or porcelain instead.
Start by digging to a depth of 150mm.
Tip in the sub-base and rake it evenly to a depth of 100mm.
Ensure the site is smooth, flat and compacted.
Next, prepare a concrete mix that consists of three parts sand and one part cement. Keep adding water to get to the desired consistency. Tip: If you dampen the slabs before laying, this will prevent them from sucking all the moisture from the concrete and drying it out as you lay them.
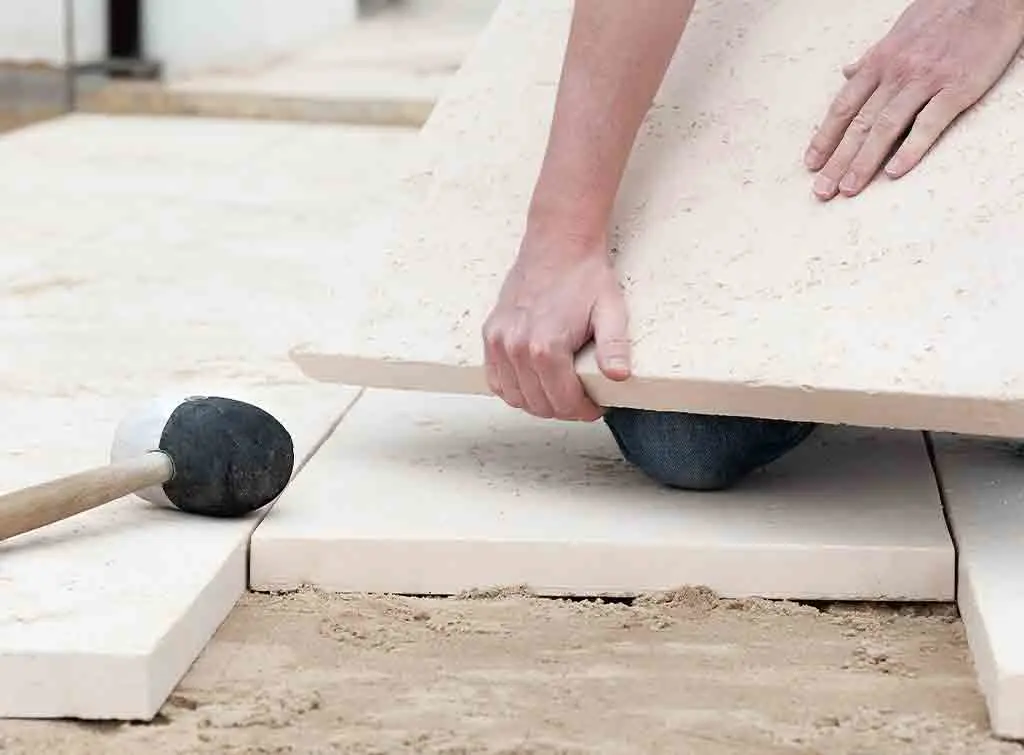
Lower the first paving slab onto the concrete mix. Gently tap it with a rubber mallet, allowing it to sink approximately 15mm into the mortar. Use a spirit level to check the slab is lying evenly.
Repeat this process, leaving a 10mm gap between each paving slab, until the patio is covered.
Once the patio has been laid, spray it with water, saturating the area and leave for 24 hours to set.
How to lay slabs on different bases
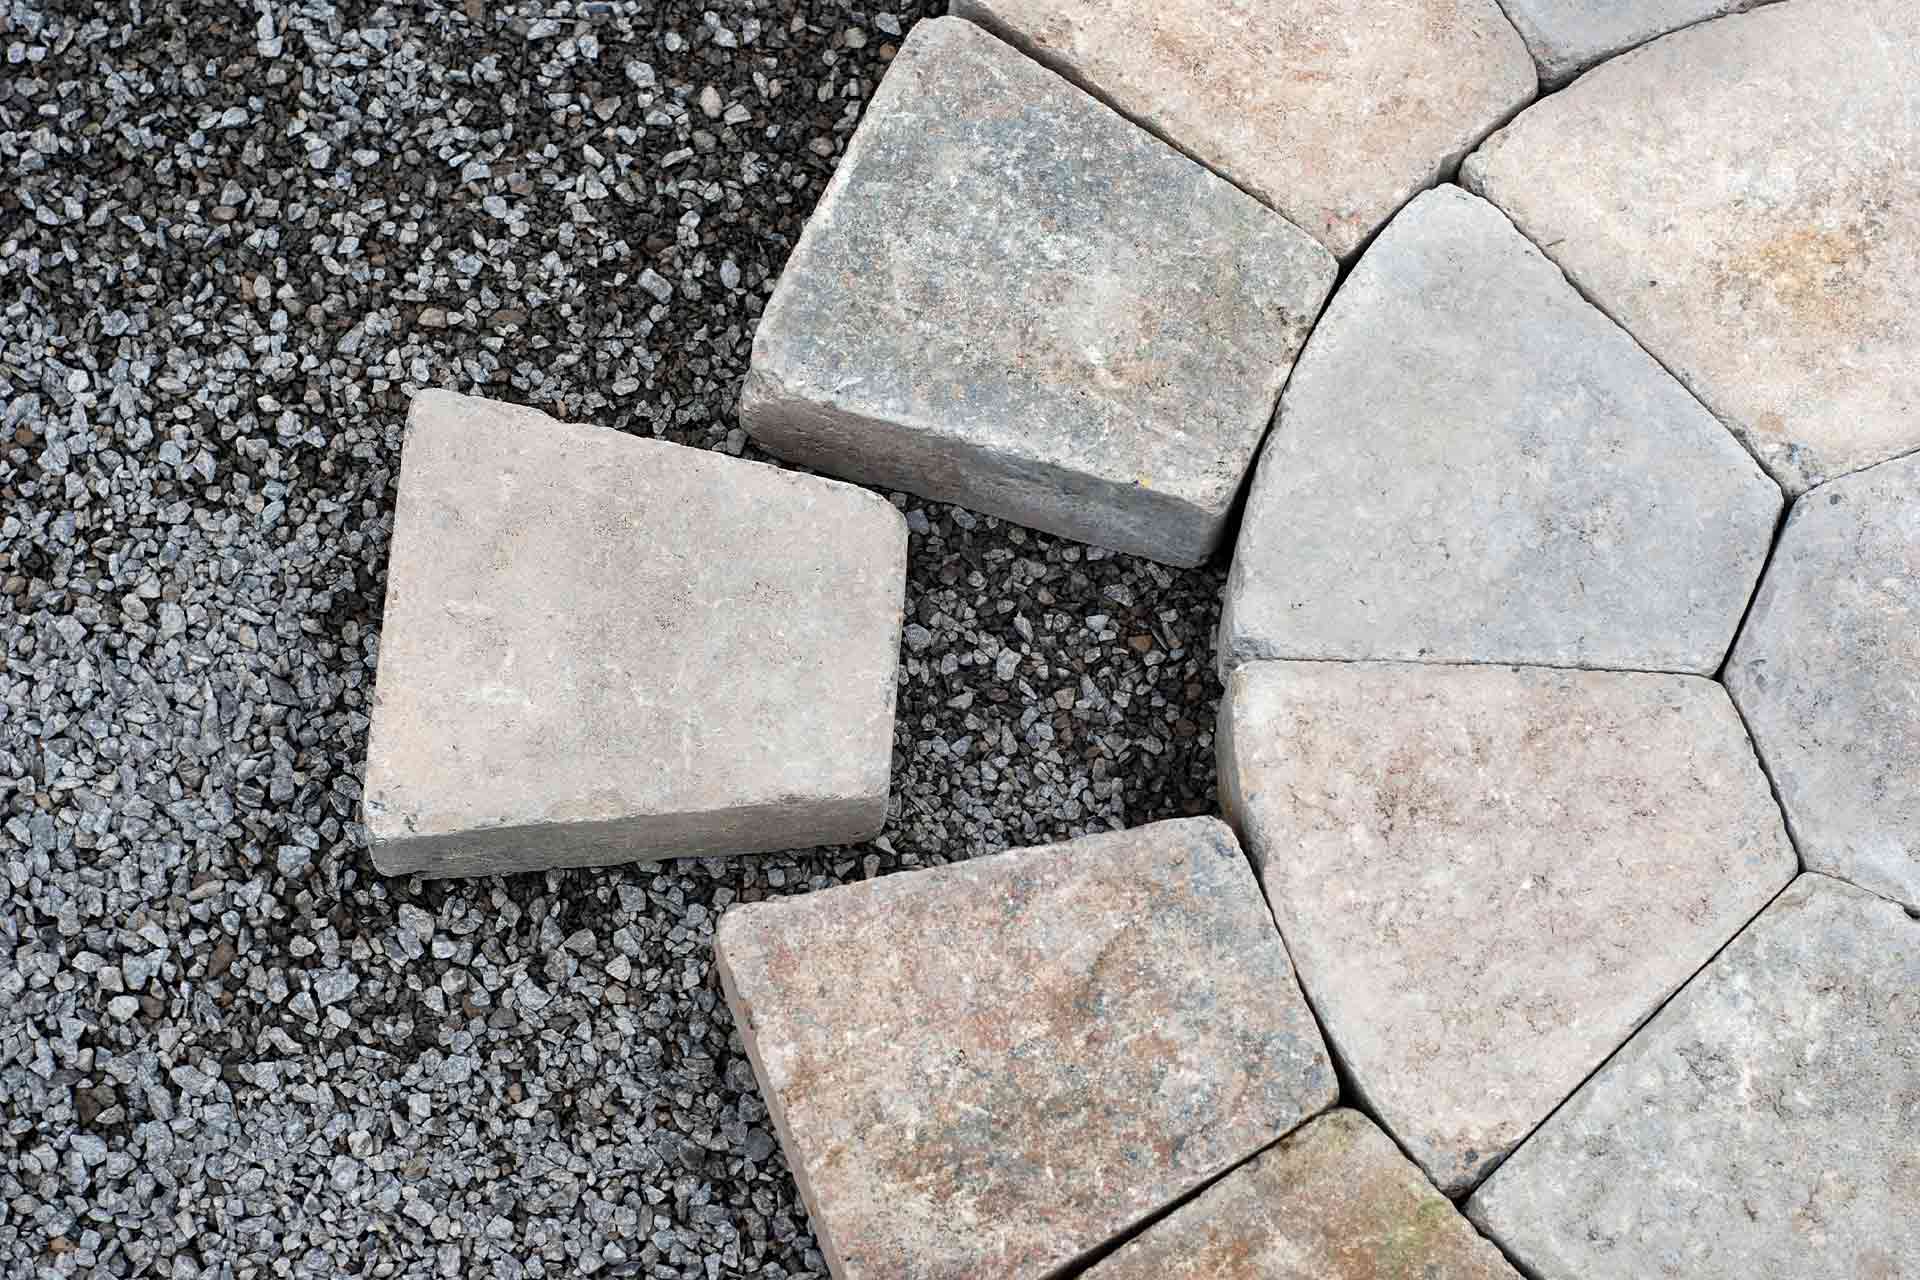
How to lay paving slabs on sand
Sand can make an excellent base for paving slabs. It is very cost-effective and not too difficult for DIY beginners to work with. If you are unsure how to lay slabs on sand, simply follow the below stages to achieve the garden of your dreams:
Firstly, ensure the area is firm, level and well-drained.
Remove the top layers of sand. This should be enough to ensure the patio is at least 150mm below any damp proof course.
Next, use a garden roller, tamper or plate compactor to compact the ground.
You can then install timber edge supports – A wooden frame to keep the sand in place and create a neat finish.
Lay 2 sub-layers of 50mm each using GSB Type 1.
Now add a compacted 30mm layer of sharp sand.
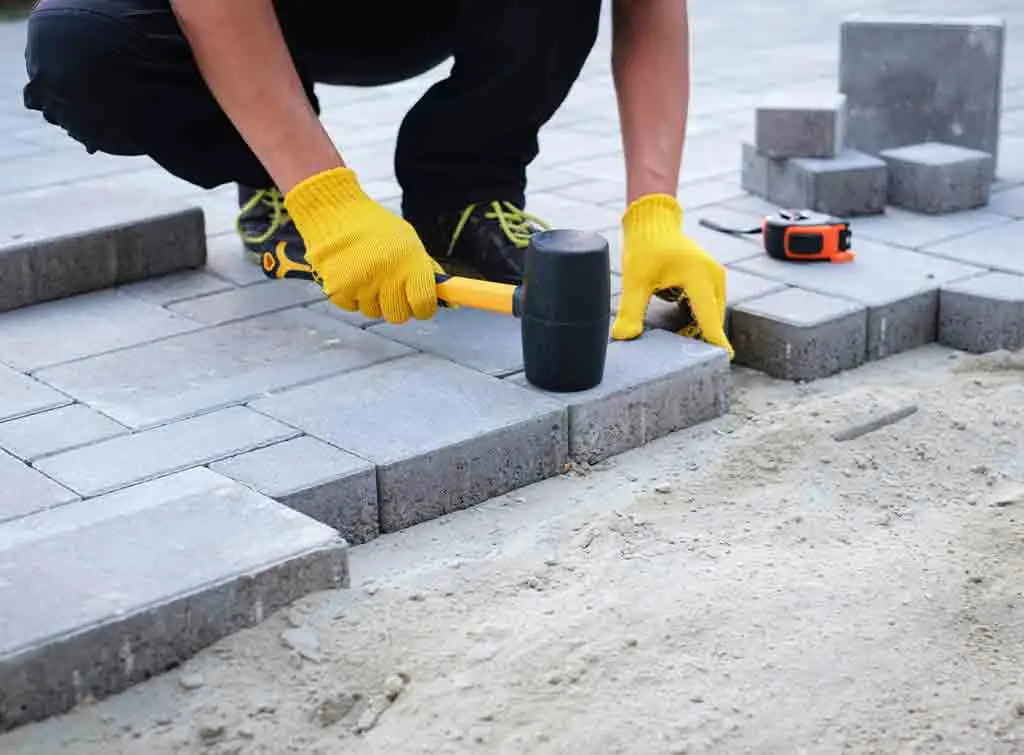
You are then ready to begin laying your patio slabs. Keep them 2-5mm apart, checking levels along the way.
Lastly, use kiln dried fine sand to fill in any gaps.
How to lay a paving slab path on soil
While it is possible to lay paving slabs on soil, it is not generally advised. The durability of any paving with a soil base can depend on many factors, including:
Type of soil: Heavy clay soil will be far more durable and less likely to be compromised by British weather conditions.
Types of use: Slabs that are laid on soil will not be suitable for high traffic areas, or heavy use.
Drainage: The drainage of your soil is important to prevent your slabs from shifting and sinking.
It is also worth noting that to ensure a level finish, it is advisable to dig into the soil and lay on sand. As such, learning how to lay paving slabs on soil will require the use of sand otherwise your new path won’t last long. For more information, follow the instructions in our ‘how to lay paving slabs on sand’ section.
How to lay paving slabs on concrete
If you already have a patio, you may be surprised to know it is possible to lay paving slabs over old concrete slabs. You will of course need to create a more stable, even base and this can be done using sand.
For more information and tips on how to lay paving slabs on concrete, please see our how to lay a patio and paving guide.
How to lay slabs on grass
In general, it is not advisable to lay slabs directly on top of grass. As with soil, there are a few factors in play that will determine the longevity of slabs laid on grass and in many cases these patios or paths will not stand the test of time.
If you are determined to figure out how to lay slabs on grass, we would advise digging down and using sand or another type of sub-base. Follow the steps in our ‘how to lay paving slabs on sand’ or ‘how to lay concrete slabs’ section for lasting results.
Please note, it is also easier for lawn maintenance if any slabs you lay are flush with the grass.
Important considerations
With any project it is worth considering a number of factors and laying slabs is no different. Keep the following considerations in mind when learning how to lay slabs:
Different conditions: Think about ground conditions, usage and weather conditions before deciding on how to effectively lay a patio/path. If you are laying on soil, there is a high risk of the patio/path wearing away under the elements and usage.
Clay soil is less risky, but it is still likely to be less durable than a sand or concrete base. This means it inevitably will need to be replaced/re-levelled much sooner, incurring more work, further costs and a greater inconvenience.
Planning: If you are inexperienced in DIY, then it is highly advisable to carefully plan the patio/path to minimise cuts and odd shapes.
Cement: This material carries its own risks. For starters, cement splashes on bare skin can burn. There is also the risk of inhaling the cement dust when mixing concrete. Furthermore, cutting slabs also produces a lot of dust which is, not only a nuisance but an environmental and health hazard.
Location: If you are laying paths/patios near a building or structure you must not build it up to, or above the DPC (Damp Proof Course), as this will cause problems with damp and ventilation within the home.
Slabs: Ensure your slabs are slip-resistant, plus, for maximum value and effectiveness, they should be durable and require little maintenance.
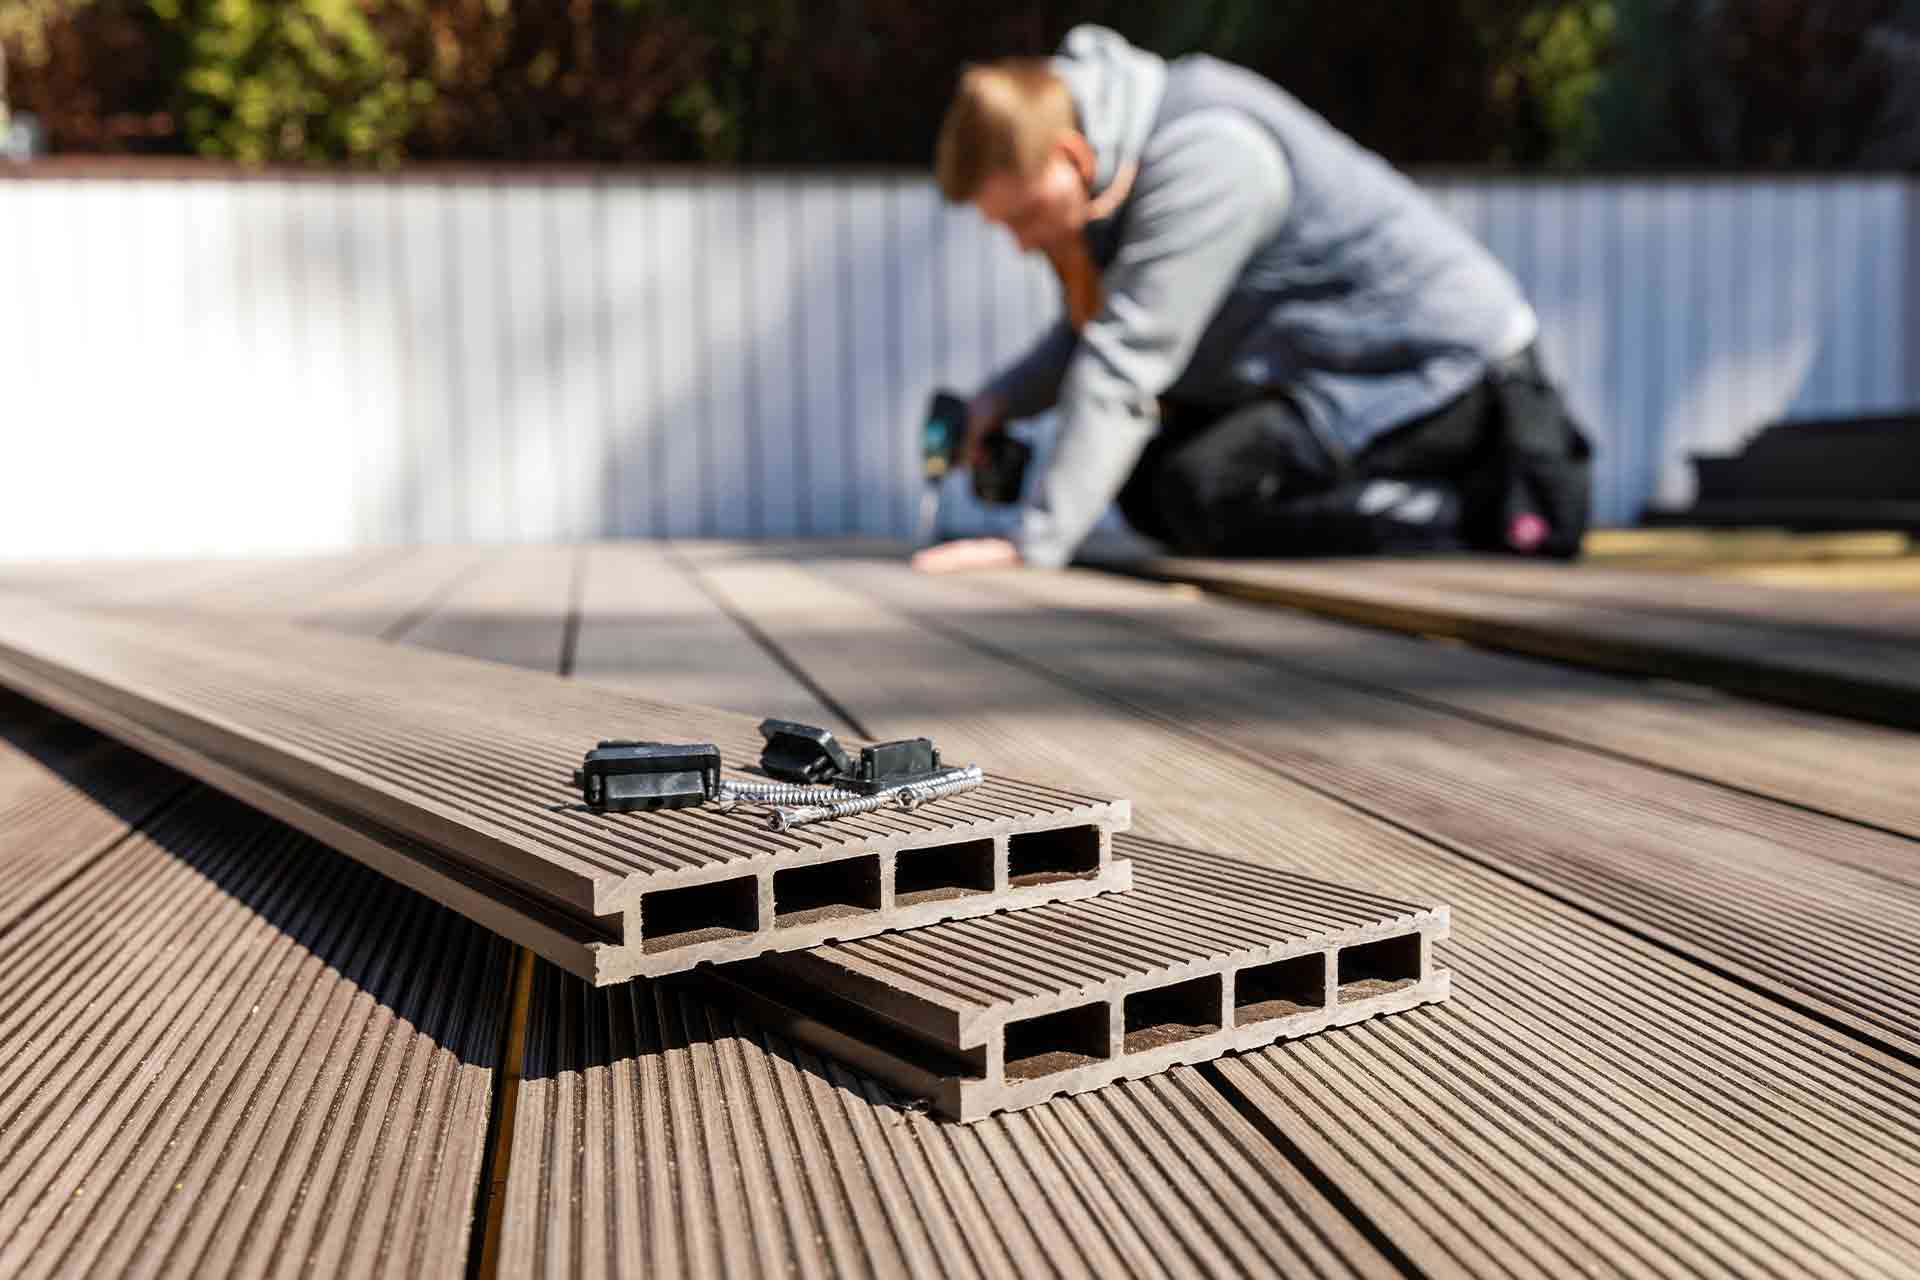
Hiring a professional
Many inexperienced DIYers will struggle with figuring out how to lay slabs, so there is no need to feel disheartened if you get stuck or lost at any time. Your best option in these circumstances is to hire a professional who will be happy to help remedy your problem whether large or small.
Why not use our free search feature to contact a range of trusted tradespeople in your area? What’s amore, if you want to look further into patio costs, please see our handy patio laying cost guide.
How much will a professional charge for slab installation?
As a general rule of thumb, you can expect to pay anything from £900 upwards. Of course, it all depends on the type of patio, the size of the space and how much preparation work is required. Individual costs for laying a 20 m2 patio including supplying slabs (£30 per m2), excavating turf, laying hardcore, laying slabs and brush-in pointing would mean a total cost of £1,800.
For more prices, tips, considerations and information, check out our patio laying cost guide.
What type of slab is the best?
This will depend on your requirements. A great allrounder is natural stone and generally this is one of the more durable options. It is not the cheapest choice, but neither is it the most expensive.
Natural stone is also stain and frost resistant, will require less maintenance and will last longer than the cheaper, concrete alternatives.
How long will it take to lay slabs?
This will be dependent on the size of the patio/path, the type of base, the complexity of the design, and the number of people working on the project. An approximation, based on a basic 8 metre square patio that is replacing an existing patio with a concrete base would take about 2 days, for 2 people.
More Driveways / Patios / Paths Articles
See the tradespeople we've checked for your job