Blog>How-To Guides>How to put up shelves in 5 steps
Last updated: 3 November 2021

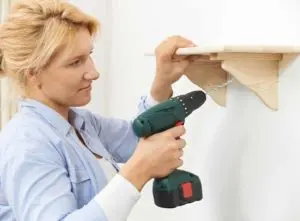
How to put up shelves in 5 steps
We’ll take you through all the steps involved so that you learn how to put up shelves successfully on a wall.

Putting up shelves is a brilliant way to save valuable floor space and show off items like vases, family photographs and books. The job isn't an easy task for an inexperienced DIYer as there's a lot to do in prep to make sure the shelf is straight and secure. But don't worry, we've got you covered with our 5 steps or less to putting up a shelf.
If you're not confident in your ability to put up a shelf then save time and stress by hiring a professional your neighbours recommend. It will make sure this task is completed professionally and successfully. Take a look at our shelving cost guide to see how much it might set you back. If you’d prefer something sleeker and more stylish, consider having glass shelves fitted instead.
If you're willing to give it a go, then keep reading!
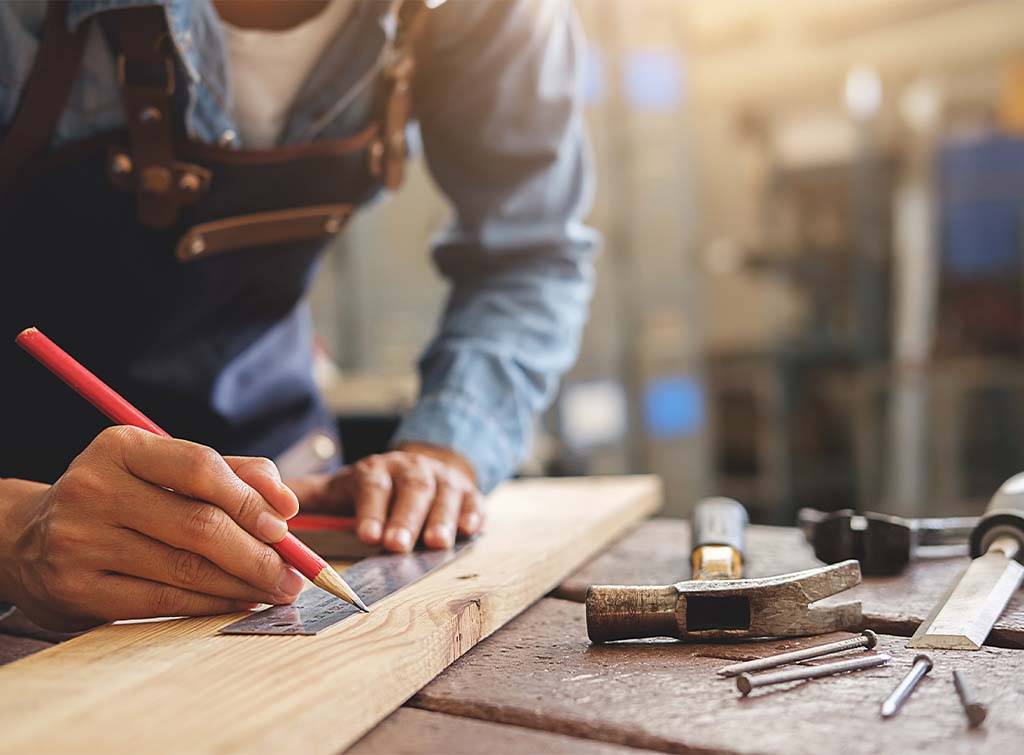
How to put up shelves in 5 steps
There are different types of shelves that you can choose from. Each type of shelf may have its own steps to fit it to your wall.
First, let's go through the steps of putting up a typical shelf with brackets.
Putting up shelves with brackets
The tools you’ll need:
Drill
Masking tape
Stud, pipe, and cable detector
Hammer
Pencil
Screwdriver
Spirit level
Pencil
Materials you’ll need:
Screws
Wall plugs
Bracket shelf
Brackets
Step 1: Use a spirit level
Place one of the wall brackets at the required height, then make sure it’s straight using a spirit level. Mark the top of the bracket and where the holes in your brackets are on your wall.
Step 2: Accuracy is everything
Measure the distance for the next bracket, and using a spirit level, mark its position. Again, make sure it’s completely level with the previous mark otherwise you’ll have a slanting shelf.
Step 3: Mark the holes on the wall
Place the other wall bracket at the required height, double-check it's level, and mark where the holes in the brackets are on your wall. Next, mark the length of your wall plugs on your drill bit using tape.
Put on your goggles, then drill holes in the wall where your marks are. For masonry walls, switch the drill into hammer mode, as it can often be quite tricky to drill through stone and brick.
Step 4: Insert the wall plugs
Then, insert the appropriate wall plugs for the type of wall you’re screwing into. Tap them gently with a hammer if needed, so they sit flush with the wall. You don’t have to use wall plugs if you’re screwing into timber studs.
Step 5: Fit the shelf brackets
Next, affix the brackets into position. Make sure they’re level. Then position the shelf board so that it sits centrally on the brackets and mark out the location of the fixing screws using the holes on the brackets.
Drill pilot holes in the shelf, making sure you don’t drill all the way through the board. Now, attach the board with screws – you’ve now made your shelf with brackets!
Find carpenters in your area
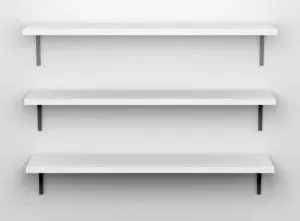
How to put up shelves without brackets
Shelves without brackets are known as floating shelves or “bracketless” shelves. They look as if they’re floating on the wall, hence their name, without any kind of support.
How to put up floating shelves in two easy steps
Tools you’ll need:
A floating shelf
A cable and stud detector, and pipe
50mm or 38mm screws
Wall plug
Small screws to affix the shelves to the bars
Step 1: Preparation is key
Before starting, it’s essential to check there aren’t any hidden dangers behind the wall before drilling. Next, place the hidden metal bracket strip against the wall, making sure it’s horizontal using a spirit level, then mark the fixing hole positions.
Use some tape to mark the length of the wall plugs on the drill bit. Drill the holes in the marked positions and with a hammer, carefully tap in the wall plugs, so that they’re flush against the wall. Finally, screw the hidden brackets into place, then make holes on the prongs facing down.
Step 2: Assembling the shelf
Slip the shelf onto the bars. Your kit may have pre-drilled holes beneath the shelf - in which case you’ll have to fit small screws through them into the holes within the bar. Finish things off by covering the screw heads with caps.
Find carpenters in your area
Can shelves be put up without drilling?
If you’re curious to know how to put up shelves without any drilling whatsoever, you'll be pleased to know that all it takes is some self-adhesive tape.
In a hurry? Here’s a quick summary for you on putting up shelves, with no drilling in sight!
How to put up floating shelves without drilling: A quick overview
Use self-adhesive tape
Purchase a shelf made of lightweight, hollow material
Purchase scotch tape
Prepare the wall by cleaning with rubbing alcohol
Press on the strips for roughly 30 seconds to affix
Hold the shelf board against the wall for roughly 30 seconds
Take the board away, then apply pressure on each strip for about 30 seconds
After one hour, replace the shelf
Your shelf’s ready for holding all your items
A quick guide on how to put up corner shelves
Here are some speedy steps for installing your corner shelves:
Step 1: Level it correctly
Use a drill to affix the trim pieces to your shelf. Then hold the shelf in position, making sure you have everything level. Once it’s straight, mark the holes you’ll need to drill using a pencil.
Step 2: Drill the holes
Drill holes where you’ve marked them. After you’ve drilled the holes you’ve marked, hammer in wall anchors – these fasten the screws into the wall so that the shelf stays up.
Swap over to the screwdriver bit and drill the screws through the holes in the trim sections as well as the anchors. And that’s it.
FAQs
How do I put shelves up on plasterboard?
There’s a range of fixings available for fitting shelves to a plasterboard wall. It’s important to note that you can’t use regular wall plugs to fit shelves to these wall types.
Because plasterboard is soft, when the wall plugs expand once screwed in, they widen the hole you’ve put the plug into. And it won’t take long until it works itself loose.
We recommend speaking to a local carpenter, as they’ll know how to carry out the job properly using the right fixings.
How do I put shelves up without nails?
You can use adhesive mounting strips rather than nails to put up shelves. Before purchasing, double-check their weight capacity – they must be able to support your shelf as well as any items on it.
Are shelves easy to put up?
Putting up shelves is notoriously fiddly, but not impossible. As mentioned above, you’ll need a few tools such as a drill, a pencil, wood screws, hammer, and nails as well as a stud detector. Also required for the job is a spirit level.
Putting up shelves is a labour-intensive job. So, why not hire a carpenter your neighbours recommend to do this for you?
What can I use to hold up shelves?
You can use a variety of shelf hanging hardware to hold up shelves that you can purchase from most DIY stores, including:
Cleat shelf supports
Metal shelf standards
Shelf pins
Angle brackets
Dove joints
Box joints
Mortise and tenon joints
Dowels
Biscuit joints
Plastic anchors
Keyhole hangers with screws
Triangle brackets
Your local carpenter will know which type of hanging hardware is most appropriate for your shelf, so it's best to get in touch for expert advice.
How do I put up a shelf on a brick wall?
When putting up a shelf on a brick wall, you’ll need specific fasteners designed for masonry walls, as conventional fasteners and screws won’t quite cut it.
See the tradespeople we've checked for your job