Blog>How-To Guides>How to tile a floor
Last updated: 31 March 2021

How to tile a floor
If you’re wondering how to lay floor tiles we have everything you need to know. From measuring to fitting, grouting to sealing our guide can help.
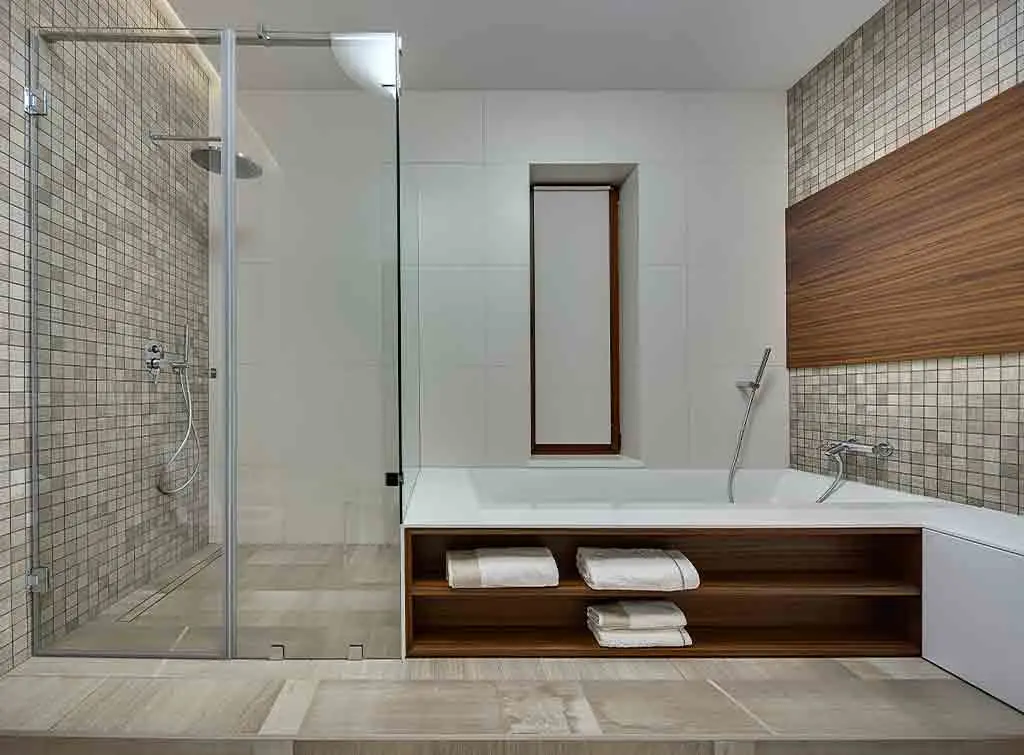
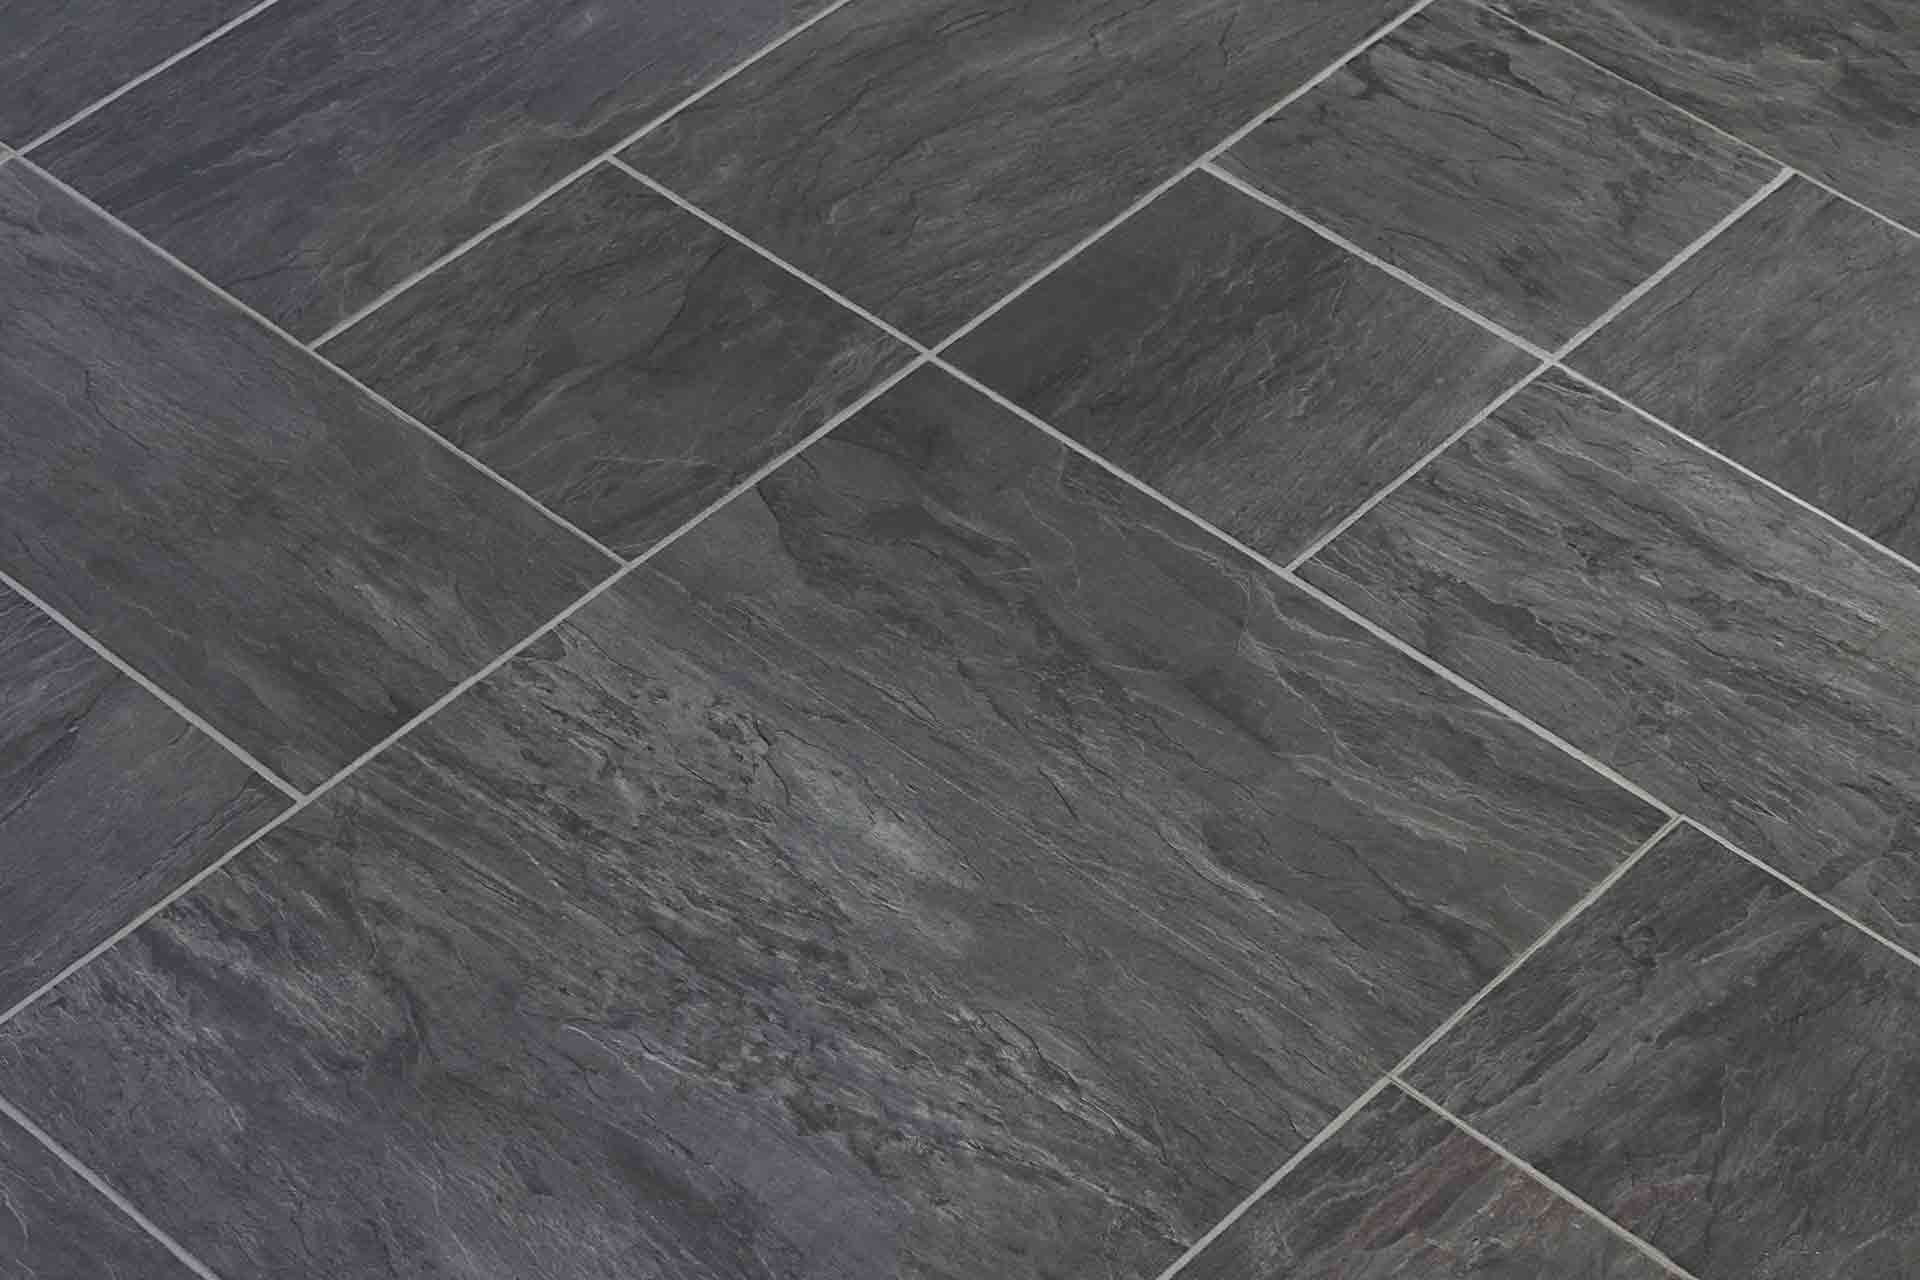
Adding floor tiles to a home can make a bathroom look larger, turn a hallway into a stunning home entrance and give a kitchen a touch of class. And, with porcelain tiles now sporting amazing effects such as matt concrete and marble, you can get safe, easy to clean flooring that looks incredible.
In this article, we explain in detail how to tile a bathroom floor, kitchen and hallway floor. If you’ve ever tiled a wall, such as in a bathroom, you may be surprised to hear it’s actually a very similar process. We also have a fantastic guide on the cost of tiling, which includes floor tiling costs per m2.
Tools and materials
There are a lot of tools needed to do this job, so to help you we’ve grouped them into the different project stages:
Personal protection
Knee pads or a cushion
Safety goggles
Protective gloves
Measuring and preparing
Tape measure
Pencil
Spirit level
Dry cloth
Fitting:
Flat bed tile cutter or electric wet tile cutter
Tile nippers
Tile file or sandpaper
Floor tiles
Tile spacers
Rubber mallet
Sealing and grouting
Bucket
Grout float
Grout finishing tool
Floor tile adhesive
Floor tile grout
PVA adhesive
Masking tape
Flexible sealant
Trowel
Notched trowel
Scraper
Damp cloth
Dustpan and brush
Sponge
See the tradespeople we've checked for your job

Key considerations
Before we explain how to lay floor tiles, let’s first consider some of the key project challenges:
Tile types: Tiles on the floor must be more hard-wearing than those on a wall. Ceramic, porcelain and quarry tiles all fit the bill here.
Floor type: The process for laying tiles on concrete, wooden or cement floors is fairly similar. What’s important is that you have a smooth, clean surface to work with. For surfaces that are porous, this can be achieved by priming them with two coats of diluted PVA and leaving it overnight.
Type of grout and adhesive: For bathrooms, you should use grouting with anti-mould properties. Floor tiles will also benefit from ultra-flexible adhesive to stop them from shifting.
Measuring: Always ensure you have more tiles than you need. Buying 10% extra is a safe bet. You’ll need these spares in case any tiles are cut incorrectly, or if tiles are damaged in the future.
Safety: Always wear goggles and gloves. If smashing old tiles, make sure to protect your face, legs and arms as they have a habit of flying around! Knee pads are also useful for comfort.
Level: When tiling floors, any uneven levels between tiles are a significant problem and a tripping hazard. As such, you must ensure surfaces are in good condition, flat and free from damp. You really can’t afford to skimp on time or quality products here.
How to lay floor tiles step by step
Below, we’ve outlined the six key stages you should follow when laying floor tiles.
Finding the starting position
Using a pencil, mark a point on the floor that’s equal distance from both side walls.
From this position, place tiles on one side wall, with spacers between them.
Mark on the floor where the last full tile stops. This is called the fitting line.
Measure from the fitting line to the centre of the room and write this measurement down.
Repeat step one further down the floor. Using the distance from step 4, mark a new fitting line.
Make sure no cables or pipes are within the fitting line by using a cable & pipe detector.
Join the fitting marks together to create one mark.
Repeat steps 1-7 for the length of the room. This will give you another fitting line.
Join the width and length fitting lines. The corner where they meet is the optimal place to start tiling.
Why is this optimal? Well, it’s important you start from a central point and then work to the corners when tiling. This will give you the nicest finish and mean that less tiles have to be cut.
See the tradespeople we've checked for your job
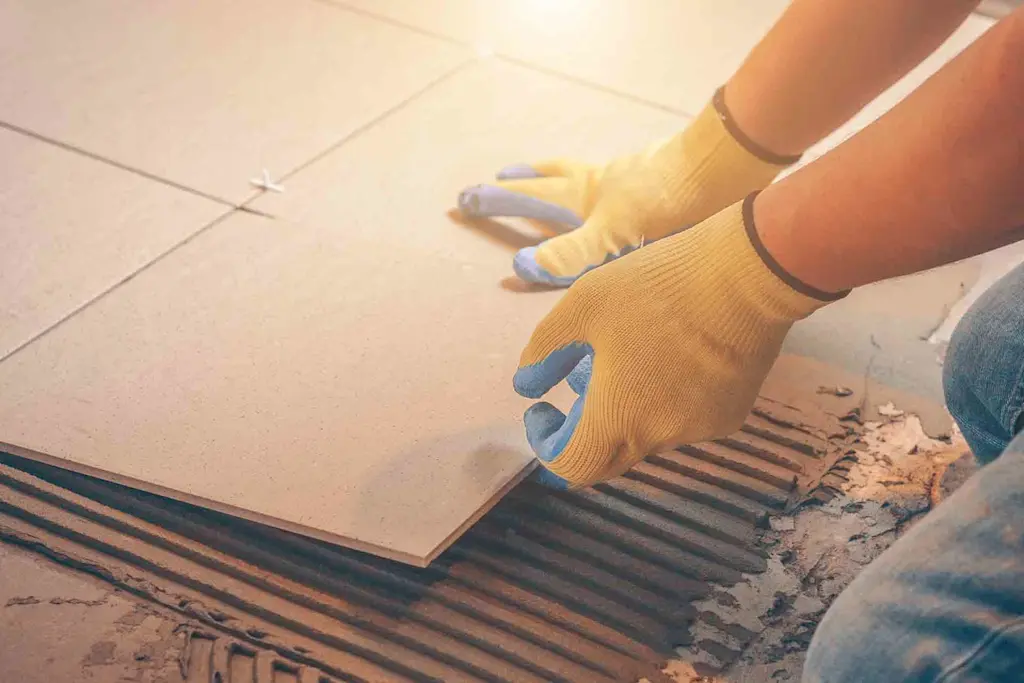
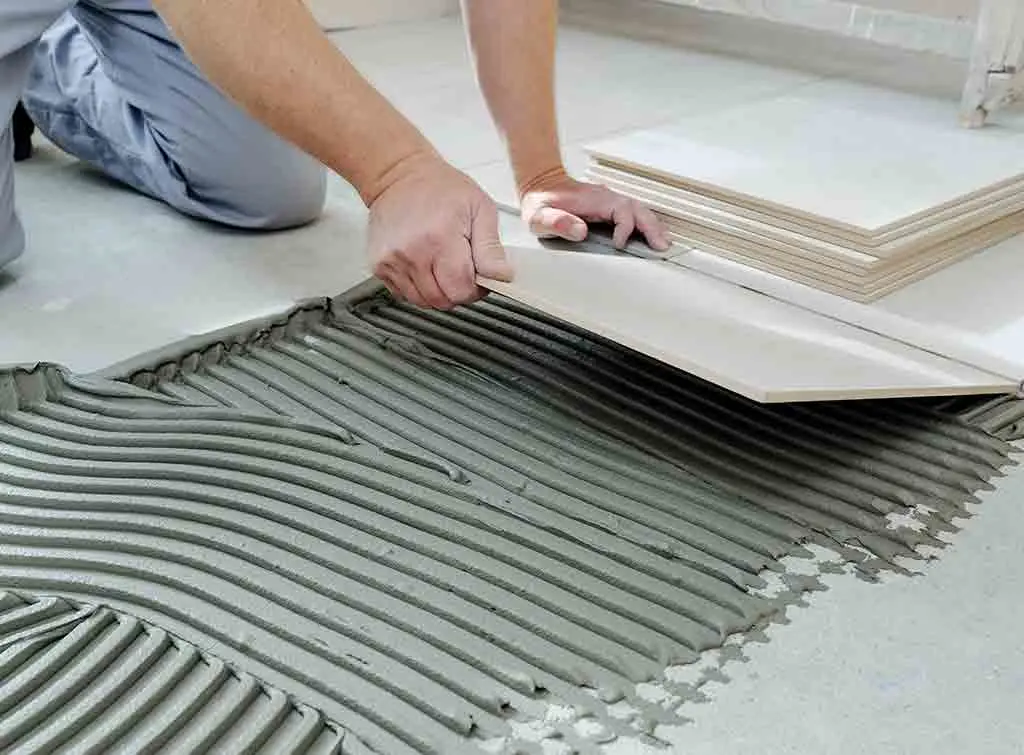
Laying the tiles
Before you lay a single tile, identify your escape route. You’ll want to ensure you work towards the exit of the room, so you won’t have to walk on a single tile to get out.
Make sure any pets and family members won’t have access to the room while you are laying the tiles or while they’re drying. If it’s a bathroom or kitchen that’s in regular use this is trickier and may mean you have to tile half of the room at a time.
Put on a dust mask and safety goggles. Then mix the adhesive.
Use your notched trowel to apply the adhesive from the starting position we identified above.
Put the first tile in place and press firmly.
Use tile spacers to position the next tile and then stick it in place.
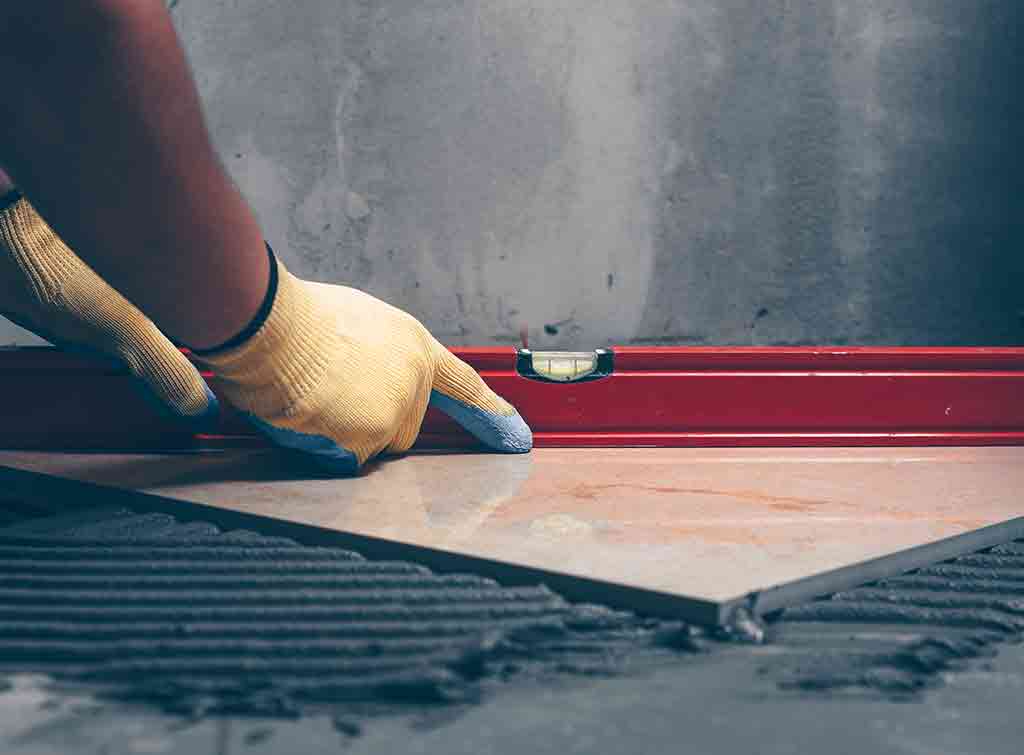
Repeat steps 4-6 whilst checking that the tiles are always level and flat. A spirit level can help you do this.
Remove excess adhesive where needed, using a damp sponge. This is especially important if it has come through the grout lines.
Once all the tiles are in place leave them to dry.
Cutting tiles
The next stage is to fill any gaps with cut tiles.
First, measure the space from your current tiles to the walls. Walls aren’t always straight so you’ll need to do this each time to ensure the cut tiles will be nice and flush with the wall.
Mark on your tile with a straight edge and a pencil where you need to cut it.
Using a tile cutter, you can now cut the tile.
Repeat the steps in "laying the tiles" to attach the cut tiles to the floor.
Tiling around pipework and curves
Here's a great hack for getting the shape of pipework and other odd shapes on to the tile so it can be correctly cut.
Crease a piece of paper around the object and then cut along the crease.
Double-check that this shape fits perfectly around the object. If not, then trim it or restart the process to get it perfect.
Draw the shape of the cut paper on to the tile.
Cut this shape out of the tile and smooth off any edges.
You can then fit the tile as per the above steps.
See the tradespeople we've checked for your job
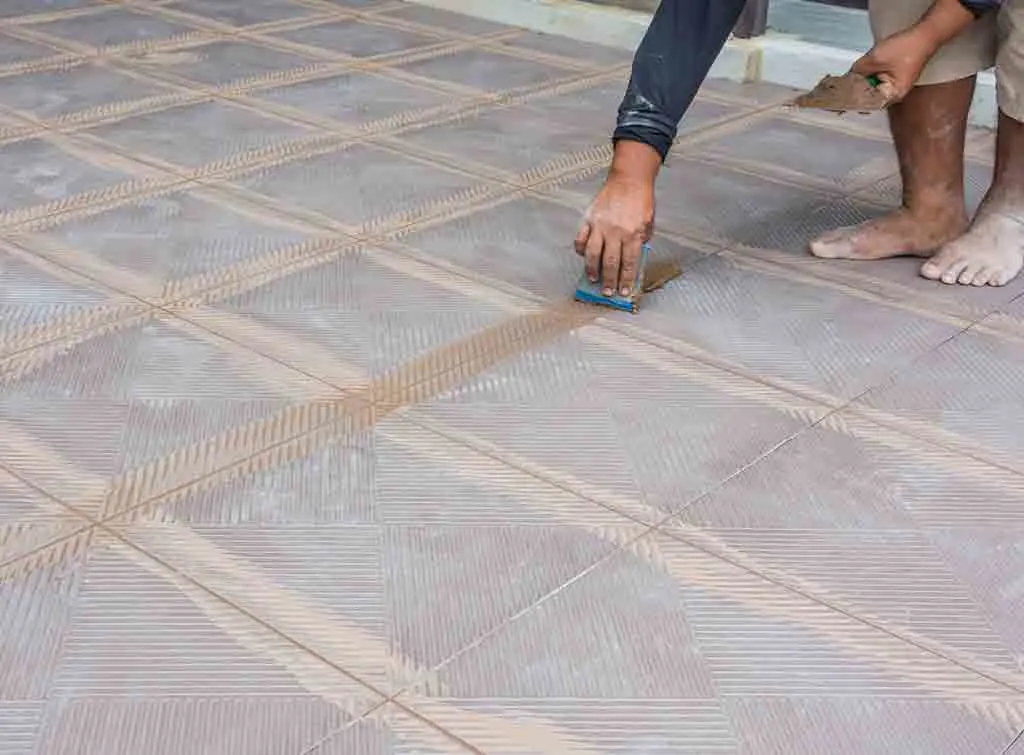
Grouting
By this stage, you should have the entire floor covered in tiles that are stuck with adhesive. Once the adhesive has dried you should then:
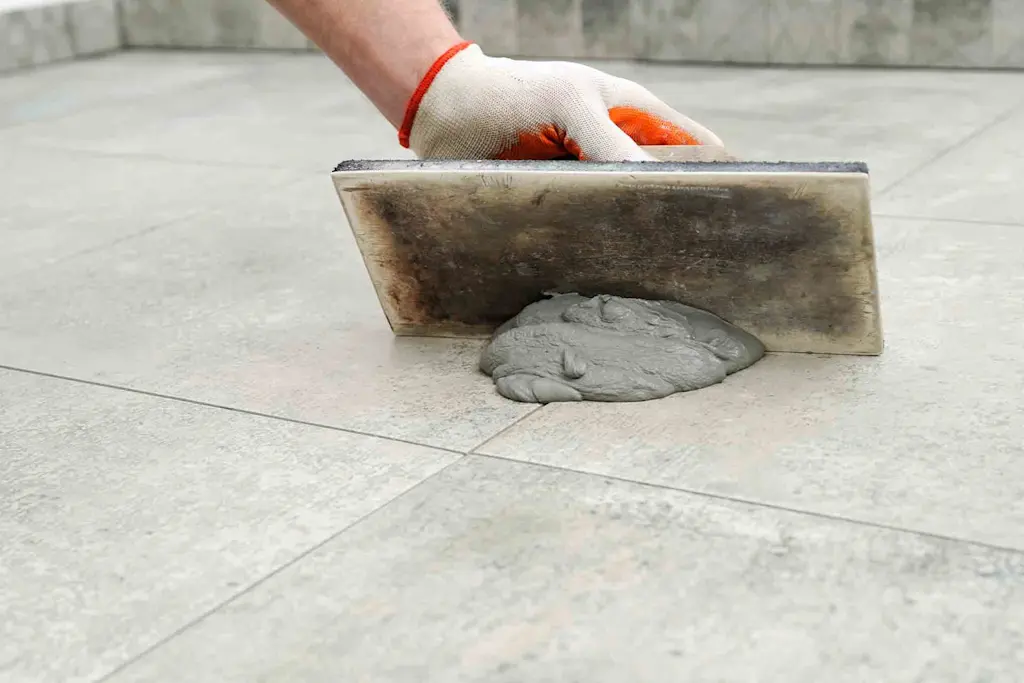
Whilst wearing a mask and safety goggles, mix the grout.
Use a grout float to move the grout into the tile joints. A great way to do this is to work in a diagonal motion.
After the grout lines are filled use a damp sponge to clear away any excess grout.
When it’s starting to harden, use a grout finishing tool to smooth everything out.
Once the grout has dried you can clean the tile with a cloth.
Applying sealant
To ensure no sealant gets on the walls and any fittings or pipes, place a line of masking tape where the tile meets the wall. Ensure you leave a small gap.
Apply silicone sealant along the joins.
Use a sealing shaping tool to get rid of any remaining sealant.
Finally, take off the masking tape and you’re all done.
How to lay floor tiles in a kitchen
The above steps will help you to fit floor tiles in any room of the house but there are a few special considerations for kitchens that we want to highlight as well:
You’ll need a very hard-wearing tile for this frequently used room. Porcelain is the best choice, as it’s hard-wearing and doesn’t stain easily like natural stone. It’s also the easiest tile to clean (need we say more...?).
Consider which colour of grout you use. Preferably choose one that won’t show any stains.
Stay away from hi-gloss tiles if you have children or pets. They’re not anti-slip and show dirt really quickly.
Our kitchen floor tile installation cost guide is an excellent resource as well.
See the tradespeople we've checked for your job
Should I hire a professional?
We hope this overview of how to tile a floor, has given you a lot to think about. Before we finish, it’s important to quickly go over the many reasons to consider hiring a professional for this job:
A professional can make cheap tiles look amazing, whilst a poor-quality DIY job can make expensive tiles look awful. If you aren’t confident in your abilities, it’s not worth risking the quality of the job and the expense of the tiles.
As we mentioned earlier, tiles must be level and you need the assurance that things won’t shift with wear and tear. A professional tiler can give you this reassurance.
You can ruin a lot of perfectly good tiles if you aren’t experienced with cutting them.
There are a lot of materials, equipment and tools needed for this project. If you are only planning to do one job it may be much more cost-effective to hire a professional.
It costs far more to tear up a poor-quality job and replace it than it does to get it right first time.
If you would like to hire a professional, then you can browse our in depth directory of trusted tradespeople.

See the tradespeople we've checked for your job