HOW-TO GUIDES
How to treat damp walls before painting
Updated 02/26
By: Olivia Scammell
Reviewed: Alex Peters

Knowing how to treat damp walls before painting them is an issue most homeowners dread having to learn.
Whether it's condensation, rising damp or penetrating dampness, you need to deal with the underlying issue before even attempting to paint your walls.
The reality of painting on damp walls
What can cause damp
How to dry the affected area
Tools you will need
Step-by-step treatment process
The importance of getting a professional
This how-to blog is going to take a deep dive into everything you need to know about preparing and painting damp walls.
Can you paint over damp walls?
No. Even if you use waterproof emulsions, damp will eventually seep through and restain your walls.
That means it ends up being a waste of time and money. You need to treat the cause of the damp and eradicate it before applying any new coats of paint.
Check out our damp proofing guide for details about fixing and preventing dampness in your home.
How to treat damp walls internally
Ever wondered what causes damp walls? Learn the different sources as well as how to treat damp walls internally. With guidance, tips, prices and more.

What do you put on damp walls before painting?
Once the cause of the damp is under control, you need to let your walls dry out.
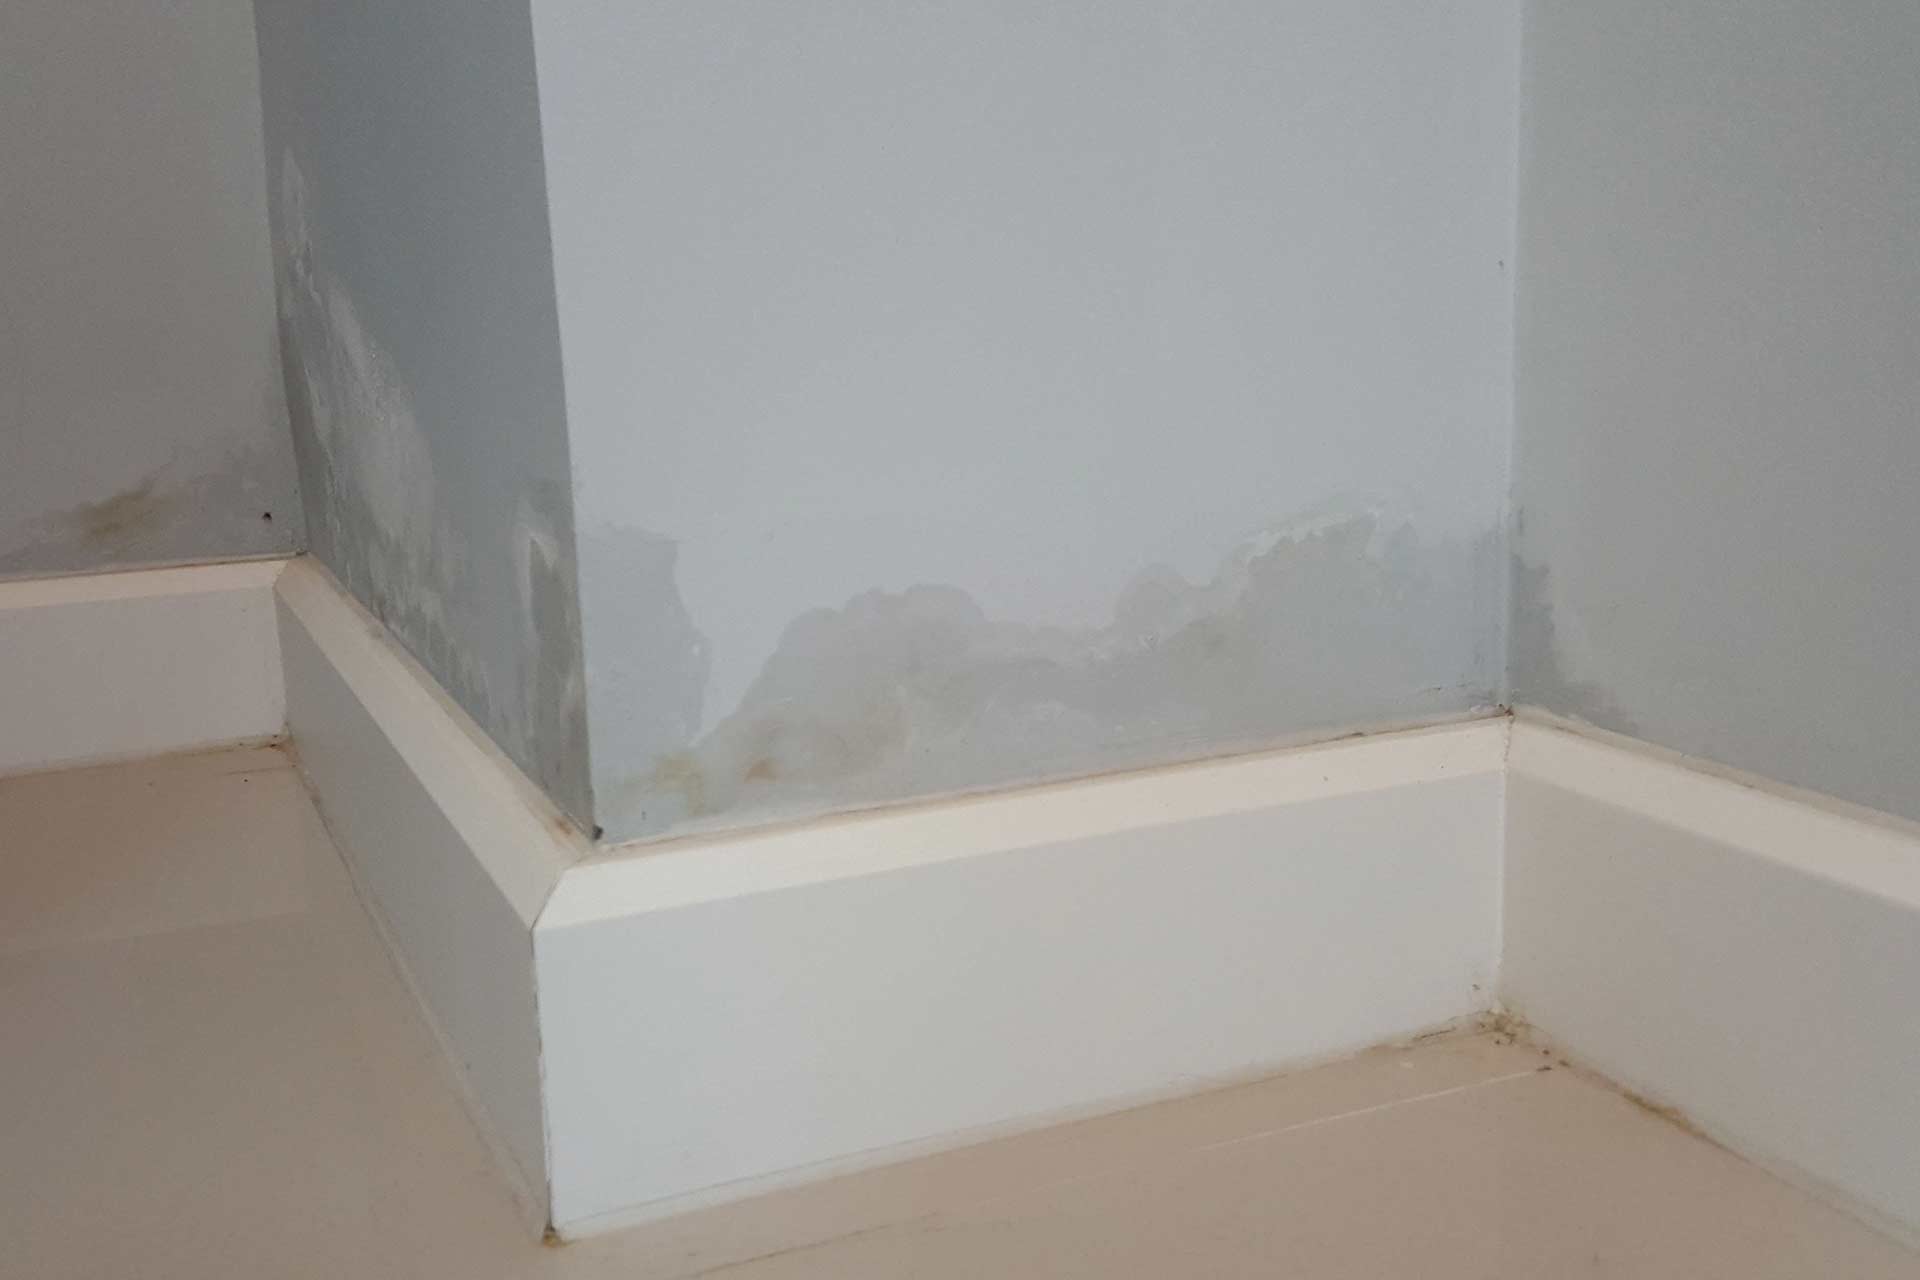
Give it a week or so and then check for any wet patches. If your damp proofing is successful, they'll be touch dry and ready for their renovation.
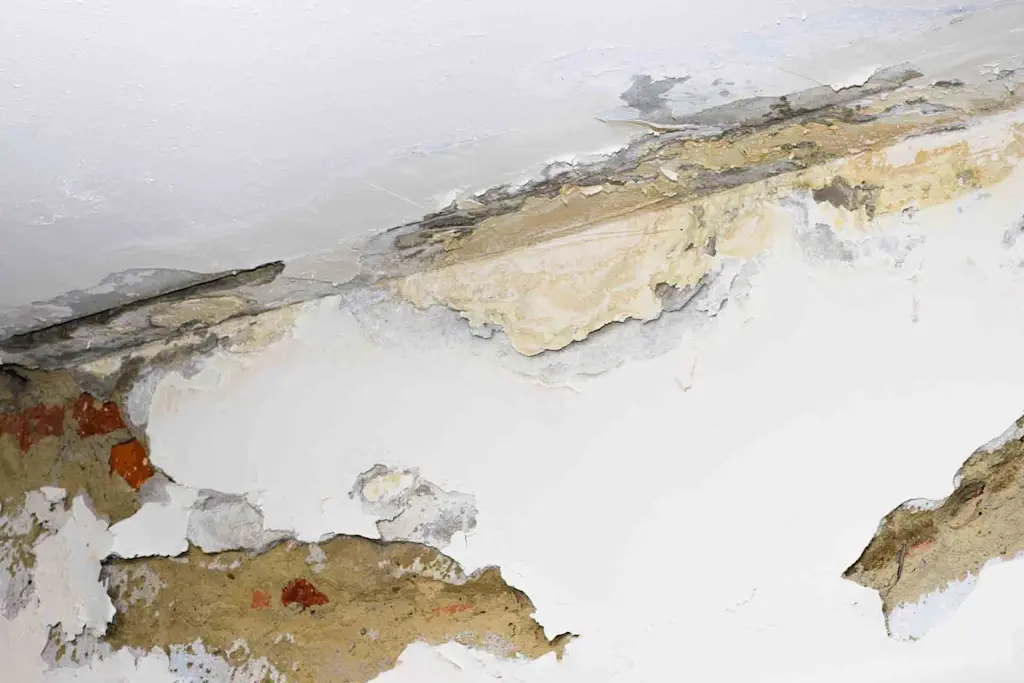
Bubbling, peeling and/or stains are common. What's important at this stage is how dry your walls are. In more extreme cases, you might need to use a dehumidifier.
Not confident to do the job yourself?
When it comes to home improvement, it can often provide a lot more peace of mind to get someone in.
Having a trusted and reliable local tradesperson might seem expensive, but it can often work out cheaper in the long run.
Also with better results than a DIY approach. Why not speak to a damp specialist today?
Find an expert damp proof painter
How to treat damp walls before painting
Damp can manifest in different ways in your home. The three main types of damp are:
Condensation
Penetrating damp
Rising damp
Luckily, there are plenty of straightforward and cost-effective solutions you can do yourself, if you know how.
Having the right equipment to hand can make a real difference when it comes to treating your walls before painting.
Tools you'll need for the job
Once your walls have dried out, it's time to prepare them. For this, you'll need the following:
Plaster patches
A sander
A paint scraper
Damp seal paint
Sealant
Mould remover spray and sponge
The methods and materials you can use will vary depending on the type of damp and location of issue.
If you're unsure about the quality of your home's existing damp proofing, invest in a moisture meter to help you identify moisture levels.
Step-by-step guide for treating walls
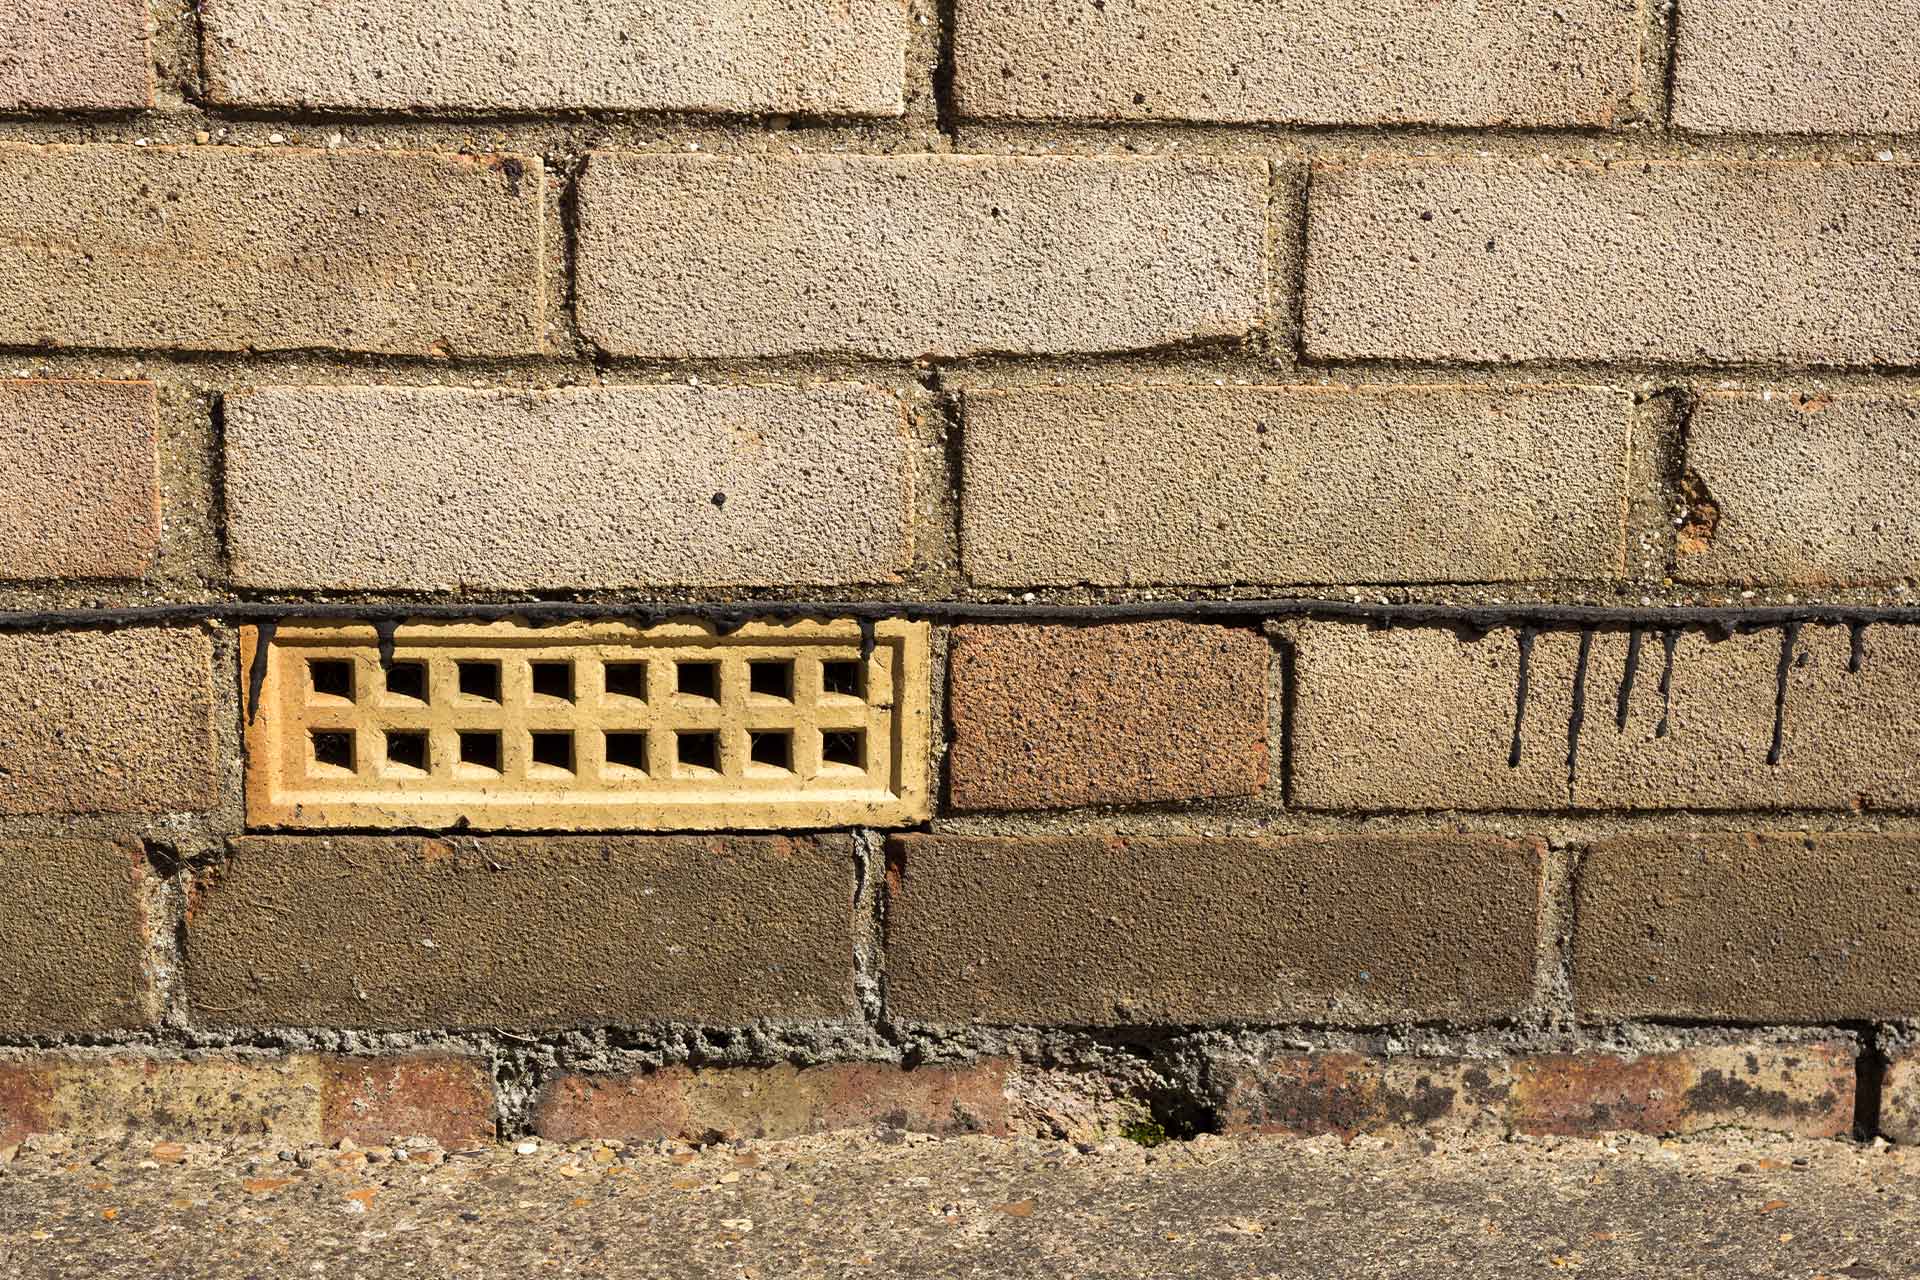
Before beginning, it's helpful to know if your home (or property) has a Damp Proof Course.
This will vary from building to building, and can usually be identified with a visible exterior line about 6 inches above the ground.
If you don't have a damp proof course set up, then treating damp walls will likely not eradicate the issue completely.
Why not speak to a trusted trade professional at a damp proof company near you before starting out?
Now onto the process...
1. Remove damp or mould stains
Wash the infected areas with a good damp remover spray and sponge to rid yourself of any mouldy patches.
2. Repair cracks and holes
Use a plaster patch or waterproof sealant to fill any cracks or holes. For bigger jobs, plaster patches work best, whereas sealant is easier to apply on smaller problem areas.
3. Sand down the area
Once your plaster or sealant is dry, sand down the area so it's smooth and flat to the surrounding wall.
4. Wash away the residue
Use your sponge and spray again to wash away any residue. Then, leave your walls to dry out overnight.
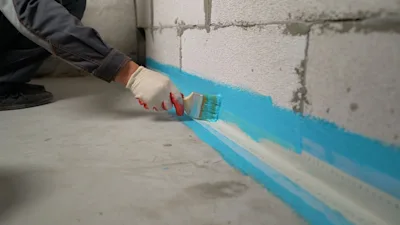
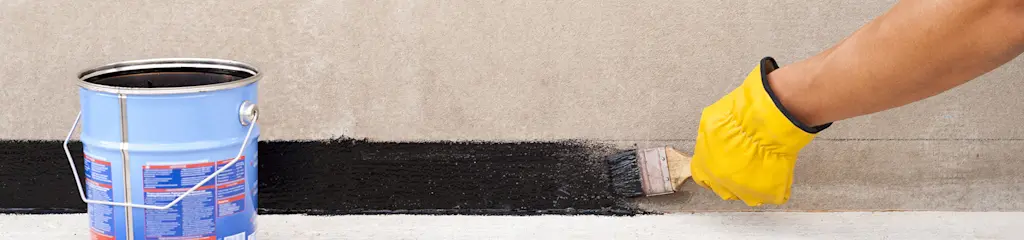
5. Apply a waterproof seal
It's good practice to apply a coat of damp seal paint before adding your chosen colour. Not only does it give you peace of mind, but it also helps prevent any dampness from seeping into your walls.
Bathrooms and kitchens particularly benefit from this extra step, so be sure to keep that in mind when you're deciding on whether to use a primer or seal.
6. Paint your walls
Once everything is dry, it's finally time to paint your walls. If you've completed all the above steps, then you have given your walls the best chance of survival against the scourge of damp.

Not sure which tradespeople can help tackle damp? Look for damp-proofing companies (for rising/penetrating damp), roofers (for roof leak issues or faulty flashing), plumbers (for pipe leaks), or insulation companies and heating/ventilation contractors (to ensure adequate airflow and thermal balance).
Key takeaways
Damp walls are a pain. However, tackling the issue head-on and ensuring you follow a thorough cleansing and drying regime is paramount to success.
It is important to ensure that damp is properly dealt with and gotten rid of and it is really good idea to hire a professional to ensure this is done correctly.
Find an expert damp proof painter
Why not hire a professional painter and decorator to help you prime and fix your walls too? That way, you're guaranteed an expert finish that prevents further issues from occurring.


See the tradespeople we've checked for your job