HOW-TO GUIDES
How to wire a ceiling rose
Updated 07/26
By: Adam Harris
Reviewed: Alex Peters
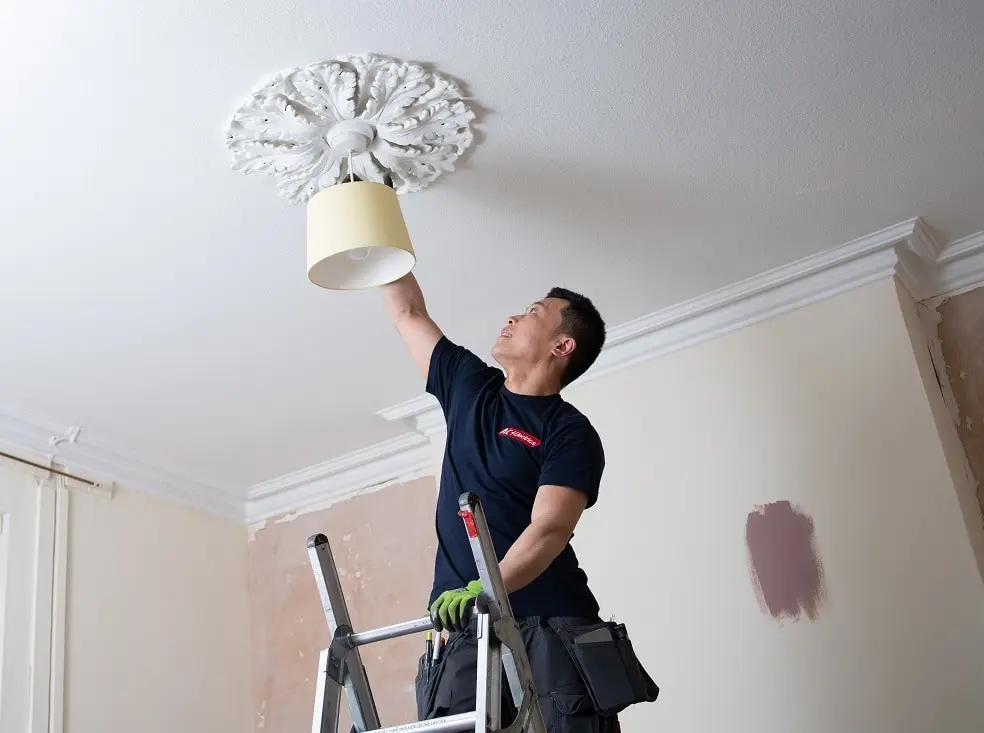
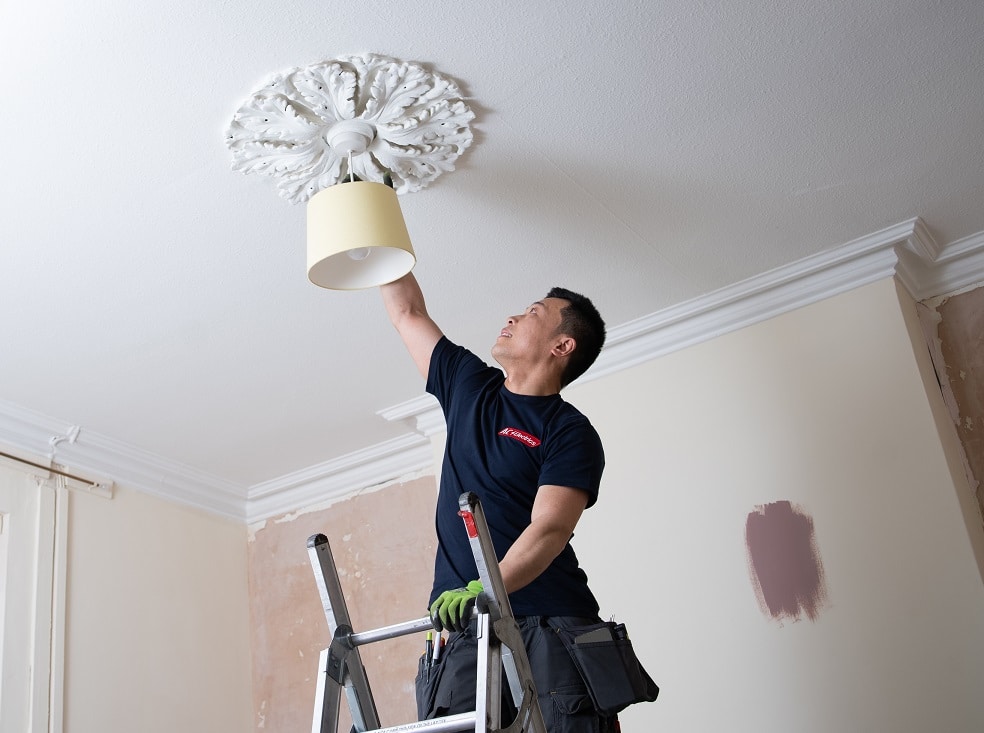
If you are planning to replace your ceiling rose then you’ll need to do a bit of wiring to connect the new fitting. Have a read of our ‘how to’ guide to help you to decide whether you want to tackle this simple electrical job yourself or hire a professional.
How to safely isolate power before you start
Which wire goes into which terminal
Why the earth connection matters
How to test your new fitting safely
When to bring in a qualified electrician instead
Replacing a ceiling rose is one of the more approachable electrical jobs around the house - the wiring itself is fairly simple once you know which wire goes where.
But it's still live electrical work, so getting the sequence and the safety checks right matters more than speed.
This guide walks through isolating the circuit, identifying your wires, connecting the new rose, and testing it safely - plus when it's worth handing the job to a qualified electrician instead.
Find qualified electricians working in your area
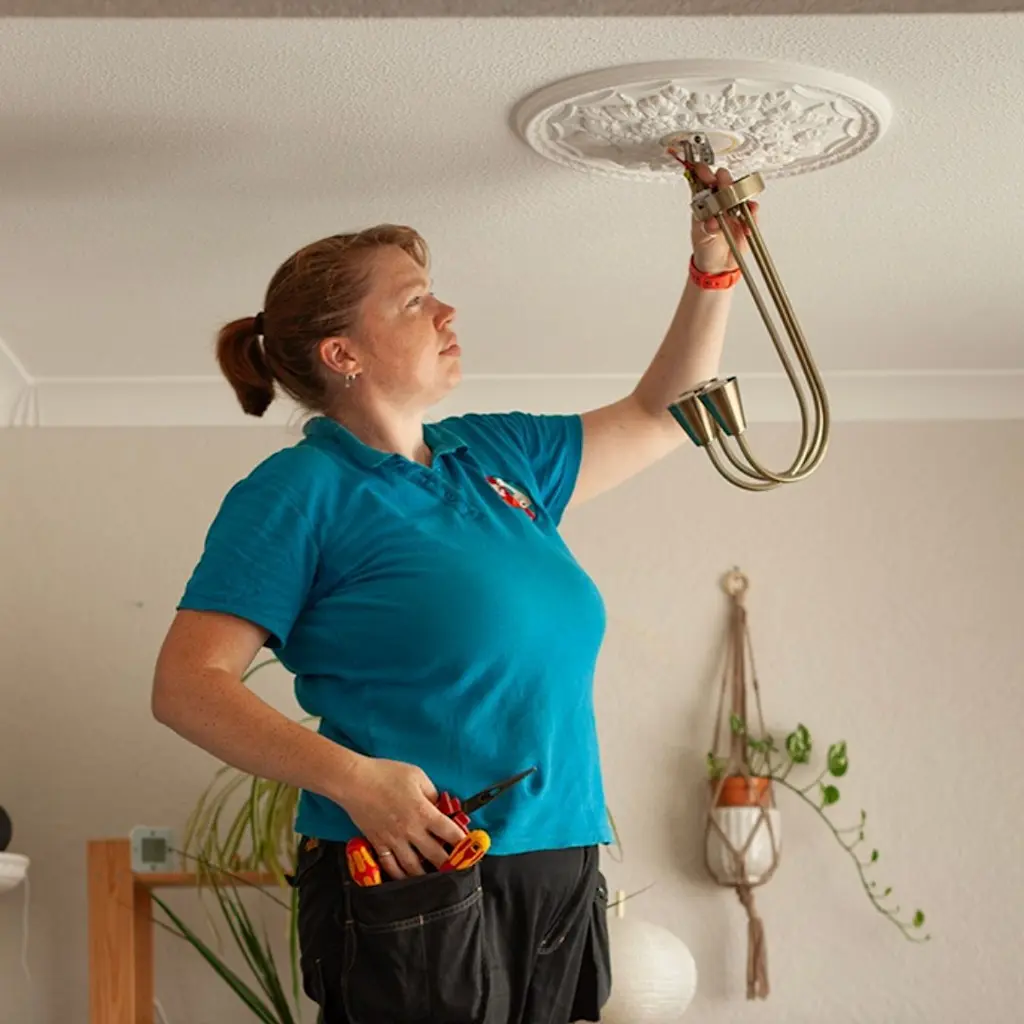
Before you start: is this a job for you?
Wiring a ceiling rose is a common DIY electrical task, but it's not risk-free.
If you're not confident isolating circuits, identifying wires, or working at height near your consumer unit, it's worth hiring an electrician from the outset.
Even if you do the wiring yourself, having a qualified electrician check the finished work gives you peace of mind that it meets current safety standards.
Important: Notifiable electrical work in England and Wales (such as new circuits, or work in bathrooms and other special locations) must comply with Part P of the Building Regulations. A straightforward like-for-like ceiling rose swap in a standard room usually isn't notifiable, but if you're at all unsure, check with a registered electrician before starting.
Step 1: Isolate the power
Find the circuit for the light fitting at your consumer unit or fuse box and switch it off. Then test the switch at the wall to confirm no power is reaching the fitting.
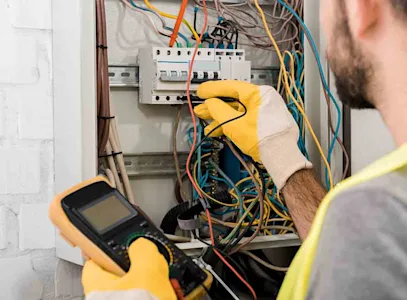
Top tip: Switching off at the consumer unit isn't quite enough on its own - use a voltage indicator to prove the circuit is genuinely dead before you touch any wires. This is the single most important safety step in the whole job.
Step 2: Remove the old fitting
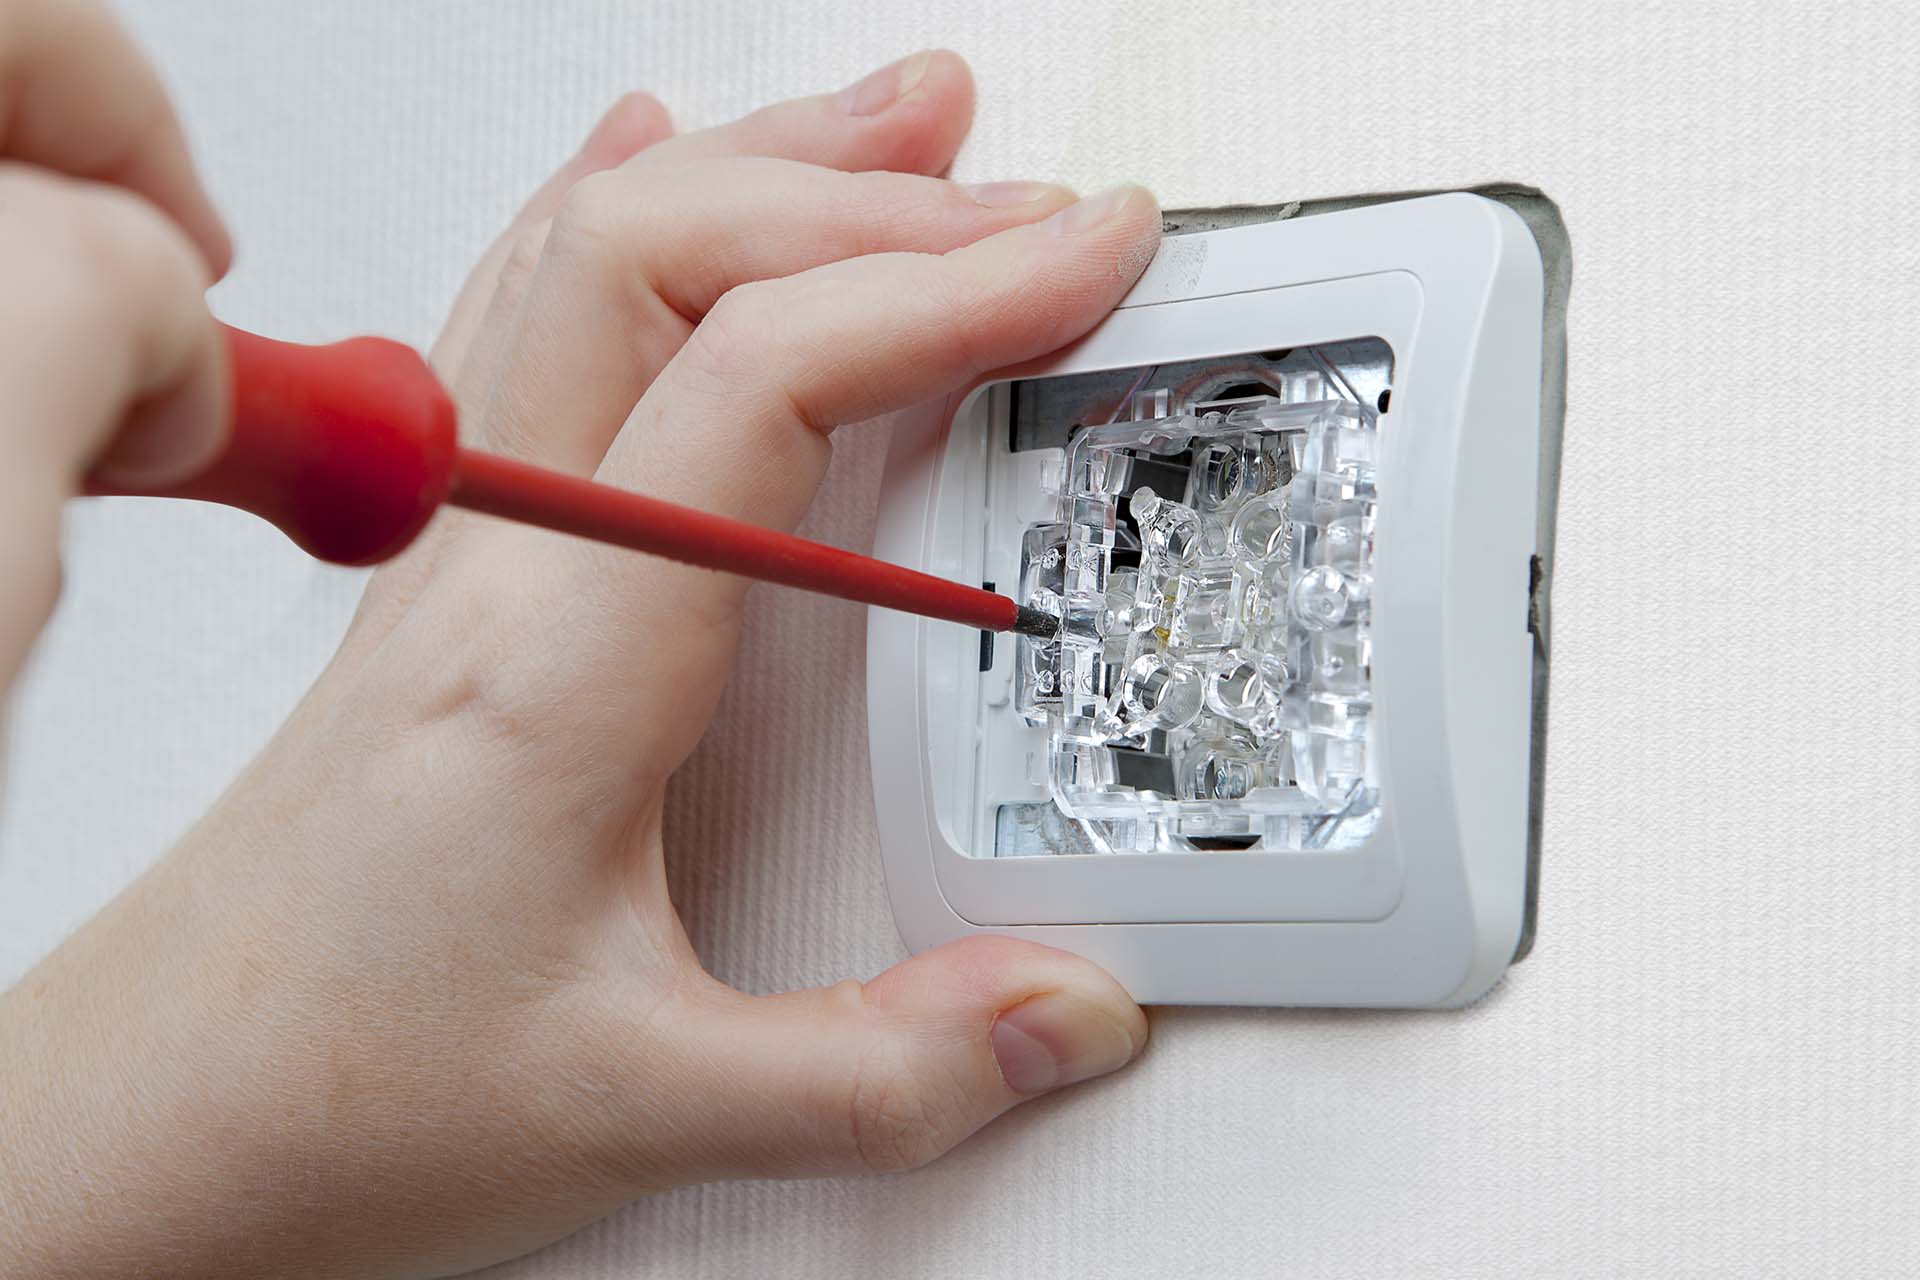
You'll need a set of screwdrivers - flathead and Phillips, in a few sizes. The ceiling rose itself is usually held with standard screws, while the terminal block connections typically need a small flathead screwdriver.
Step 3: Identify the switched live wire
Before disconnecting anything, check which wire is the switched live.
It's often marked with insulation tape or coloured sleeving; if it isn't, mark it yourself with tape as you disconnect it, so you know which one it is when wiring the new rose.
Step 4: Disconnect the old rose
Once disconnected, you'll typically have three cables hanging down, each containing a live (brown or red) and neutral (black or blue) core, along with earth wires.
Important: Don't forget the earth wires. Every cable should have an earth conductor, which needs to be connected to the earth terminal block (often with green/yellow sleeving) rather than left loose or ignored. A missing or disconnected earth is a genuine safety hazard, not just a technicality - if you find a light fitting with no earth connection at all, that's worth investigating properly rather than working around it.
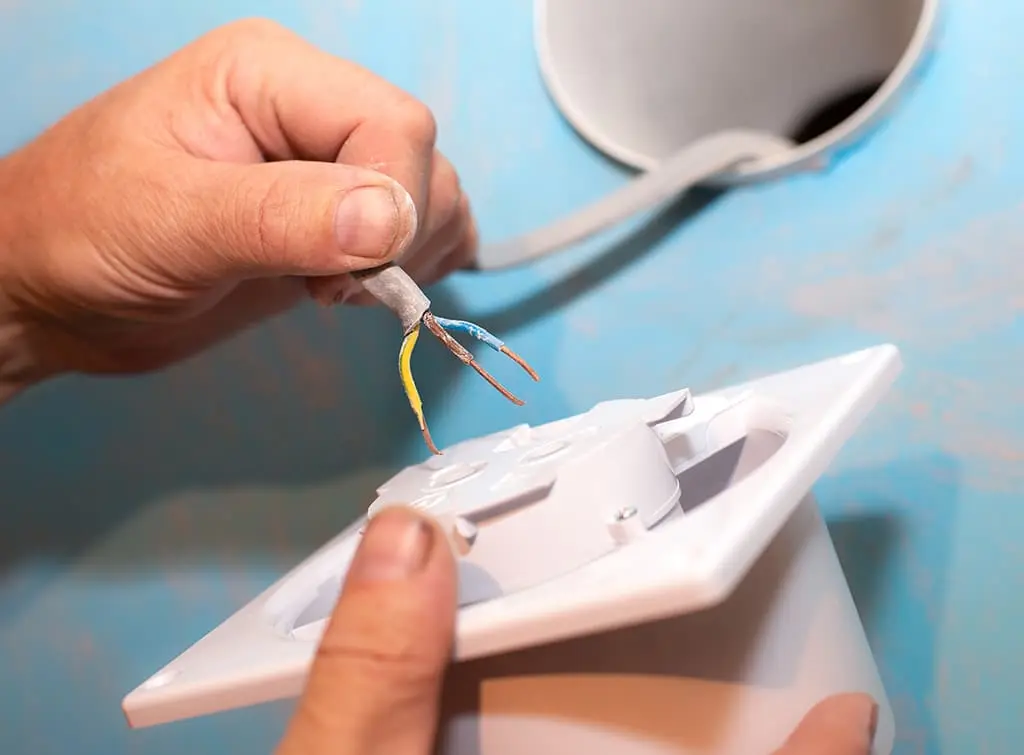
Step 5: Connect the wires to the terminal blocks
Loosen each terminal block with a small flathead screwdriver so the wires can be pushed in cleanly, then connect:
The two neutral wires (black or blue) into the neutral block, usually on the left
The three live wires (brown or red) into the live block, usually in the centre
The switched live wire (marked with sleeving) into the switch block, usually on the right
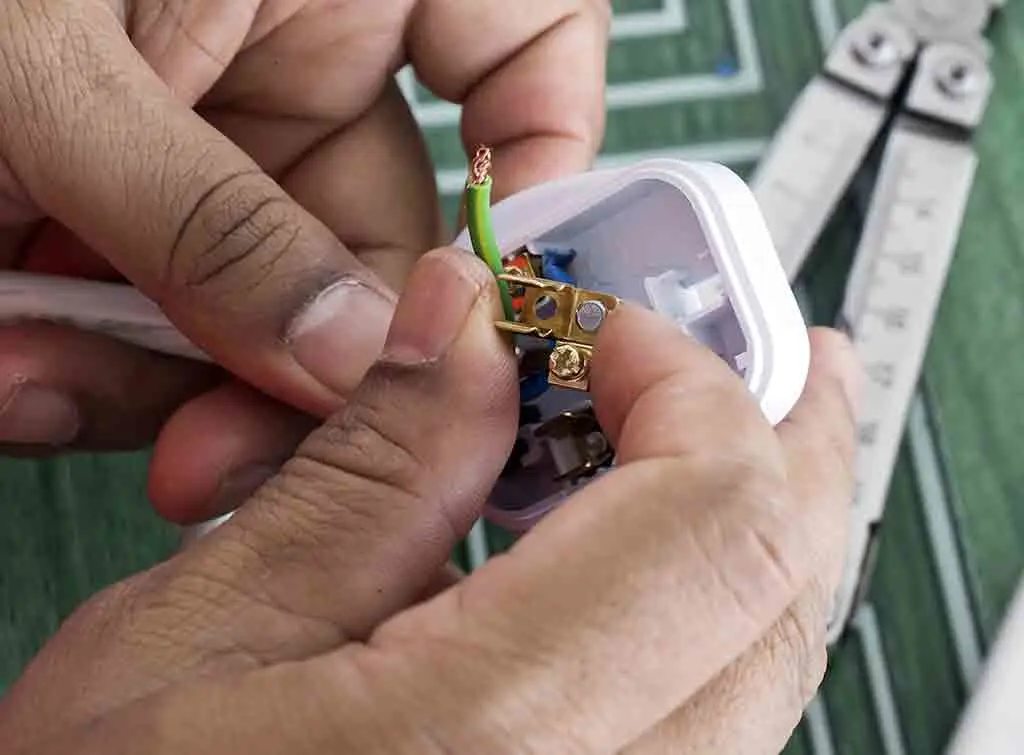
All earth wires into the earth terminal block
This should leave one empty live and one empty neutral terminal, ready for your new lamp holder.
Step 6: Connect the lamp holder and fit the rose
Connect the lamp holder's neutral wire to the remaining neutral terminal, and its live wire to the remaining live terminal.
Loop the flexible cable around any cable grip inside the rose - this takes the physical strain off the terminal connections and reduces the risk of a wire working loose over time. Then fit the rose to the ceiling and insert the light bulb.
Step 7: Turn the power back on and test
Restore power at the consumer unit, then test the light using its wall switch. If it comes on straight away, the job's done. If it doesn't, turn the power back off, remove the fitting, and recheck every connection - a loose terminal is the most common cause of a light that won't work.
If the light still won't work after checking your connections, or if anything about the wiring looks unfamiliar (multiple cables, unusual colours, or signs of an older wiring method), stop and call a qualified electrician rather than guessing.

If your ceiling rose has no visible earth wire, or the wiring doesn't match a standard loop-in setup, a registered electrician can check it's safe before you reconnect anything.
When to call a professional
DIY ceiling rose wiring is realistic for a confident, careful homeowner, but bring in an electrician if: you're not sure the circuit is properly isolated, the wiring doesn't match a standard three-cable setup, there's no earth connection present, or the job falls under notifiable work.
On Checkatrade, every listed electrician has passed a range of checks, so you can book with confidence.
Browse local electricians
Enter your postcode to find a top tradesperson near you
AC Electrical (Surrey) Ltd
10.00
(66 reviews)Services & skills
ElectricianElectrical ContractorsElectric SocketsElectric CookersLED LightingGes Electrical Services Ltd
10.00
(30 reviews)Services & skills
ElectricianElectrical ContractorsLED LightingElectric RadiatorsElectric Smart ThermostatsWhat Electrics! Ltd
10.00
(66 reviews)Services & skills
ElectricianElectrical ContractorsElectrical Heater RepairElectric Range CookersExtractor FansE F S Solutions
10.00
(77 reviews)Services & skills
ElectricianElectrical ContractorsElectrical Under Floor Heating InstallationEmergency Electrician ServiceImmersion Heater RepairJRG Electrical
10.00
(146 reviews)Services & skills
ElectricianElectrical ContractorsEmergency Electrician ServiceElectrical Under Floor Heating InstallationFuseboard / Consumer Unit InstallationBlue Lantern Electrical Services Ltd
10.00
(284 reviews)Services & skills
ElectricianElectric Boiler InstallationElectric Boiler Servicing / RepairElectric Vehicle Charger InstallationElectrical Under Floor Heating Installation


How to replace a light fixture safely: Step-by-step guide
Replacing a light fixture? Follow our step-by-step guide and learn when it's safer to call a qualified electrician.
Checklist before you start wiring

Wiring a ceiling rose checklist
Frequently asked questions
For a confident homeowner comfortable isolating circuits and identifying wires, yes. However, it's still live electrical work, so many people choose to have a qualified electrician either do the job or check it afterwards.
This is a safety issue worth taking seriously rather than working around. See our guide on no earth wire on a light fitting for what it means and what to do next.
A straightforward like-for-like swap in a standard room usually isn't notifiable under Part P, but if you're adding a new circuit or working in a bathroom or other special location, check with a registered electrician first.
It's often marked with tape or coloured sleeving on the existing wiring. If it isn't clearly marked, identify it carefully before disconnecting anything, and mark it yourself so you don't lose track during the rewire.
A set of flathead and Phillips screwdrivers in a few sizes, plus a voltage indicator to confirm the circuit is dead before you start.
The most common cause is a loose terminal connection. Turn the power off, remove the fitting, and check every wire is firmly seated in its terminal block before testing again.
See the tradespeople we've checked for your job