Blog>Expert Advice>Here's the best way to clean a radiator
Last updated: 9 May 2022

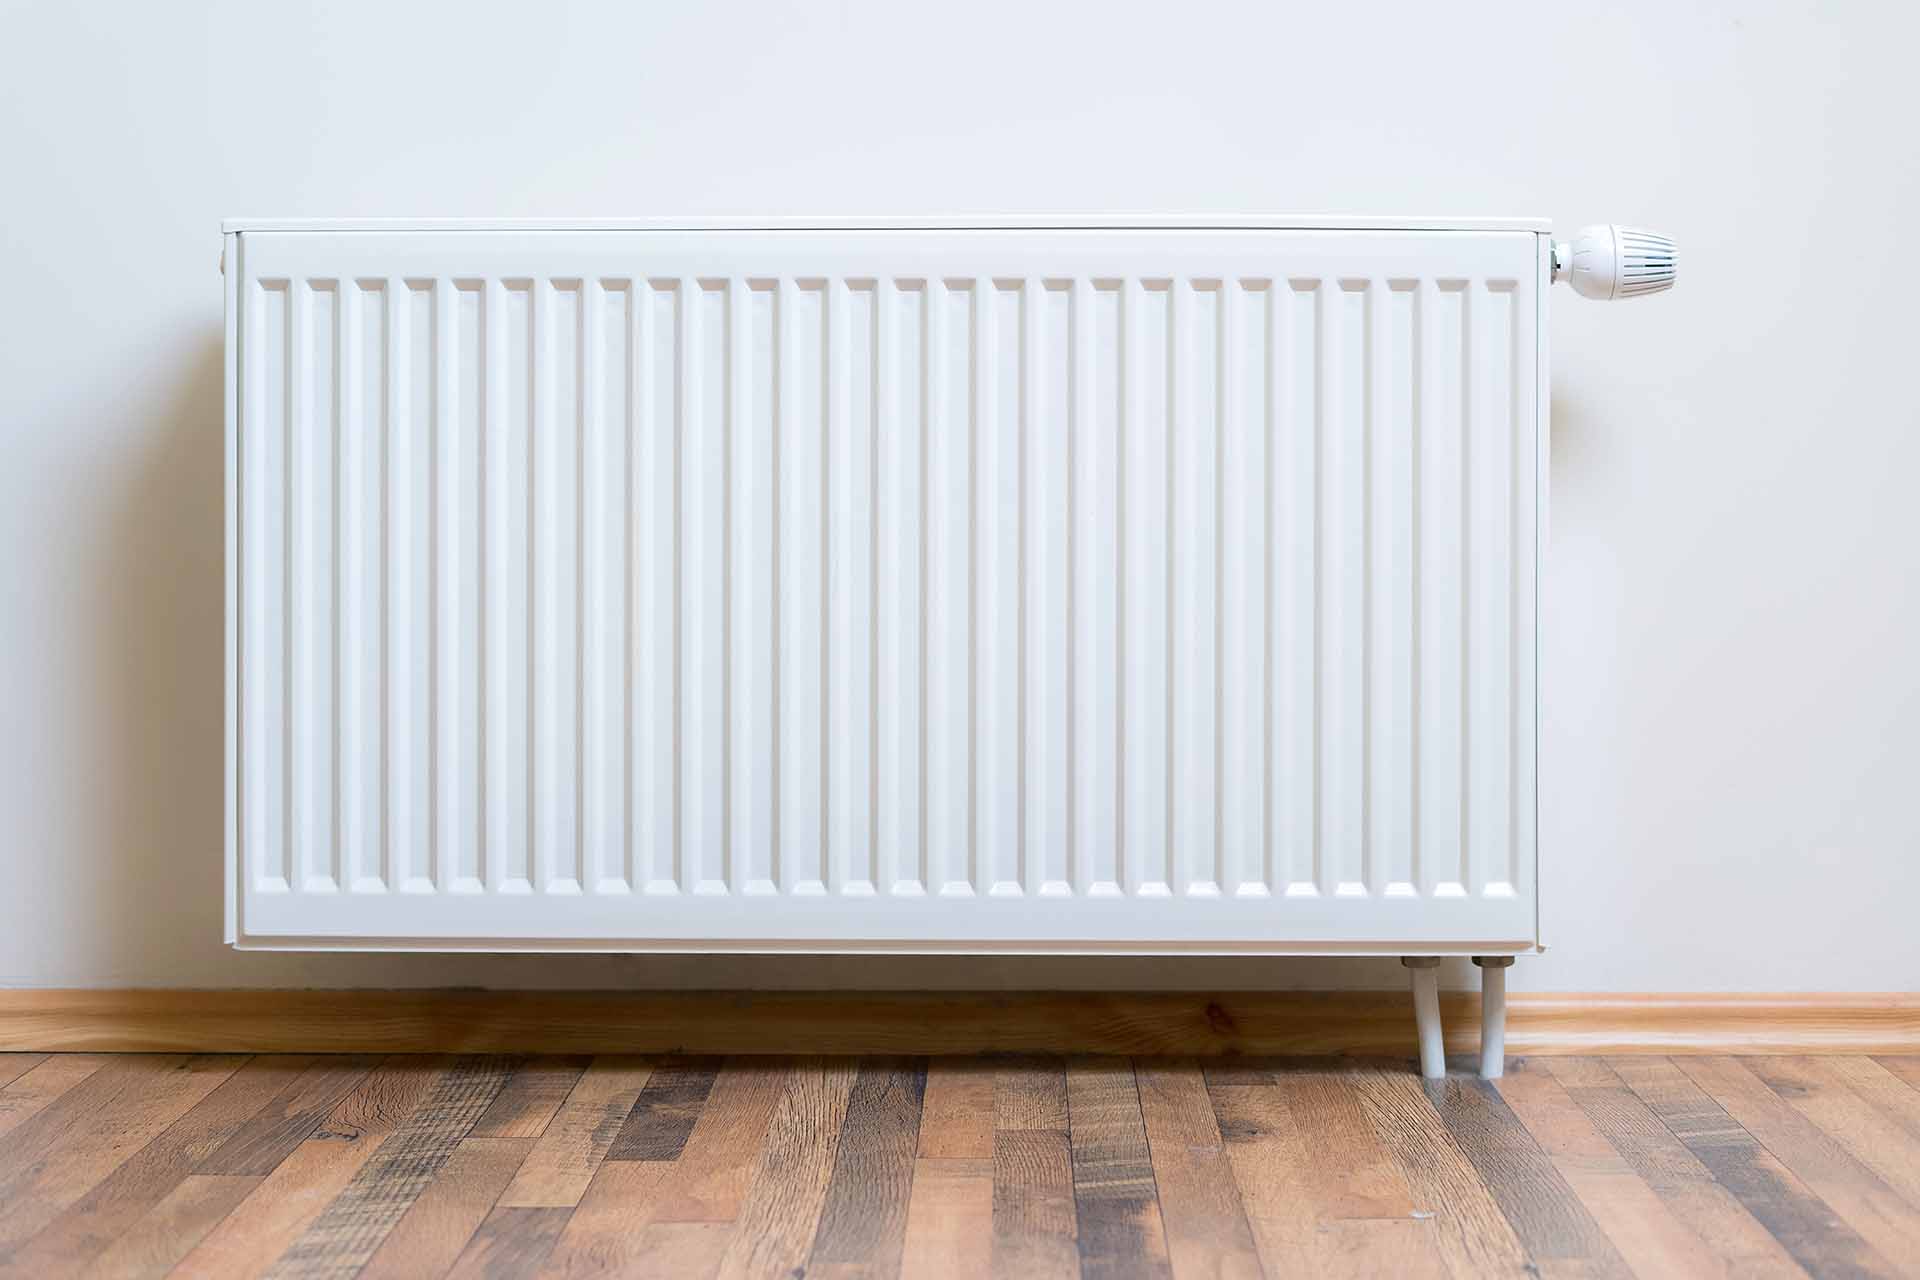
Here's the best way to clean a radiator
Most radiators are ignored during a homeowner's cleaning routine due to their status as a forgotten aesthetic. That said, due to the several benefits of keeping your radiator clean, this guide is going to run through how to clean any type or make.
The best way to clean a radiator depends on the design and make. There are traditional column designs, vertical or horizontal alternatives, and even designer variations that make cleaning them easier or harder.
Regardless, most radiators are ignored during a homeowner's cleaning routine due to their status as a forgotten aesthetic.
That said, due to the several benefits of keeping your radiator clean, this guide is going to run through how to clean any type or make. We're also going to cover how to tackle each common issue, such as what to do with dust or rust.
Knowing how to thoroughly clean your radiators enhances their performance and efficiency, allows for better airflow, helps improve health (especially for asthma sufferers), and saves you money on your energy bills.
See the tradespeople we've checked for your job
How to clean a radiator

Over time, your radiator will become littered with dust, cobwebs, fallen debris and other household items that manage to get wedged in random crevices.
There are several ways to remove this build-up of dirt regardless of the make and model, which we're going to cover below.
Top tip: Try to give your radiators a deep clean once a year to avoid a build-up of dirt and stains.
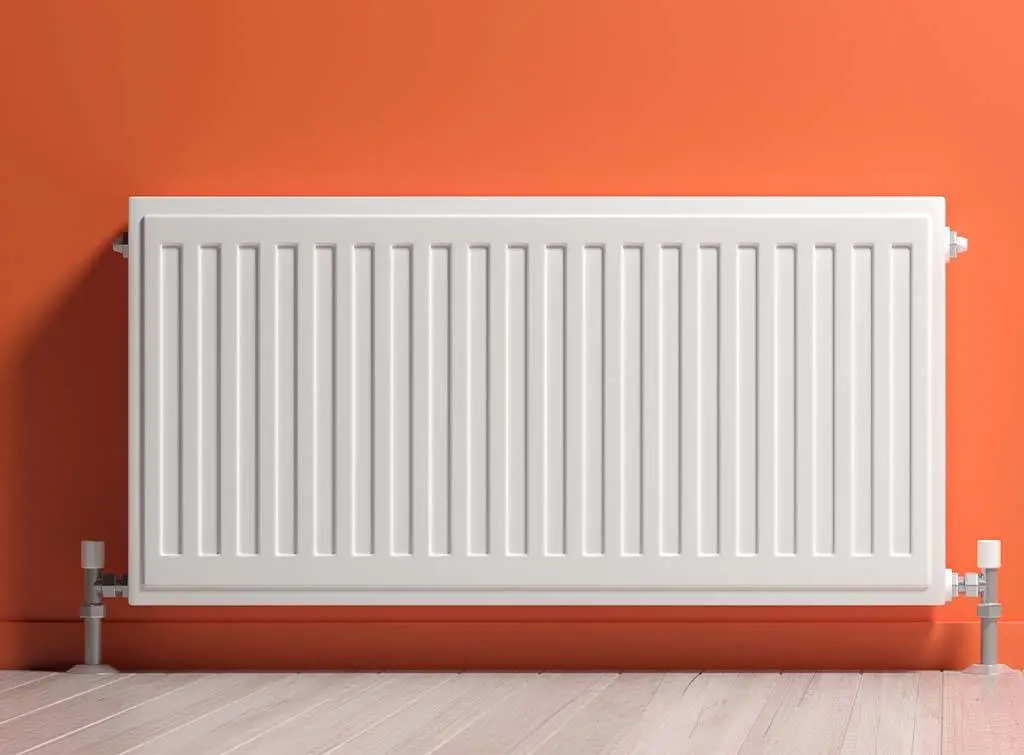
How to clean white radiators
For most radiators, simply fill up a bucket of warm water with some washing-up liquid and wipe down its exterior. Make sure your radiators are off and cool while you do this to avoid any issues with steam or watermarks.
Be sure to reach into the crevices as far as possible (or as far as your hand will go!) with the sponge or cloth to thoroughly remove any dirt.
Follow up with a microfibre cloth to dry and buff it down. This should restore the natural white of your radiator and help it look fresh.
Top tip: Get into the habit of regularly cleaning your white radiators with a cloth and warm water to keep them bright and glossy.
Note: A yellowing radiator is a sign of age. It means the enamel is starting to fade and falter. At this point, it might be worth trying to restore your radiators or consider replacing them altogether.
How to clean inside your radiator
To clean inside your radiator and around the fins (if you have a traditional design installed), you may need to take the protective grate off. There's usually no need to remove your radiator from the wall, and all that's required is a little ingenuity.
To get in-between those hard to reach areas, consider making a radiator cleaning brush from items you already have lying around the house.
For example, a broom handle wrapped with a microfiber cloth secured with elastic bands works. Alternatively, a wire coat hanger threaded through a stack of small sponges will also do the trick.
Once you've put together your makeshift cleaning item, simply poke it through the slats or fins in your radiator and bask in your cleaning genius.
How to clean dust from radiators
As above, if you don't want to buy a radiator cleaning brush from your local hardware store, you can make one out of common household items. All you need is a long, thin object and a means of securing a cleaning cloth, duster, or sponge to it.
Top tip: Test out your apparatus before poking it into your radiator to make sure it's well constructed.
For the best way to clean dust from your radiator, follow these steps:
Turn off your radiator and let it cool down (this 1., avoids the convection current drawing in more dust while you work, and 2., stops you from burning your equipment).
Vacuum your radiator, including the wall and floor around it, with a targeted attachment (if possible).
Hold the vacuum nozzle to the grate or slats for a few seconds to help remove as much dust as possible.
Consider using a hairdryer to blow through loose dust.
When no further dust is being collected, fill up a bucket with warm soapy water.
Wipe down the parts of the radiator you can reach with a damp cloth.
Dry it with a clean microfibre cloth to absorb residual dust. This also dries the radiator and avoids excess moisture causing rust.
How to clean between radiator fins
For a deeper clean, take your radiator cleaning tool (whatever that may be), dip it in the warm soapy water, and slide it up and down between the radiator fins. Rinse the cloth and repeat this step until it comes out dust free.
Follow it up with a dry and clean microfibre cloth to absorb trapped moisture.
Top tip: Try to avoid removing a radiator panel to clean inside it if possible as you may cause accidental damage to some essential components. Most radiators that require maintenance can be cleaned from the outside without the need to dismantle the appliance. Call a professional to check your radiators if they're still not working properly after you've followed all our steps in this article.
How to clean behind radiators
Cleaning behind your radiator is as complicated as cleaning inside it. Follow all the above steps to keep the back of your radiators grime-free. Just make sure you vacuum and repaint the wall as required.
See the tradespeople we've checked for your job
How to remove rust from your radiator
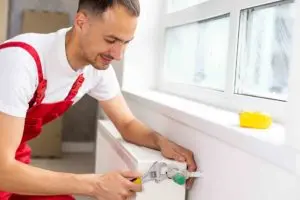
There are several rust removal products available for you to buy online or in-store, which come in a spray, paste, or gel.
Chrome bathroom radiators tend to suffer from the most rust due to their proximity to excess moisture, so consider buying a specialised product to tackle this menace to metal.
Alternatively, white vinegar is acidic and great for dissolving rust to reveal the shine beneath. Simply pour it onto a lint-free cloth and soak the rust in the solution. Leave for around half an hour and wipe clean. (You might need to put a little elbow grease into it!)
Like all things, prevention is better than cure. Consider taking the following steps to avoid rust forming entirely.
Use a radiator cleaner to flush out any debris, which is the most common cause of corrosion and rust. It's best to do it to a new radiator, but it's possible to do it to an older one.
Apply a primer to the radiator to avoid the build-up of rust. This gives it a layer of protection that sits beneath the enamel top coat you apply next. These two layers slow down the formation of corrosion and improves the longevity of your radiator.
Regularly bleed your radiator to keep a consistent flow of water and stop old water from sitting too long.
Read our guide on 'How to bleed a radiator in 6 easy steps' for more information.
How to remove sludge from your radiator
The only way to remove sludge from your radiator is to flush it. All you'll need a towels/old sheets, a radiator bleed key, two adjustable wrenches, a bucket, PTFE tape and a garden hose.
Once you're equipped, follow our method of best practice below.
How to flush radiators
Step one: Prepare the area
Before you flush your radiator, make sure you've turned off your heating and laid down some old sheets or towels. Double up underneath the valves to be extra safe.
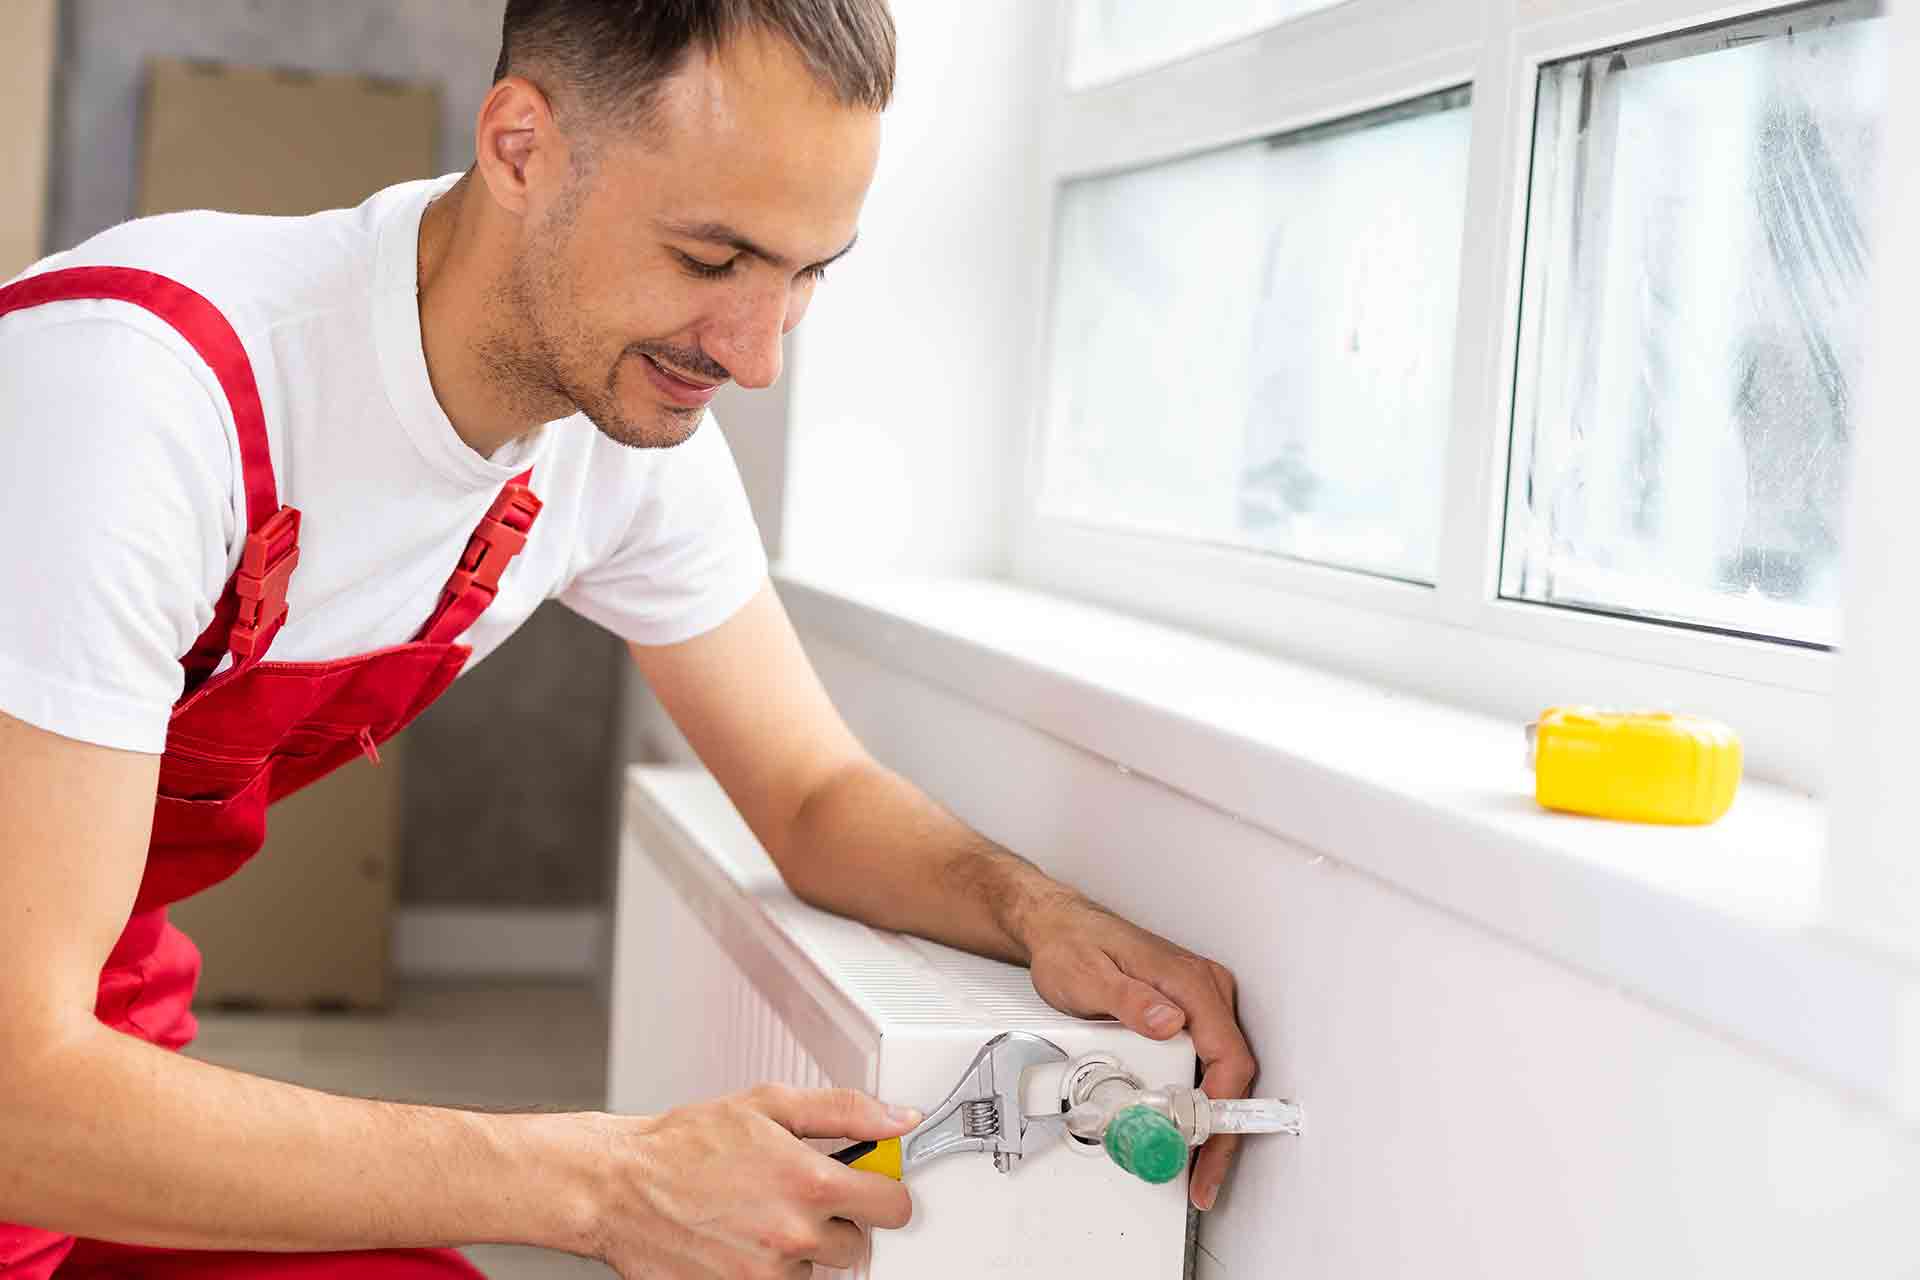
Step two: Turn off your valves
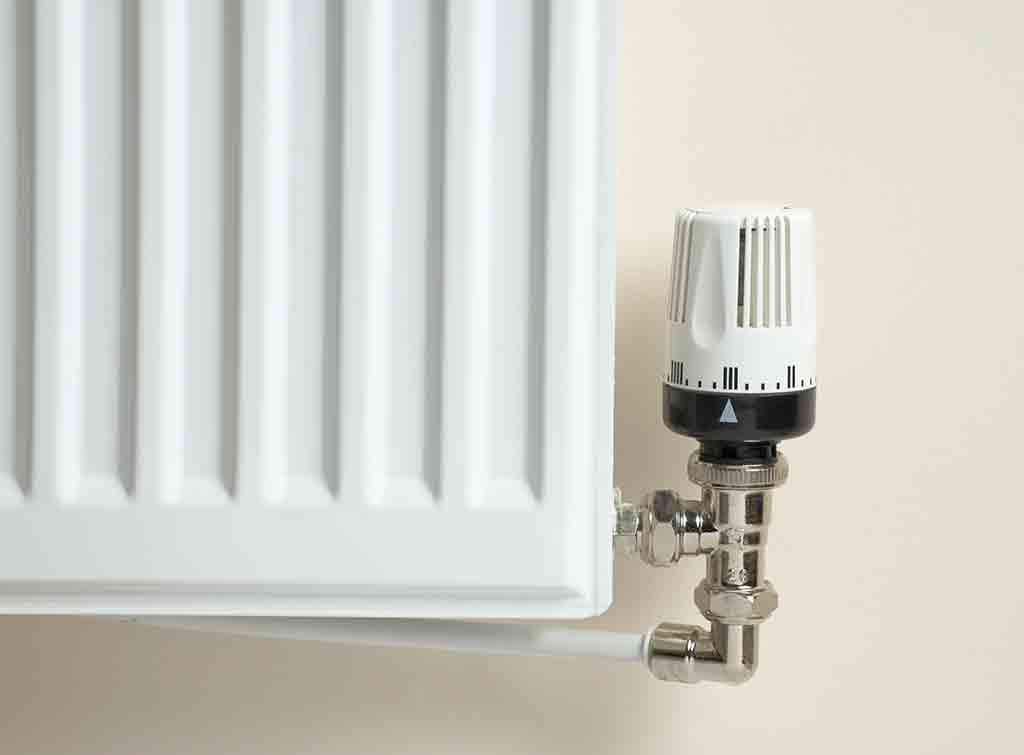
The easiest way to do this is to locate the thermostatic radiator valve (aka TRV) by turning it to the off or 0 position. You'll then need to turn off the lockshield valve on the opposite side of your radiator.
Remove the plastic cap and use your wrench to make turn the valve clockwise, and be sure to count the number of full rotations and jot down the number. This lets you easily rebalance your radiators at a later date.
Step three: Drain your radiator
Take your bucket and put it under the TRV.
Use one of the wrenches to grip the body of the valve while you use the other to loosen the nut that joins the radiator to it.
Next, use your radiator's need key to open the bleed valve so water flows out.
Collect this liquid into the bucket.
To let even more water out, loosen the lockshield valve the same way.
Close the bleed valve
Step four: Remove and flush your radiator
Now you've emptied the radiator of all water, disconnect it from the wall and tilt it to one side to drain any remaining water. Your radiator is now ready to be flushed.
To do this, take it outside and place your hose pipe into one of the inlets and turn on the water. Let it run through until the sludge starts to be forced out. Repeat on the other inlet until the water runs clear.
Step five: Reconnect the radiator
Follow the above steps in reverse to reconnect your radiator. To finish, open the bleed valve to release any trapped air.
Cost to clean your radiator
Most companies will include cleaning the outside of your radiators within their home package, which costs £45+ for 3-hours. For more complex jobs, why not hire one of our trusted professionals? Our members are checked by us, reviewed by their customers, and checked again by us to make sure they're legitimate. This means you can rest assured that you're in competent hands.
Did you find this content useful? We hope so! If you'd like some more expert advice, check out our blog.
More Cleaning Services Articles
See the tradespeople we've checked for your job