Blog>How-To Guides>How to restore a radiator
Last updated: 25 November 2021

How to restore a radiator
Want to restore a traditional cast iron radiator, or simply revive a modern design? This guide offers hints and tips for reinstating both types of radiators and removing rust.

Whether you’re looking to restore a traditional cast iron radiator, or you simply want to revive a tired-looking radiator, this guide looks at the techniques that can revive both types.
Cast iron radiators of the Victorian era add a wonderful period feel to any style of space, bringing a touch of old-world charm to your home. However, whether you’ve been lucky enough to inherit a cast iron radiator or you’ve picked up a reclaimed one, it’s likely that your traditional radiator is going to need a bit of TLC. But don’t worry, with a little restoration work, your antique radiator will be back to its old self in no time.
Follow the simple steps below if you want to have a go at restoring your radiator yourself.
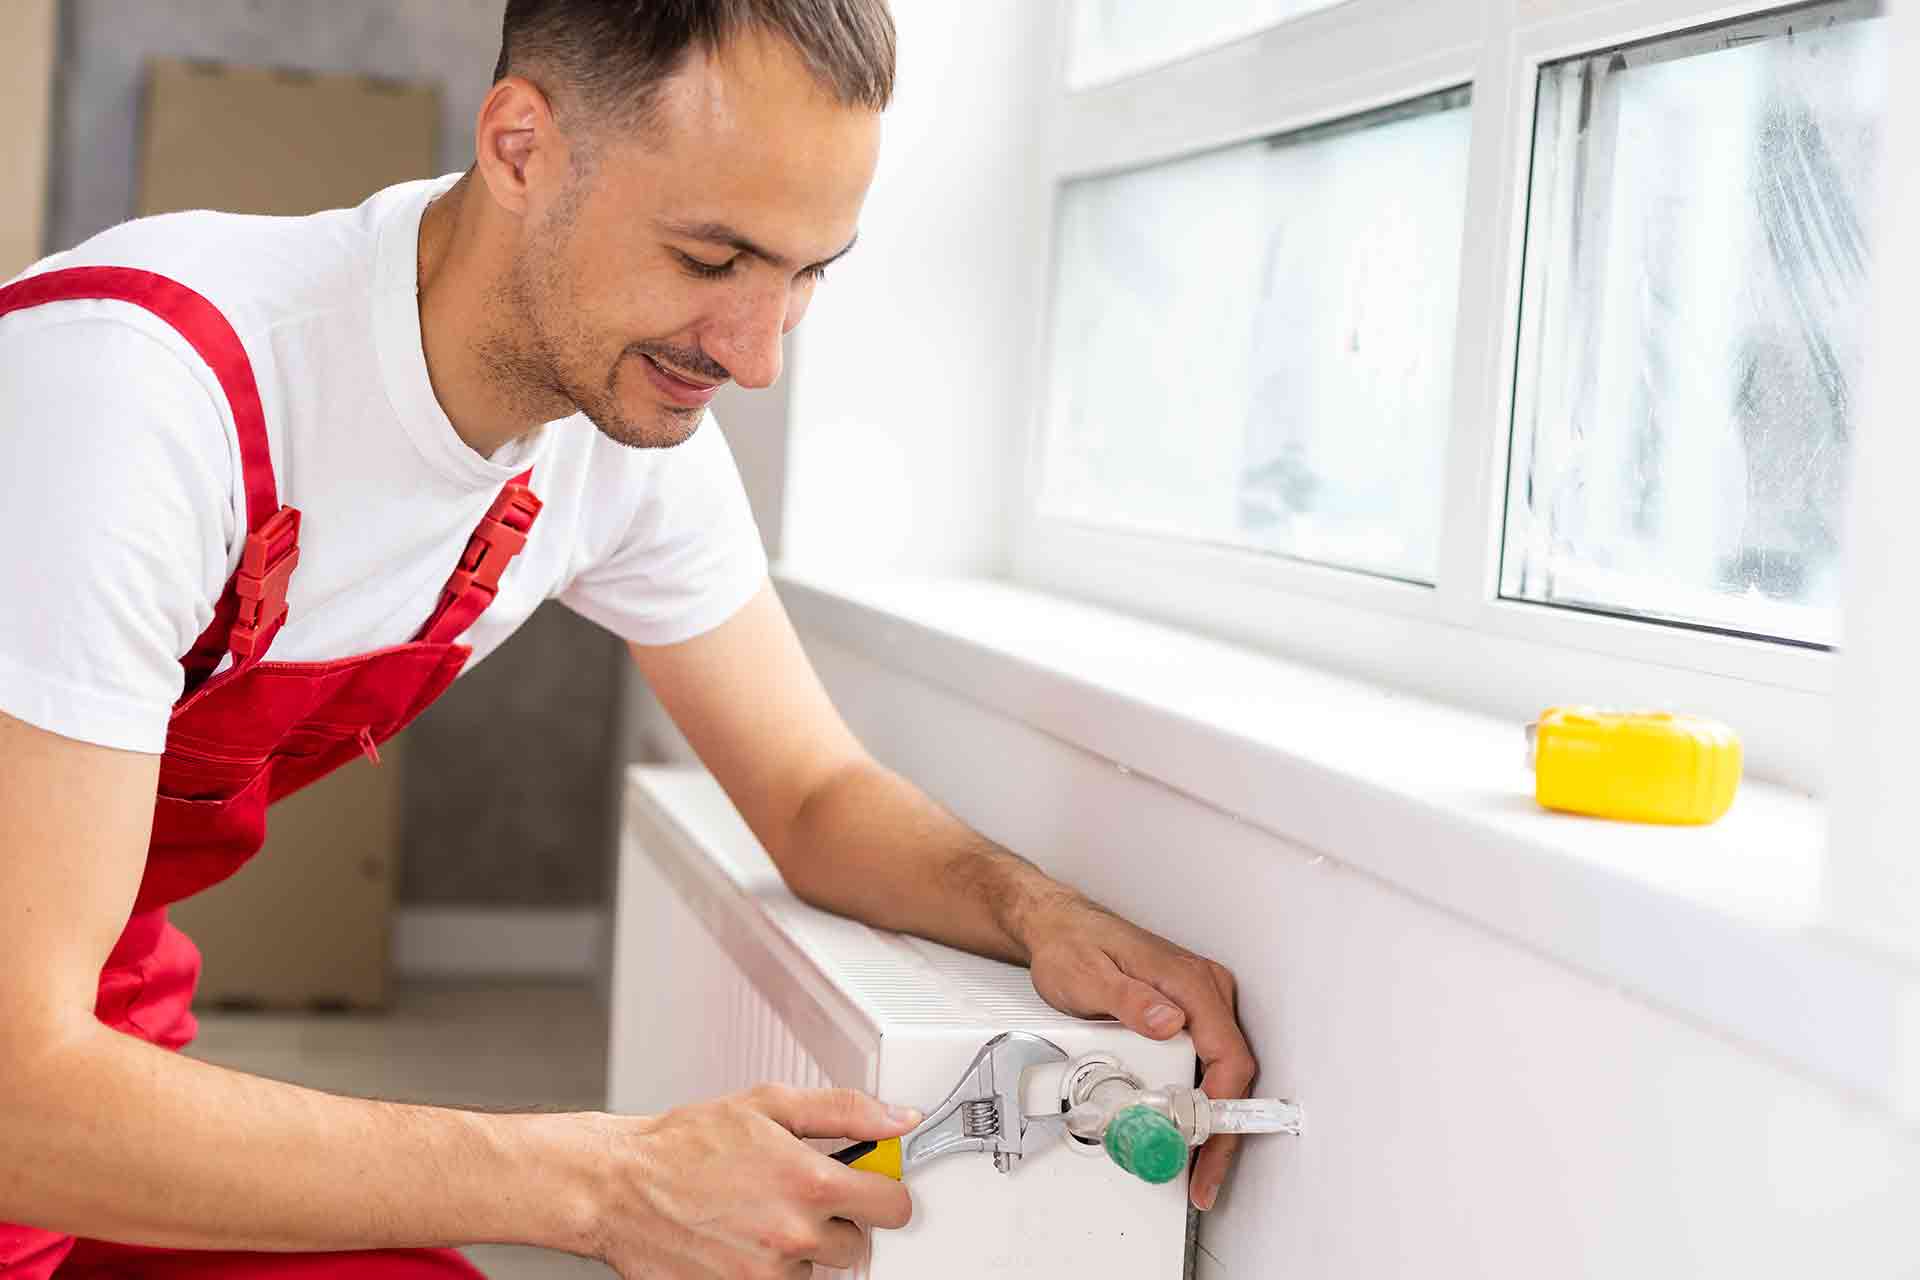
If you're worried you're not going to do a good job then make your life easier and find a professional. Enter your postcode below and find recommended radiator experts near you.
See the tradespeople we've checked for your job
How to refurbish a radiator

If you're refurbishing a cast iron radiator before it's installed into your home, make sure you have access to an outdoor area where there is a hose. If you don't, then washing it down will be difficult and terribly messy.
4 steps for restoring a cast iron radiator
Here’s what you’ll need:
Wire or hard-bristled brush
Light sandpaper
Dryer vent brush
TSP solution
Hose or jet washer
Step one
The first thing to do is remove any layers of existing paint that make your radiator look unattractive, and possibly from working effectively. If not concerned about getting all the way down to the metal and just want to remove the paint that is flaking off, use a wire or hard-bristled brush to remove any large flakes.
Important: Depending on how old it is, the paint on your radiator could include lead, which can be harmful, particularly to children and pregnant women. If you're unsure it's important to get advice from a professional who will be able to advise on the best course of action.
Step two
Once you've brushed off all the flaking paint it's time to sand the radiator. Using light sandpaper give it a light sanding manually. However, if you want to strip the radiator right back, you may have to consider getting it sandblasted by a professional if you really want to remove all the paint. Use our search tool to find an experienced tradesperson who can help.
Step three
Once sanded down, the radiator needs a good clean. Get hold of some dryer vent brushes for this next part. These brushes have been designed with a flexible coil for easy access to hard-to-reach vents, and they are also great for getting in between the fins of a radiator and clearing dust and dirt out of the inside.
When dust-free, give the radiator a wipe down with a TSP solution (trisodium phosphate). This cleaning agent is a great degrease and helps to de-gloss the surface to prepare it for painting.
Step four
Finally, to rinse off the cleaner successfully, use a hose with a jet setting or a power washer, then leave to dry overnight.
This is when you need that outdoor space - it's going to be messy!
See the tradespeople we've checked for your job
4 Steps for restoring a modern style radiator
Similar to restoring an old cast iron radiator, a modern design also needs to be sanded down and cleaned. However, it's more likely a modern radiator will already be in situ. If this is the case, follow these steps:
You'll need:
A dust sheet to protect the floor
Higher and lower grade sandpaper Sandpaper
Radiator primer
Radiator paint
Paintbrushes
Step one
Ensure the radiator is turned off and stone-cold before doing anything. If it’s still a little warm, the paint won't stick to the radiator properly. Make sure it's off and won’t come back on until the paint is dry.
Top tip: If you're going to paint pipework around the radiator as well, it's a good idea to place a bit of cardboard between the pipes and the wall so you don't get paint on it.
If this sounds too fiddly for you and you are worried you might mess it up, speak to a local painter and decorator who can help.
Step two
Give it a good clean.
Wipe it down with a damp cloth, warm water, and washing up liquid to degrease it. Then dry it thoroughly before giving it a sand all over. Use both higher and lower grade sandpaper to get rid of any loose debris on the surface. Make sure to pay close attention to rough edges and dust marks.
Step three
Dust the radiator thoroughly ready for painting. A good tip is to use a vacuum to ensure all the dust and loose debris is completely removed.
Step four
Apply a metal primer or a specialist radiator primer first before adding your new paint finish. It's so important to add the right primer, particularly over any bare or rusty spots, to ensure a solid base for the paint to cling to.
Most common mistakes at this point: If the radiator isn't prepped with the correct primer, the paint won't stick to the surface and it will start to peel off as soon as the radiator gets warm. It's also important to allow the primer to dry fully before painting.
See the tradespeople we've checked for your job
How to treat a rusty radiator
It's not uncommon to see rusty spots on your chrome heated towel rail or radiator.
This is because many radiators and heated towel rails are manufactured using mild steel and then finished with chrome plating over the top to give a shiny and protective finish. Over time, this chrome plating can develop rust spots on the surface.
Fortunately, as long as the rust is just on the surface and hasn't penetrated the steel below, you can remove the rust easily with non-chemical remedies. Here's how:
Add white vinegar onto a cloth and rub it onto the chromework. Due to the acidic nature of the vinegar, it will eat into the rust and get rid of it.
Rub some dampened strips of aluminium foil onto the rusty spots. The aluminium when rubbed against it causes a chemical reaction that removes the rust, while water acts as a lubricant between the foil and the chrome, facilitating the aluminium oxide that actually removes the rust.
If you see brown streaks developing after you've used vinegar or foil, simply use a microfibre cloth to buff away any traces of rust and give the towel rail or radiator a gleaming new look. You can also use a bit of baby oil or car wax to give the chrome extra shine.
How to paint a radiator where rusty
Before painting a rusty radiator, the rust must be removed by either sanding it down or following the natural remedies above. Once all the rust has been removed, or at least the flaky bits, you can add a specific radiator primer to protect it.
Top tip: It may be worth using an anti-corrosive primer as this will prevent the rust from getting worse over time. If unsure, speak to a decorator who can advise you.
Common mistakes at this stage: A standard paintbrush isn't going to cut it if you got lots of gaps and angles to paint.
To apply the coat of primer you may have to invest in an angled radiator brush if you have an unusually shaped radiator. If you've decided to use a metal primer spray, make sure you have the surrounding surfaces protected as this could get very messy.
Ensure you keep the nozzle about 6 to 8 inches away from the radiator’s surface to avoid spraying too heavily and causing drips.
For more hints and tips, read our comprehensive guide on painting a radiator.
See the tradespeople we've checked for your job
FAQS
Is a radiator expensive to replace?
If your radiator is beyond repair and you want to know how much it costs to remove and replace a radiator, find out more by reading our detailed cost guide.
Can you recondition a radiator?
Yes it is possible to recondition an old cast iron radiator to get it working again. The process involves using high-pressure water with chemicals to remove microscopic particles of rust and calcite from old steel pipe work. Reconditioning typically starts at around £120.
Like what you see? There’s more where this came from. Why not check out our blog for more tips, how-tos and household inspiration?
See the tradespeople we've checked for your job