Blog>How-To Guides>10 tips on how to build decking steps
Last updated: 22 October 2021

10 tips on how to build decking steps
Building decking steps isn’t the easiest, but it isn't impossible to do yourself. Here are 10 tips on how to build decking steps properly.

So, you’ve had your beautiful new decking laid. Great! If you haven’t already, you’ll need some decking steps to accompany it, as they're one of the most integral parts of any structure.
Building decking steps isn’t the easiest of tasks, but it’s not impossible to do yourself. If you’re in doubt, we recommend reaching out to an experienced carpenter or builder to complete the task correctly.
Below, we’ll show you how to estimate step dimensions, layout, cut stair stringers, and put together the stair parts.
5 key considerations on how to build decking steps in the UK
If you don't have ground-level decking, you’ll need to build decking steps to give easy access to your garden. Decking steps also link different levels of the deck together.
You can purchase pre-made kits to build decking steps that typically consist of step treads and two stair risers (known as side panels). You can buy these in three, four, and six-step options.
If you like, you could construct your own using two side panels (risers) and as many individual step treads as you like.
Although, we advise having your decking steps made professionally by your local carpenter.
Step 1: Inspect the site
Make sure the location for your steps is firm and level. The site shouldn’t be too soft or rough, as this won’t be secure enough for the steps - they may sink into the soft earth.
If there isn’t any hard landscaping in your proposed site, think about laying an area of paving slabs or concrete.
Step 2: Cut your steps to size
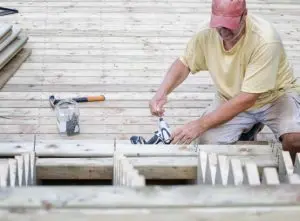
Cut off two sections of joist off-cut so that they’re the same width as the step treads. Screw them to the step risers at the bottom and top – you can use two countersunk coach screws on either side.
Step 3: Assemble the parts
Place the assembled steps against the deck’s sub-frame and in the middle of the step support pad. The short edge of the stair riser should be against the deck, while the longest should be on the paving slab.
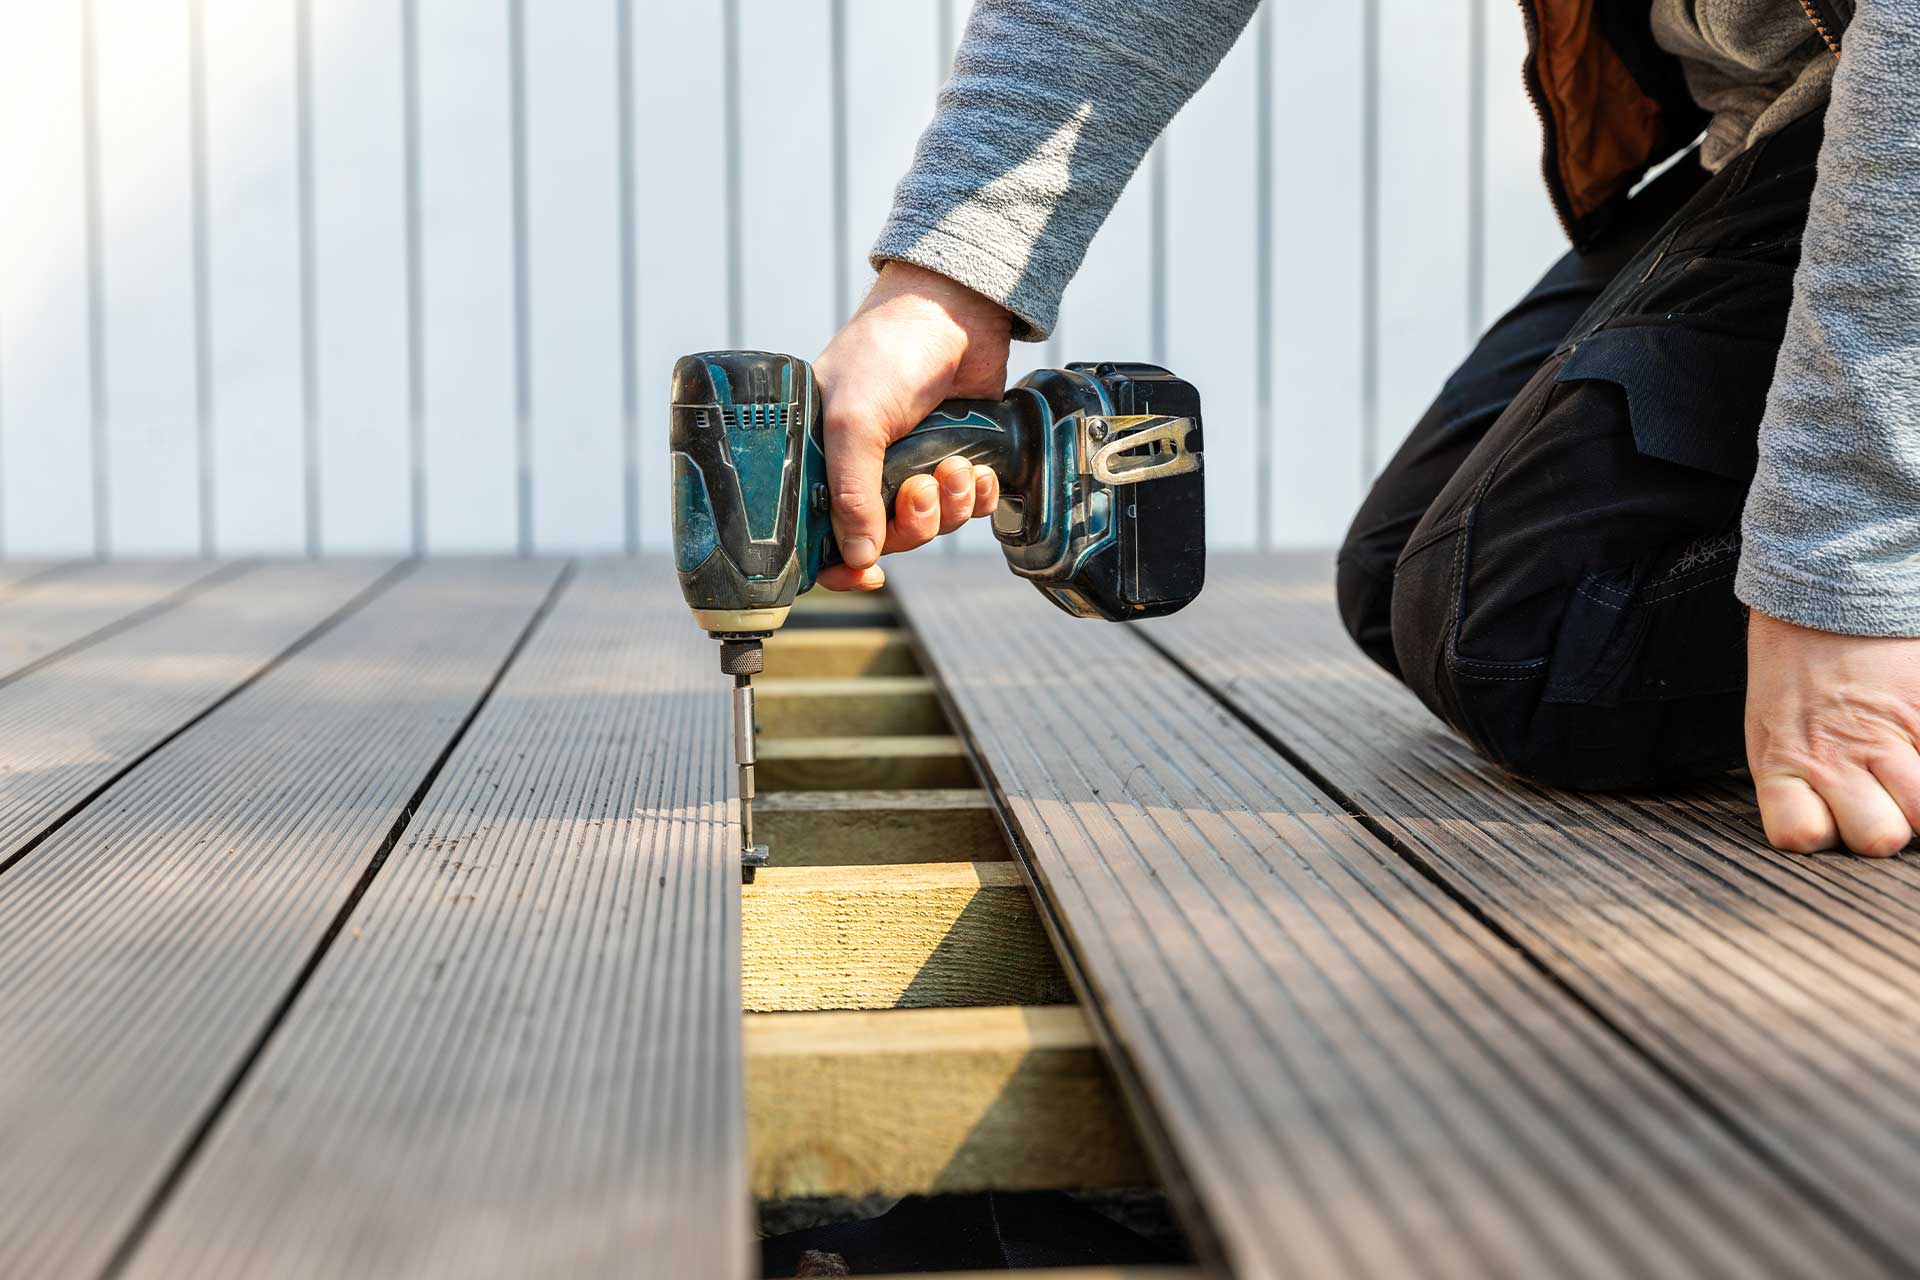
Use a drill to make pilot holes through the step construction and the sub-frame joist. Affix the step construction securely to the sub-frame using four additional countersunk coach screws.
Step 4: Attach the supports
To make a durable step, drill pilot holes, then use two 50mm deck screws to attach the treads into the riser supports at either edge.
Step 5: The finishing touches
For a more solid stairway to an open stair, you can use deck boards or joist off-cuts to fill the gaps. Just measure the depth and height of the gap, and then screw the timber into the step riser using two screws at each edge.
If you're unsure if this job is in your DIY capabilities, then it's always best to play it safe and hire a professional. Search our Checkatrade members and see who your neighbours recommend for the job.
See the tradespeople we've checked for your job
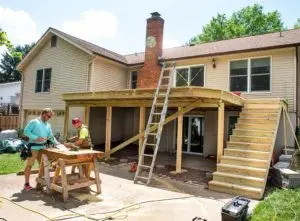
A step-by-step guide on how to build decking steps to a raised deck
To complement your raised decking area, you’ll need to create an attractive entrance to it. Follow our guide on how to build raised decking with steps.
Top tip: This is a somewhat intricate, lengthy process, so it’s best to read ahead to make sure you understand all the steps before continuing with the project. If you’re unsure how to progress, use our free search feature to find a local decking step installer to help you with your project.
Tools you’ll need:
Countersunk coach screws
Chalk line
Corded drill
Circular saw
Clamps
Framing square
Hammer
Safety glasses
Handsaw
Stair gauge
Level
Sawhorses
Materials you’ll need:
Joist off-cut
Step treads
Stair risers
If you don't have all of this, then it might be easier to hire a professional instead.
See the tradespeople we've checked for your job
Step 1: Measure the deck stair rise
Measure the height of the stairs from the top of the deck to the landing. The landing should be level ground, a concrete pad, or a deck platform.
Step 2: Install inside or outside mounted stair stringers
There are two different stringer styles – inside mount stringers and outside mount stringers.
For inside mount stringers, remove the thickness of the outside joist from the inside of the top rise.
For outside mount stringers, remove the thickness of the riser board off the back of the stringer. Both situations remove the thickness of the tread from the bottom of the stringer.
Step 3: Lay your first stringer
Lay your stringer on a 2x12 cleat with a framing square, then cut it out using a circular saw. You can use your first cut stringer as a template to trace the remaining stringers.
Step 4: Attach the stringers to the deck frame
You can use two methods to do this.
You can attach the stringers to the interior of the deck frame. Just space your last joist flush with the top riser. Next, attach blocking and nail the top of your stringer into the blocking.
You can also attach your stringers to the outside of the frame - just install a two-by-material cleat to the bottom of the frame to extend the attachment surface. Then attach using angle brackets.
Top tip: Stringer spacing should be 12 inches to 25 inches on the centre.
Step 5: Attach the decking over the stringers
This should consist of two decking courses for each tread and one course for each riser. Allow for a half-inch to one-inch tread nosing to project over the riser boards.
Confirm all building code requirements with your local building authority.
FAQs
How do I build steps for my decking area?
Your step tread width – this is the width of the steps – should be roughly 900mm but no less than 760mm. If your stairs are wider than 900mm, you’ll need to add a central step riser to support the steps and stop them from collapsing.
If you’re constructing your own riser, the vertical distance between each step (step depth) should be between 150-180mm. This is to make sure the steps are a good depth, but not so cavernous that they’re too high to climb, and not so shallow that you’ll stumble on them.
The above applies particularly to the bottom step – this sits between the first riser and the step’s foundation (support pad).
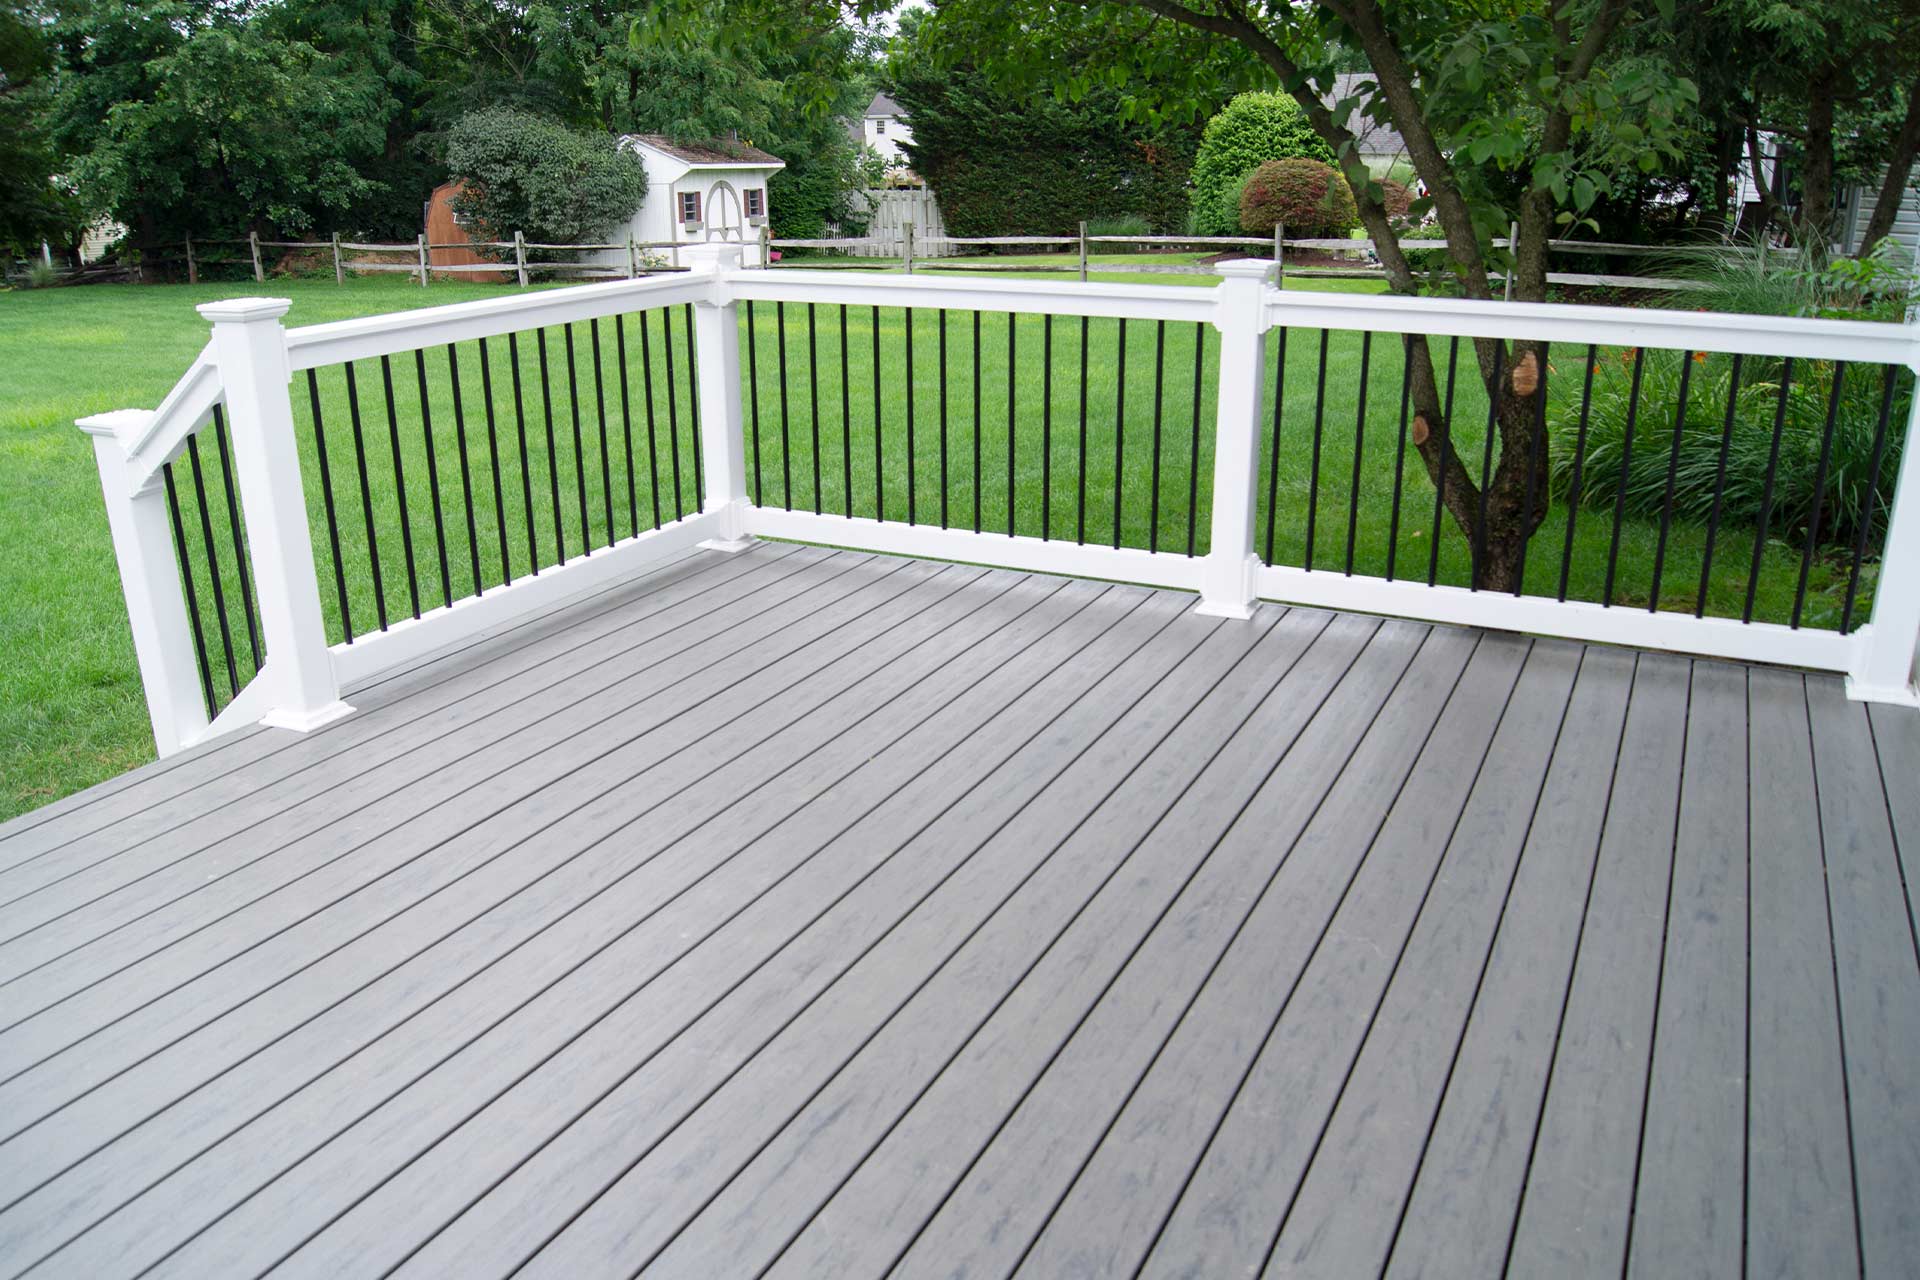
How do I build steps with composite decking?
If you’re thinking of building steps using composite decking, it’s vital to plan the decking step carefully. So, make sure the decking steps are uniform – we’d advise getting in touch with your local carpenter to build decking steps, as it requires a lot of professionalism to guarantee precision and consistency.
What’s more, building steps with composite decking involves measuring the size of the decking stairs as well as knowing how high the deck is.
If your decking’s raised, then you’ll need high decking steps. If it’s low, then you’ll need low decking steps.

See the tradespeople we've checked for your job