Blog>How-To Guides>How to build a lean-to
Last updated: 6 September 2021

How to build a lean-to
Improve your home with our comprehensive guide on how to build a lean-to. Clear instructions, tools required, and the answers to all your questions.
A lean-to can be an extremely versatile addition to any home, providing extra room for a utility area, storage space, or perhaps a much-need home office space. A lean-to can also be added to a shed to provide a bike, garden or even a log storage area.
If you think you need a lean-to in your life and want to try building one yourself, follow the steps below for building a basic lean-to structure. If you think it sounds like a complicated DIY project, then call in a seasoned pro to lend a helping hand.
How to build a lean-to
Learning how to build a lean-to is a very involved project that should only be attempted by competent, experienced DIYers. It involves mixing up concrete, using a circular saw, and also operating a drill.
If this doesn't sound like a job for you, then by all means find a tradesperson who can.
Otherwise, you’ll need to gather the following tools and materials, then follow our five step guide:
Tape measure
Level
Circular saw
Drill
Nail gun or hammer
Ready to mix concrete
Weatherproof paint
Nails
2 x 4 planks for the frame that have been treated
Waterproof membrane for the roof
Plywood panels for roof
Self-adhering roofing membrane
Wedge anchors
Wood preservative
Please note, you’ll also need a variety of tools and materials for your lean-to base. These along with instructions can be found in our how to build a base for garden shed guide.
See the tradespeople we've checked for your job
Step one
Before you start, plan where you’ll build your lean-to and work out the dimensions. Also consider the building it’ll be attached to, ensuring it can support the lean-to and it doesn't block any light from your or a neighbour’s house.
Once you’re happy with your lean-to location, you can create a concrete slab the size of the new structure. Find out what you need to know for this by reading our comprehensive guide to building a base for a garden shed.
Step two
Next, build the floor frame according to your measurements, making sure everything is level. You can then attach the floor frame to the concrete slab using wedge anchors. These concrete wedge anchors are designed to anchor fixtures into concrete, ensuring your lean-to is totally secure.
Top tip: Sealing all saw cuts with a wood preservative will prevent water or dampness from seeping into the wood and causing rot.
Step three
Cut studs to build the wall frames to your chosen size and nail the wall frames to the floor frame. Then, nail the walls together.
Step four
Next, nail the frame to the building it's attached to.
Step five
Now let’s look at how to build a lean-to roof. First, add the rafters for your lean-to roof. Fix them at an angle to ensure plenty of head height inside the lean-to. You’re then ready to add the plywood panels onto the roof, and panelling to the sides of the lean-to.
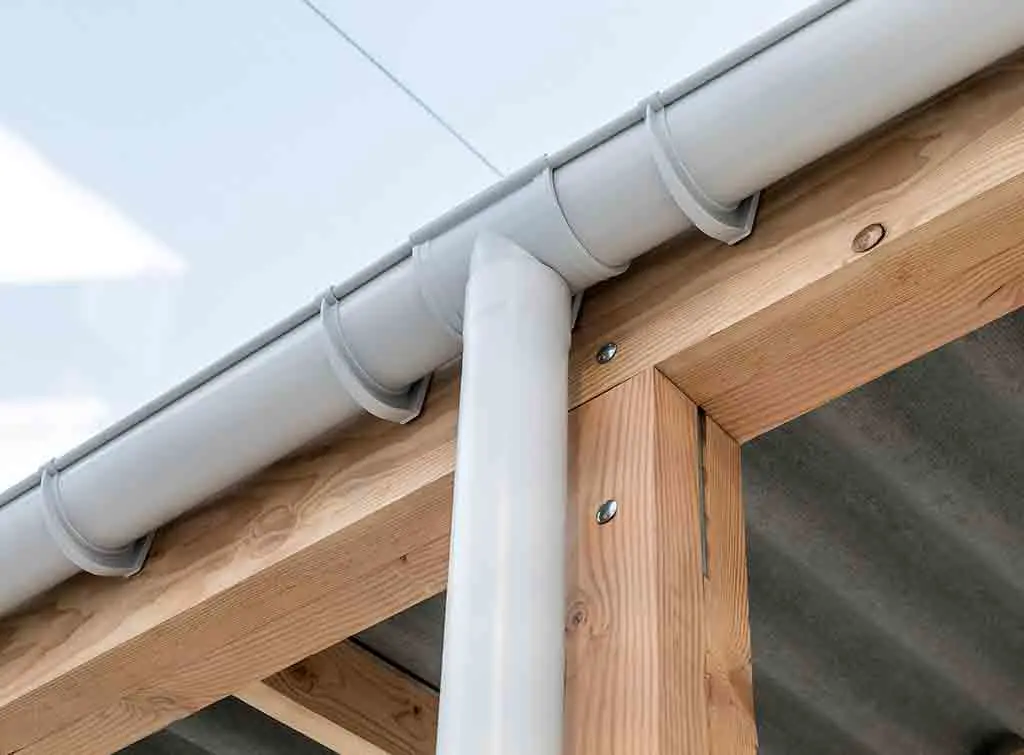
Step six
Protect the roof with a waterproof membrane that's self-adhesive. Then paint the wooden sides in protective weatherproof paint.
Note: As we mentioned, this is a very basic outline for a simple lean-to. If you need more help and advice, we recommend calling in an experienced builder. Don't make finding an experienced builder a lottery, find builders who are recommended by your neighbours.
See the tradespeople we've checked for your job
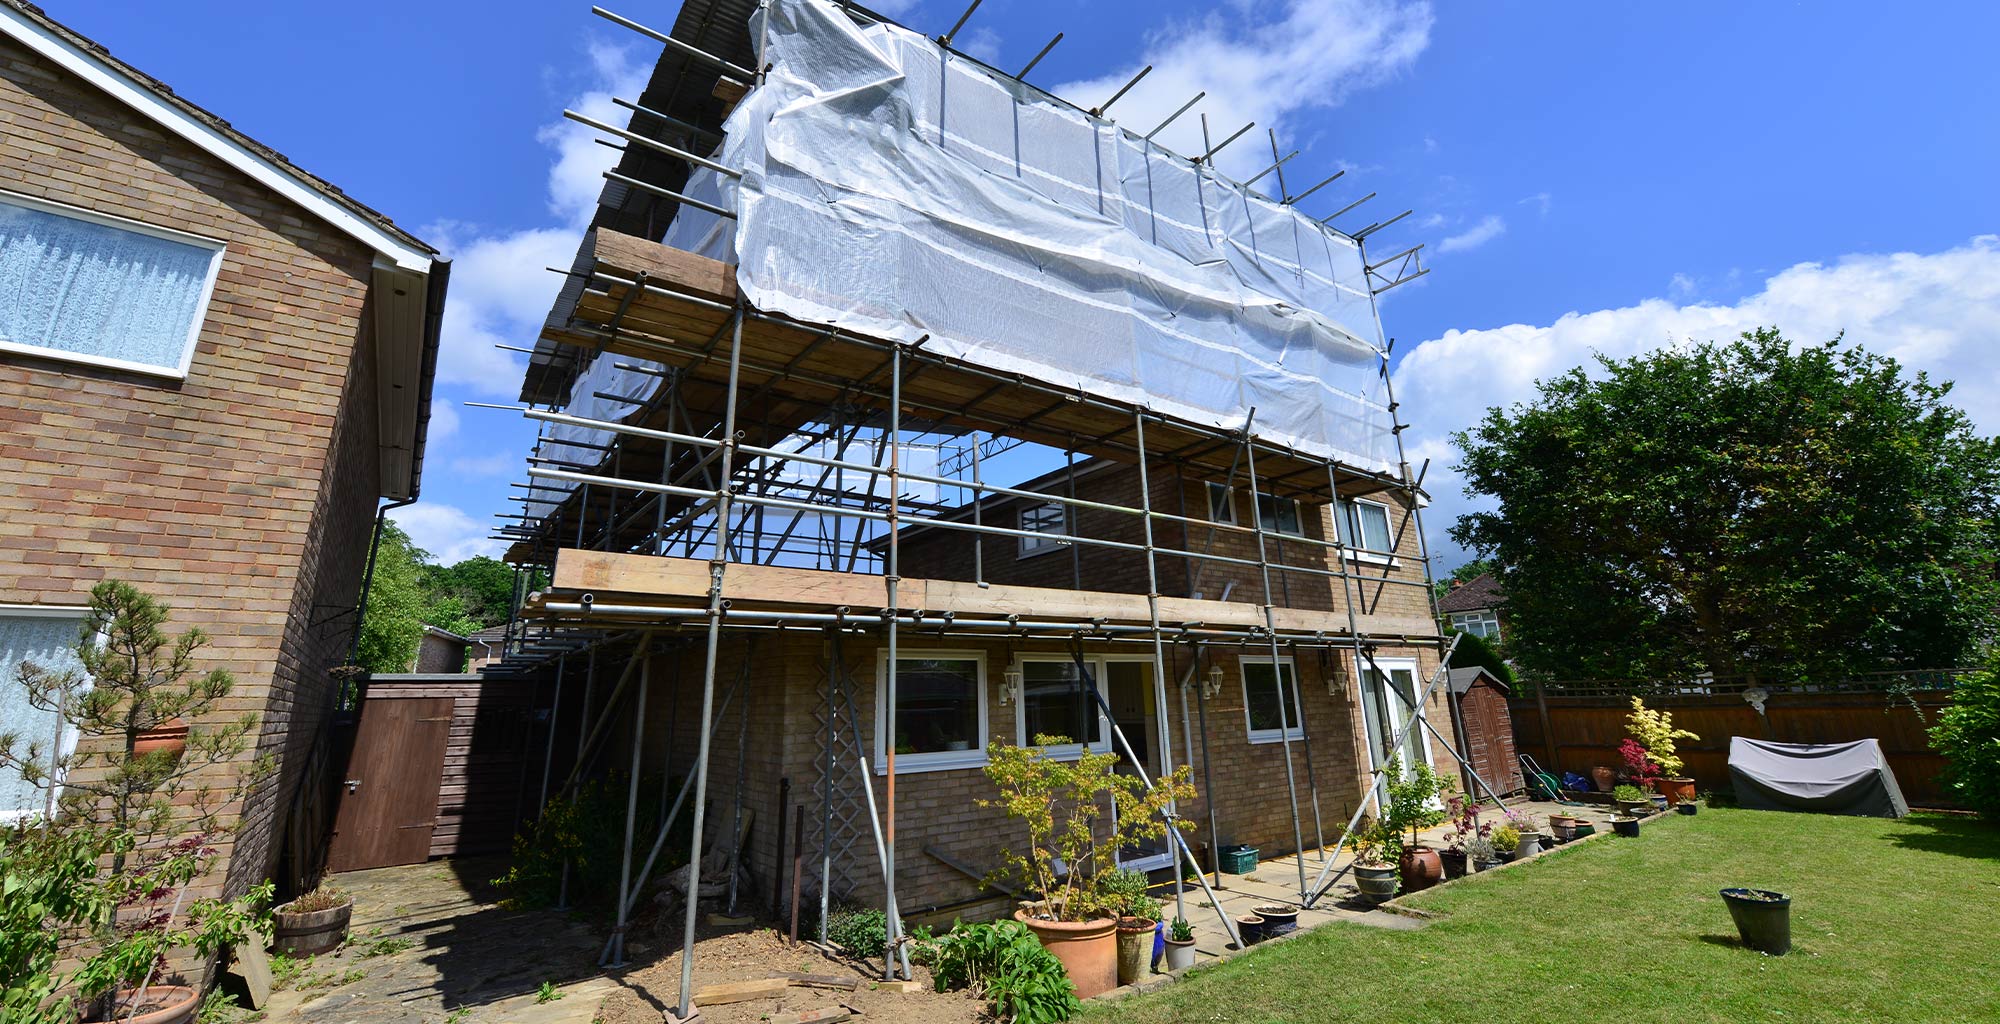
The benefit of building a lean-to on the side of a house
Adding a lean-to at the side of your home can open up a world of possibilities. You could use your new lean-to for storage either on shelves or with boxes, or you could use it as a covered walkway to protect you from the rain.
In fact, you could even set up a small workspace in your lean-to. Sound great? You can learn how to build a lean-to on the side of a house by following the instructions in the previous section.
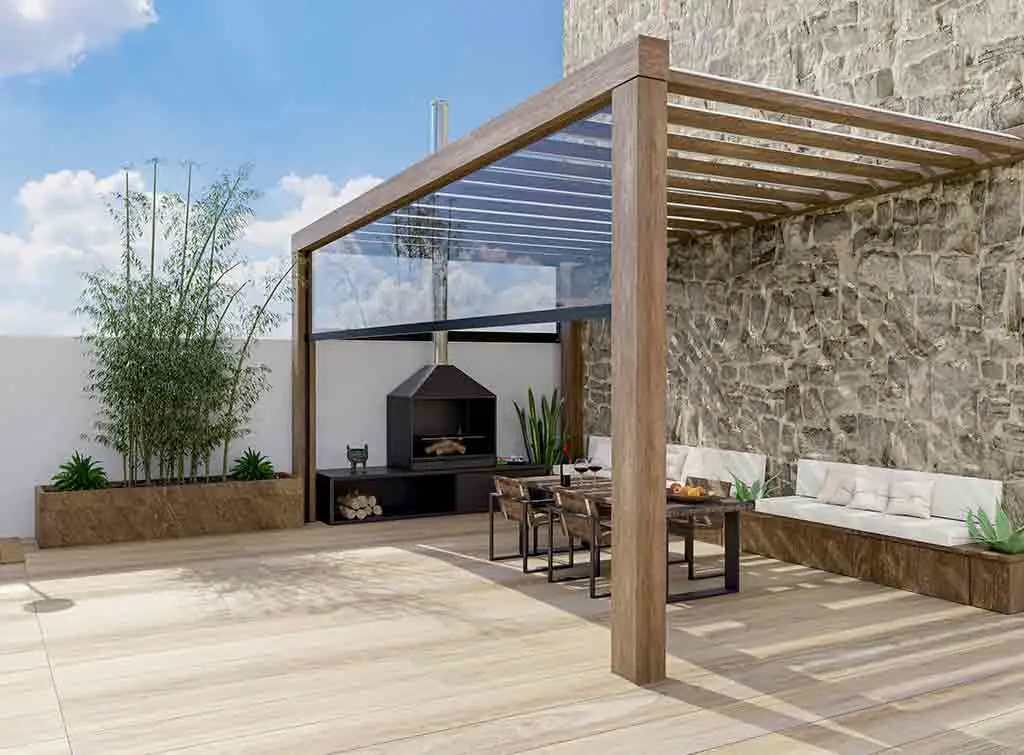
The benefits of building a lean-to roof on an extension
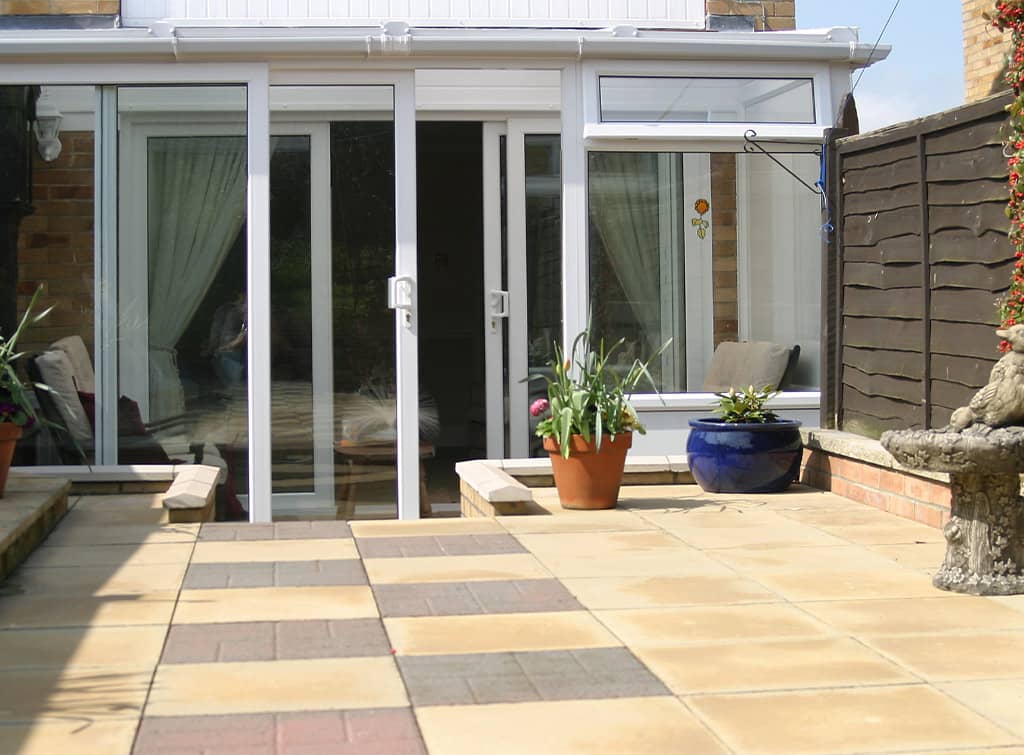
Extensions are very popular due to their excellent benefits. They allow you to stay in your current home while increasing your living space, even giving you the option to add an entirely different room. If your extension is at the back or side of your home, you’ll likely have a patio or flat surface where you can enjoy your garden, socialise, and relax.
As such, adding a lean-to roof to your extension is the perfect way of giving you shelter while still allowing you to make use of your garden on wet and windy days. The great news is that you already know how to build a lean-to roof on an extension. Just follow the steps earlier in this guide for impressive results that your guests will love.
Tips on how to build a lean-to shelter
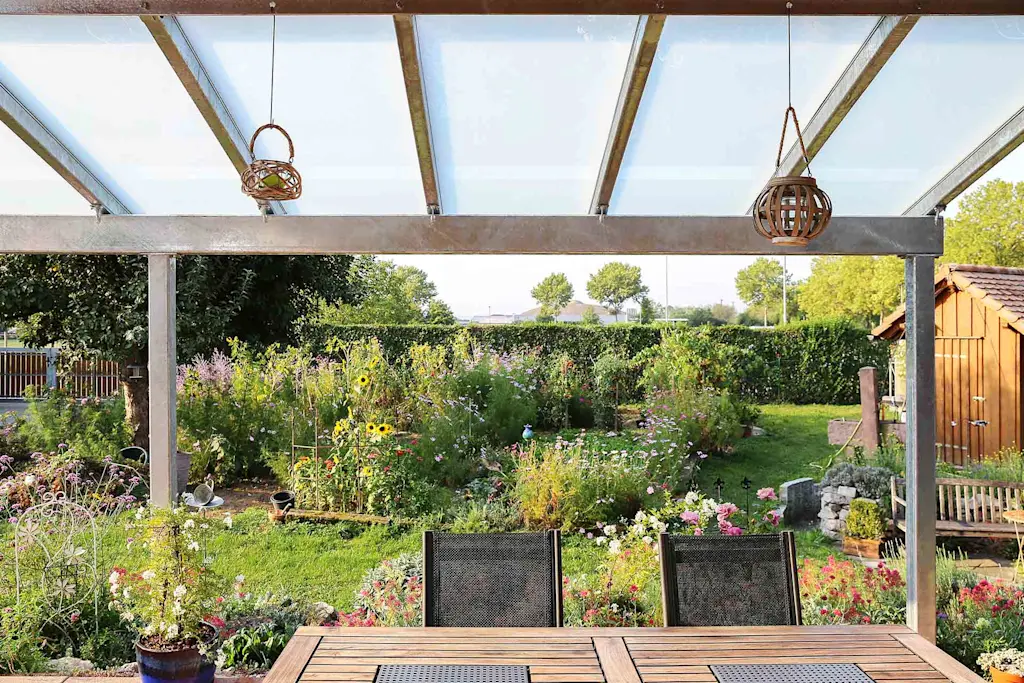
Much like pergolas, lean-to shelters are made up of a sloping roof with two posts and they attach to the side, back or front of your home. They’re also usually designed and created to your exact requirements, to suit your home and garden. Lean-to shelters can be used for anything from storage to a peaceful shady area where you can escape the hot rays of the sun and avoid light rain.
If you want to use your lean-to shelter during wet weather, you can even install walls for extra protection. Why not install transparent walls to allow you to still luxuriate in your garden no matter the weather? Wondering how to build a lean-to shelter? Just follow the steps listed earlier in this guide.
See the tradespeople we've checked for your job
FAQs
What do I need to build a lean-to?
You’ll need a range of tools and materials to complete your lean-to project. So, if you’re unsure what you do need to build a lean-to, scroll back to our ‘how to build a lean-to’ section. The items you need will include a drill, spirit level and ready to mix concrete.
Remember, all these items are essential when it comes to learning how to build a lean-to off of a house, so don’t be tempted to skip any of the key aspects of your new structure.
Do you need planning permission for a lean-to?
In the UK, there are very strict rules about building without planning permission. Thankfully, as long as your lean-to is on your property and doesn’t cover half the area of your land, you usually don’t need planning permission for a lean-to. There’s a few other rules that are relevant, and these can be found by clicking here.
How do you build a lean-to off a garage?
Similar to building a lean-to on a house, building off a garage is a great option. You can even go one step further and build a carport if you are so inclined.
Wondering how to build a lean-to off of a garage? Just use the steps covered earlier in this guide.
Should I hire a professional to build my lean-to?
There’s no denying that building a lean-to can be quite ambitious, especially for DIY beginners. That doesn’t mean it isn’t possible, just that you may not see the results you’re hoping for. In addition, there’s always the risk that your lean-to may fall down and cause injury or damages.
If you’d rather be certain your lean-to is built to high standards and will stand the test of time, we’d suggest hiring an expert. You can easily find a trusted professional by searching your postcode on our trade directory. When you hit search you will see exactly who your neighbours recommend for the job!
See the tradespeople we've checked for your job
How much does it cost to build a lean-to conservatory?
If you’d rather turn your lean-to into a proper room, you could consider building a lean-to conservatory. With a pitched roof, solid walls and large expanses of glass, you can get cosy and enjoy a warm cup of tea on even the rainiest day.
So, you may be curious as to how much it costs to build a lean-to conservatory. Generally, depending on the scope of your plans, it could cost anything from £8,100 to £26,400. Our lean-to conservatory cost guide has more prices and handy information.
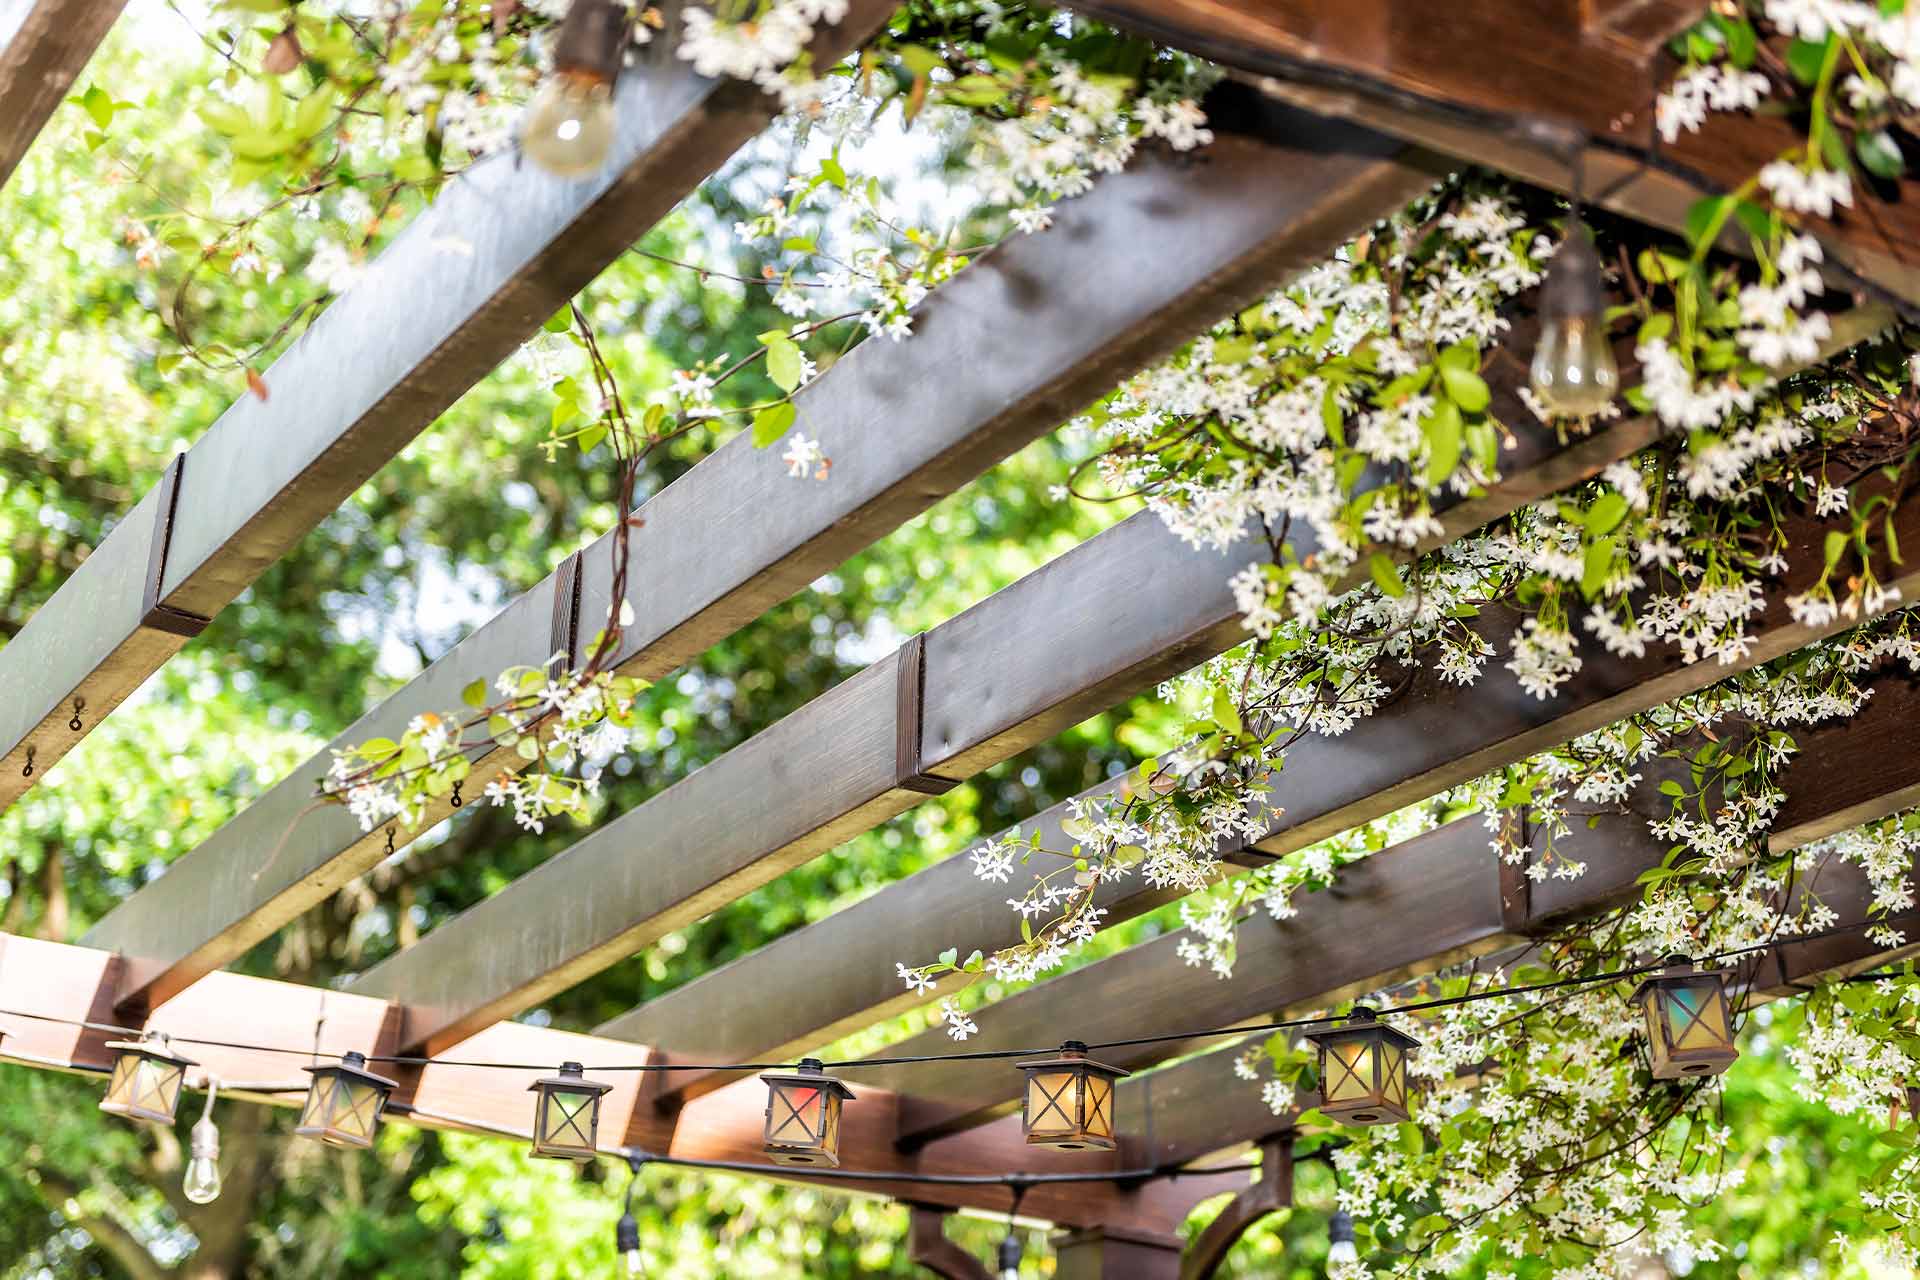
If this price is a little steep, you could simply stick to building a basic lean-to, or even a pergola. Pergolas have slatted roofs so don’t offer full sun protection, but they look incredible in a garden. Plus, you can add a cosy bench for total relaxation. In fact, the average cost of a pergola is just £2,500.
To learn more about pergolas, why not read our pergola cost guide, full of prices and considerations.
See the tradespeople we've checked for your job