Blog>How-To Guides>How to change radiator valves
Last updated: 5 October 2023

How to change radiator valves
Here's everything you need to know on changing your radiator valves yourself.

Staying warm isn’t too much of a problem during the summer, but when winter strikes, radiators become vital. Radiator valves allow you to change the temperature of your radiator, creating a cosy environment.
But, what if things go wrong? Do you know how to change radiator valves? If not, keep reading as we guide you through the process.
We’ll be looking at changing different types of radiator valve, including how to change thermostatic radiator valves. Plus, we’ll even guide you through how to change radiator valves without draining the system.
Reasons to change radiator valves

There are a number of reasons why you might want to change a radiator valve. Some of the most common reasons why homeowners decide to change their radiator valves include:
Old valve has become worn over time
Old valve is damaged or broken
Old valve doesn’t match the colour scheme or style of the room
To upgrade to a thermostatic radiator valve
Before getting ahead of yourself, the most important step in learning how to change radiator valves is choosing the right one. There's a wide range of these available and you’ll need to choose the right option for your radiator. Take a little time to consider the colour, size, function and brand of your new valve. Also, pick the right style of valve to fit your radiator.
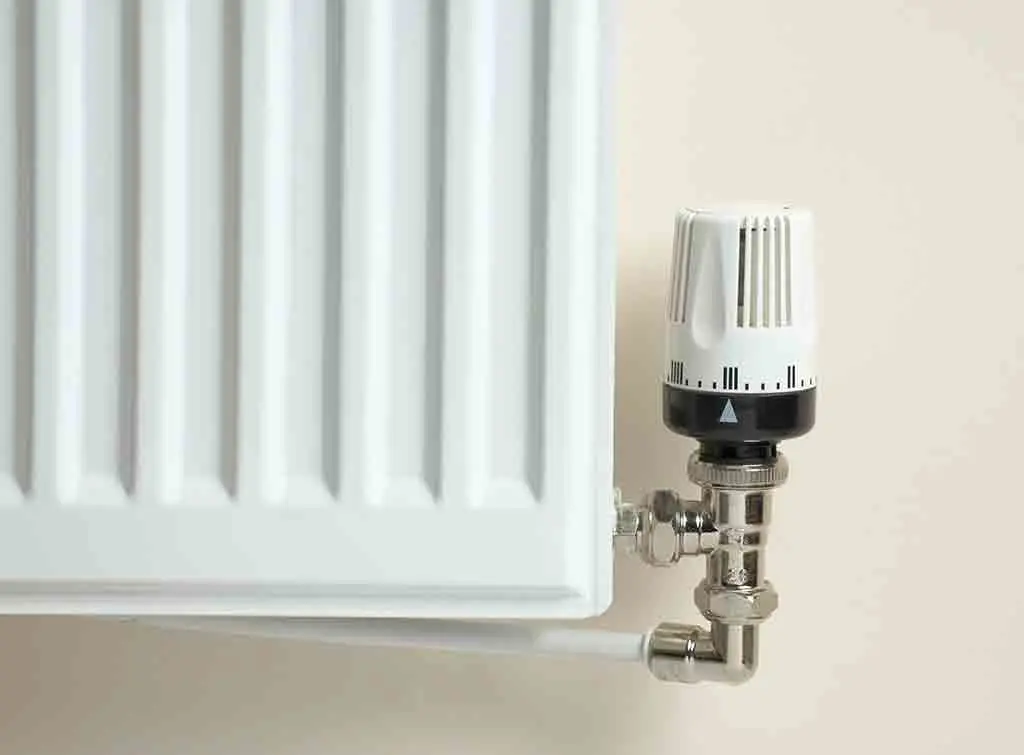
Thermostatic radiator valves (TRVs) are a fantastic choice for anyone looking to have greater control over the temperature of their home. These valves measure the temperature of the room and adjust how much hot water enters the radiator. This helps to keep the room at your ideal temperature.
See the tradespeople we've checked for your job
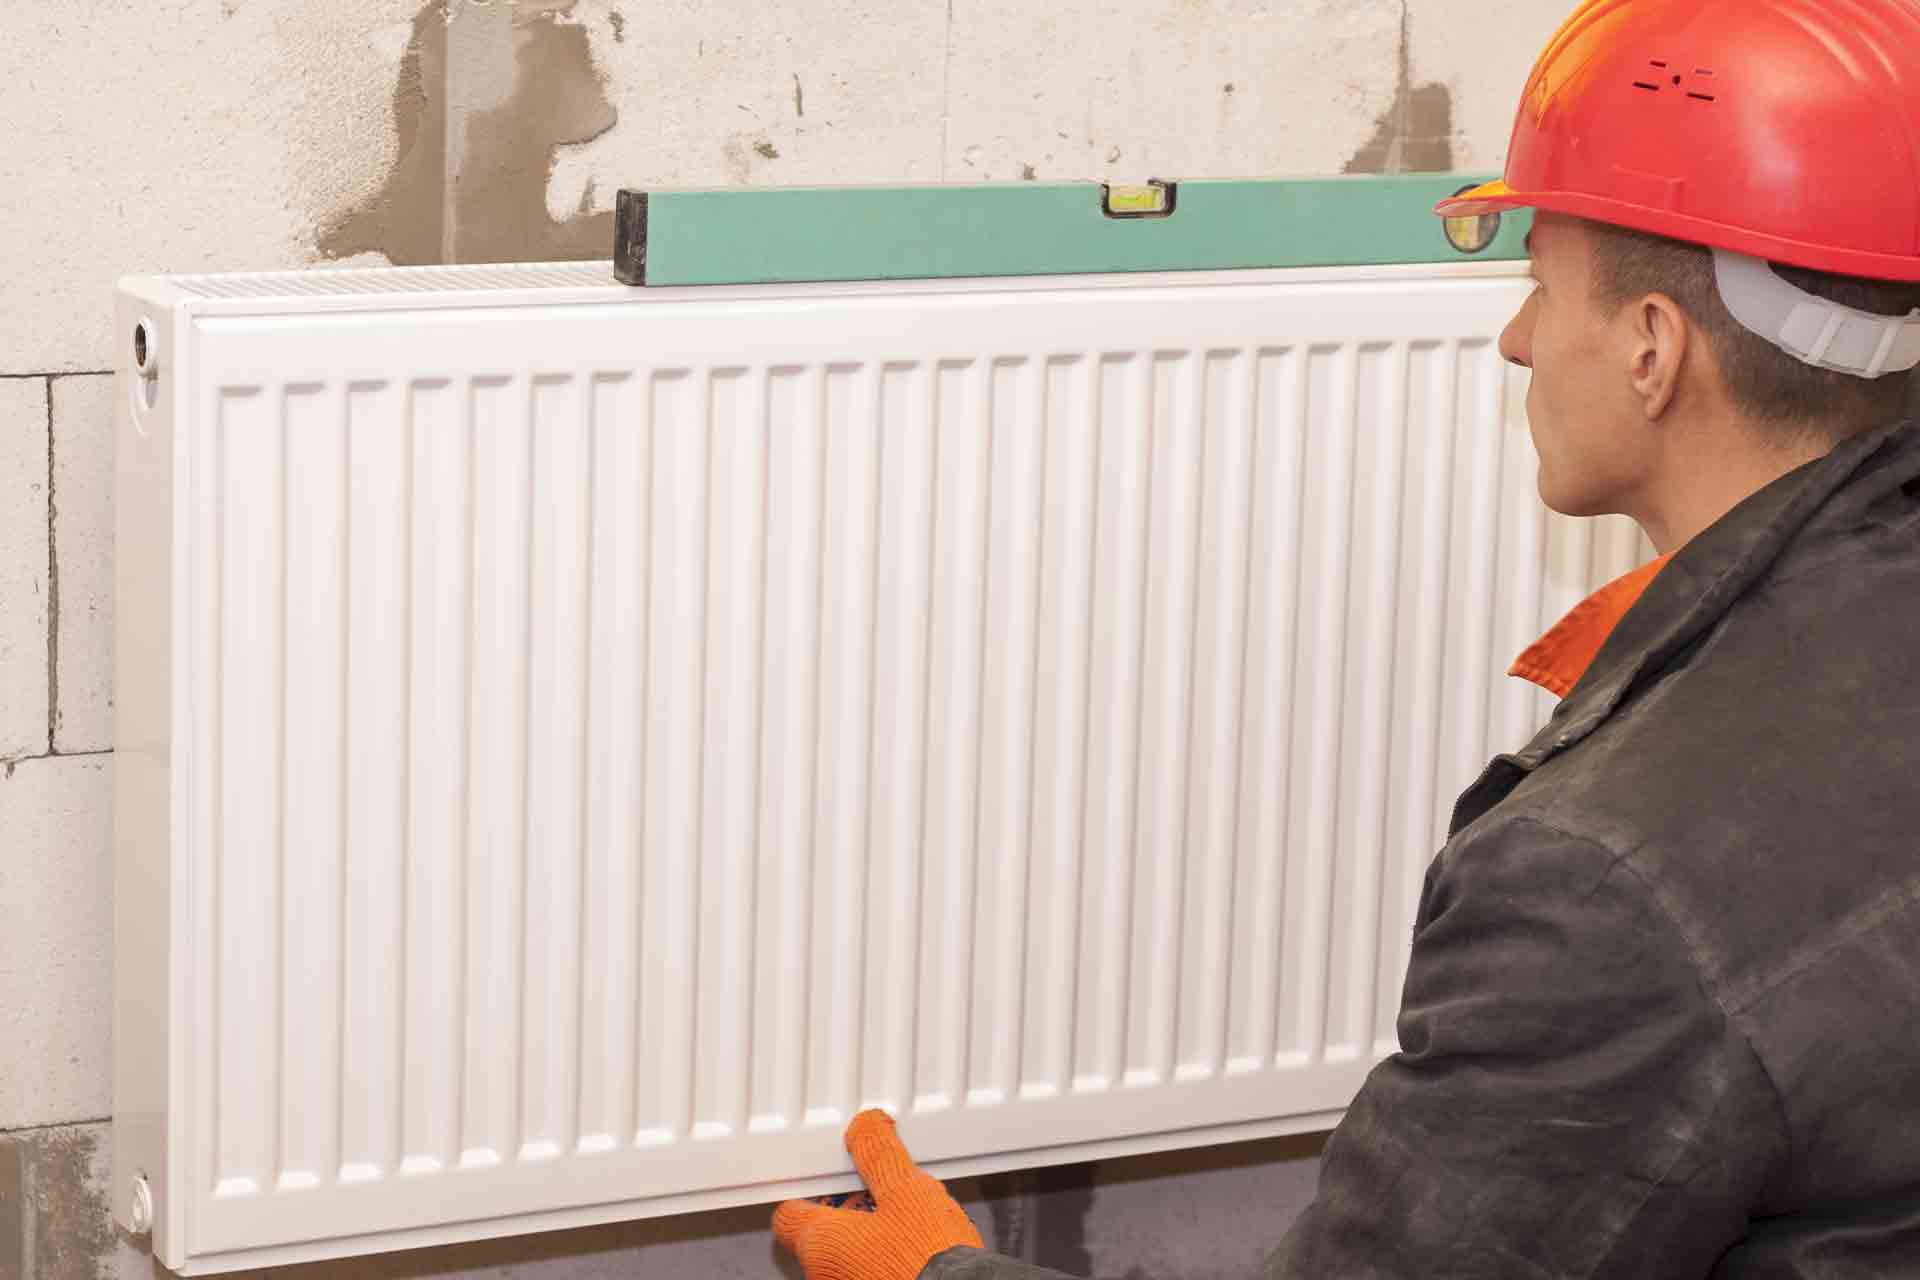
How to replace radiator valves
The first thing you should do when learning how to replace radiator valves is to collect all the tools and materials you need. This will prevent problematic delays during the job.
You’ll need:
Your new valve
Radiator bleed key
PTFE tape
Hose
Wrench
Spanner
Old towels
Cloth or wire wool
Now you’re properly prepared, you’re probably wondering how to change the valves on a radiator. Make sure you turn off your central heating and the water supply to the radiator you’re working on (it may be worth switching off your home’s water supply completely).
Next, follow the below step-by-step guide for how to change a radiator valve:
First, put down some old towels then connect a hose to your radiator’s drain cock and feed the other end of the hose outside your home.
Next, turn the radiator bleed key until all the water drains out.
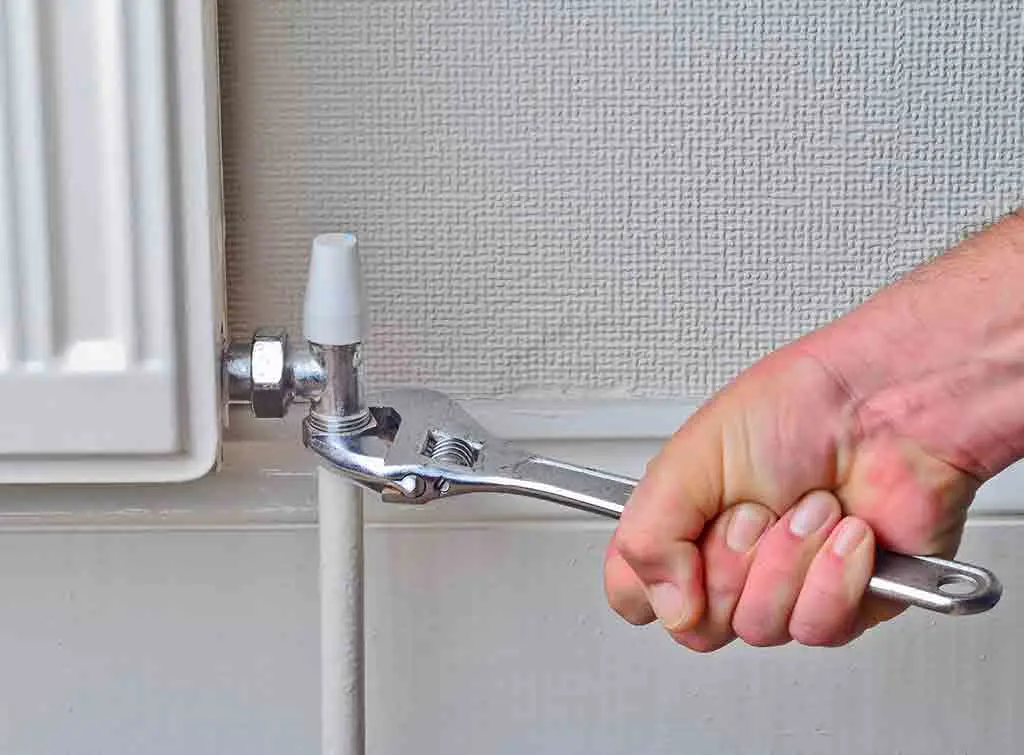
Use a wrench to hold the radiator valve still while you unscrew any nuts with a spanner.
You can then remove the old valve from the radiator and use a cloth or wire wool to clean any debris that has collected.
Pick up your new valve, then wrap where the valve joins to the radiator with PTFE tape.
Attach the new valve, by aligning the cap-nut over the pipe, along with the sealing components.
Then, tighten the cap-nut that joins together the valve and adapter, as well as the cap-nut that holds the valve to the pipe.
Switch your water supply back on and bleed the radiator again using the bleed key.
Turn your central heating back on and allow the system to flood with water.
You may also need to repressurise your boiler to finish.
Great, you now know how to change the valves on a radiator.
How to change thermostatic radiator valves
Thermostatic valves are the best way of keeping your home at a specific temperature no matter the outside weather. If your TRV is set to 20 degrees, for example, your radiators will come on until that temperature is reached, then the TRV will stop any more hot water from flowing into the radiators. This’ll mean your home never exceeds 20 degrees.
Wondering how to replace radiator thermostatic valves? Changing a TRV is not much different to other types of valve, although it’s possible to also change the olive that is attached to the inlet pipe of your radiator. You can even add a new connecting nut or change both the inlet and the connecting nut.
Finally, using PTFE tape will give you a much better seal on the inlet.
How to change radiator valves without draining system
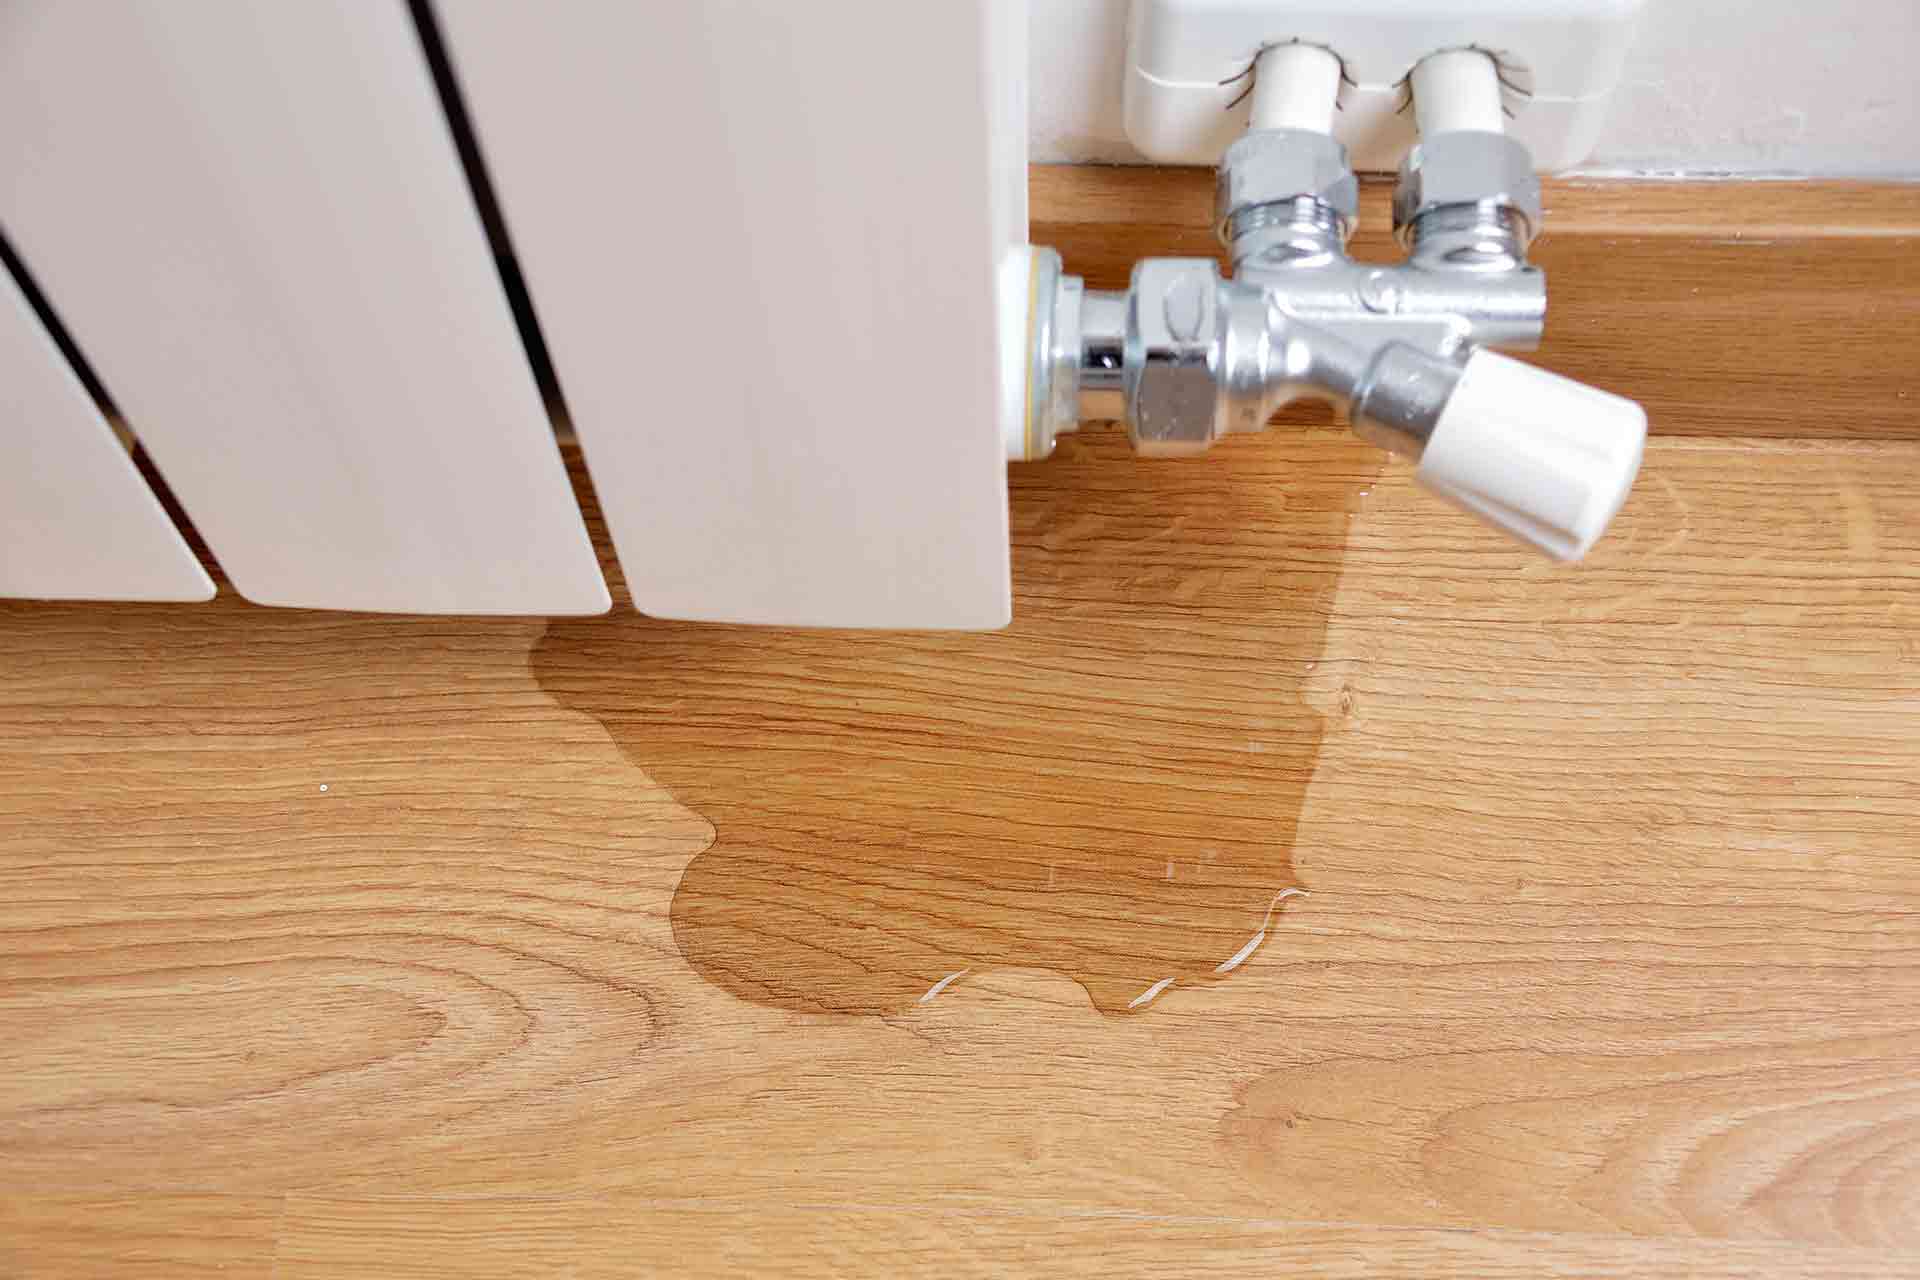
Draining your entire central heating system is time consuming, messy and can be tricky.
Luckily, it’s possible to learn how to change radiator valves without draining the system. Please note, if you plan to change the valves on more than one radiator, draining your system is likely your best option. If you do decide to drain the entire system, please see our ‘how to replace radiator valves’ section.
Alternatively, if you’re only dealing with one valve, use the below steps for great results:
As with any work done on a radiator, you’ll need to switch off your water supply and central heating system.
Take the cap off your lockshield valve and rotate the spindle clockwise as far as it will go.
On the opposite end of your radiator, rotate the valve clockwise as far as possible.
Lay down a few old towels or cloths to collect any drips. You may also want to use a small container.
Remove the head off your old and new valves then detach the nuts on the new valve. Next, cover the thread with PTFE tape.
Open your radiator bleed valve using your bleed key and allow any air to escape before closing the valve.
Many lockshield valves have a drain off that can be used to drain individual radiators. Open the valve and let the water drain out of the radiator.
Loosen the nearest top nut to your radiator. This will open your thermostatic valve. You can use a wrench and spanner to undo the nut, then allow any water to drain out of the radiator.
Collect the water using a tub or bucket until it stops flowing out of the radiator.
You can then take off the old valve by unscrewing both nuts.
Position the new valve and use a spanner to tighten both cap nuts. Next, screw the valve head into place.
Turn on your water supply and re-open the lockshield valve so water flows back into your radiator.
Bleed the radiator. Then you may need to repressurise your central heating system.
I need professional help!
Don’t worry if you find this guide a little out of your comfort zone, this can be quite a difficult project for a DIY beginner. It’s always better to speak to an expert rather than to do a poor job, as this will likely cause future issues.
If you do need assistance, you can use our handy search feature to instantly locate a range of highly qualified professionals who cover your area.
See the tradespeople we've checked for your job
If you want to change your entire radiator and not just the valves, our how to replace a radiator guide is perfect to assist you with your DIY job. What’s more, this guide includes easy to follow steps as well as a wealth of information regarding radiator replacement.
Alternatively, if you want to learn more about bleeding a radiator, view our guide on how to bleed a radiator.
How much does it cost to get a professional to replace a radiator?
The average cost of professional radiator removal and replacement will be between £125 and £200. For further tips and prices, please see our cost to remove and replace a radiator guide.
If you need a radiator replacement and would prefer to hire a tradesperson to do the job for you, it may be useful to know how much this costs. Thankfully, with professional installation, you can be sure your new radiator will be expertly fitted and last for years to come.
More Radiator Installation Articles
See the tradespeople we've checked for your job