Blog>How-To Guides>How to expose a brick wall in 7 steps
Last updated: 7 December 2021

How to expose a brick wall in 7 steps
This how-guide has everything you need to know about introducing this popular trend to your home.

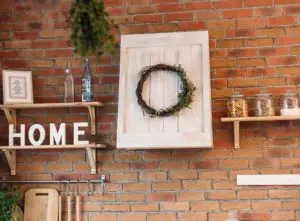
If you want to know how to expose a brick wall, you're obviously looking for a certain aesthetic. Whether that's rustic-chic, cottage-gore, loft-industrial, or a contemporary-mash-up, this how-guide has everything you need to know about introducing this popular trend to your home.
For a breakdown of costs, check out our cost to expose a brick wall guide. However, if you're looking to take on this project DIY-style, read on for our expert advice.
Exposed brick wall advantages
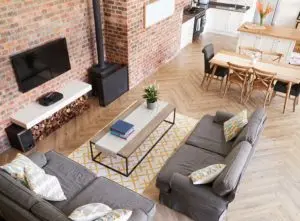
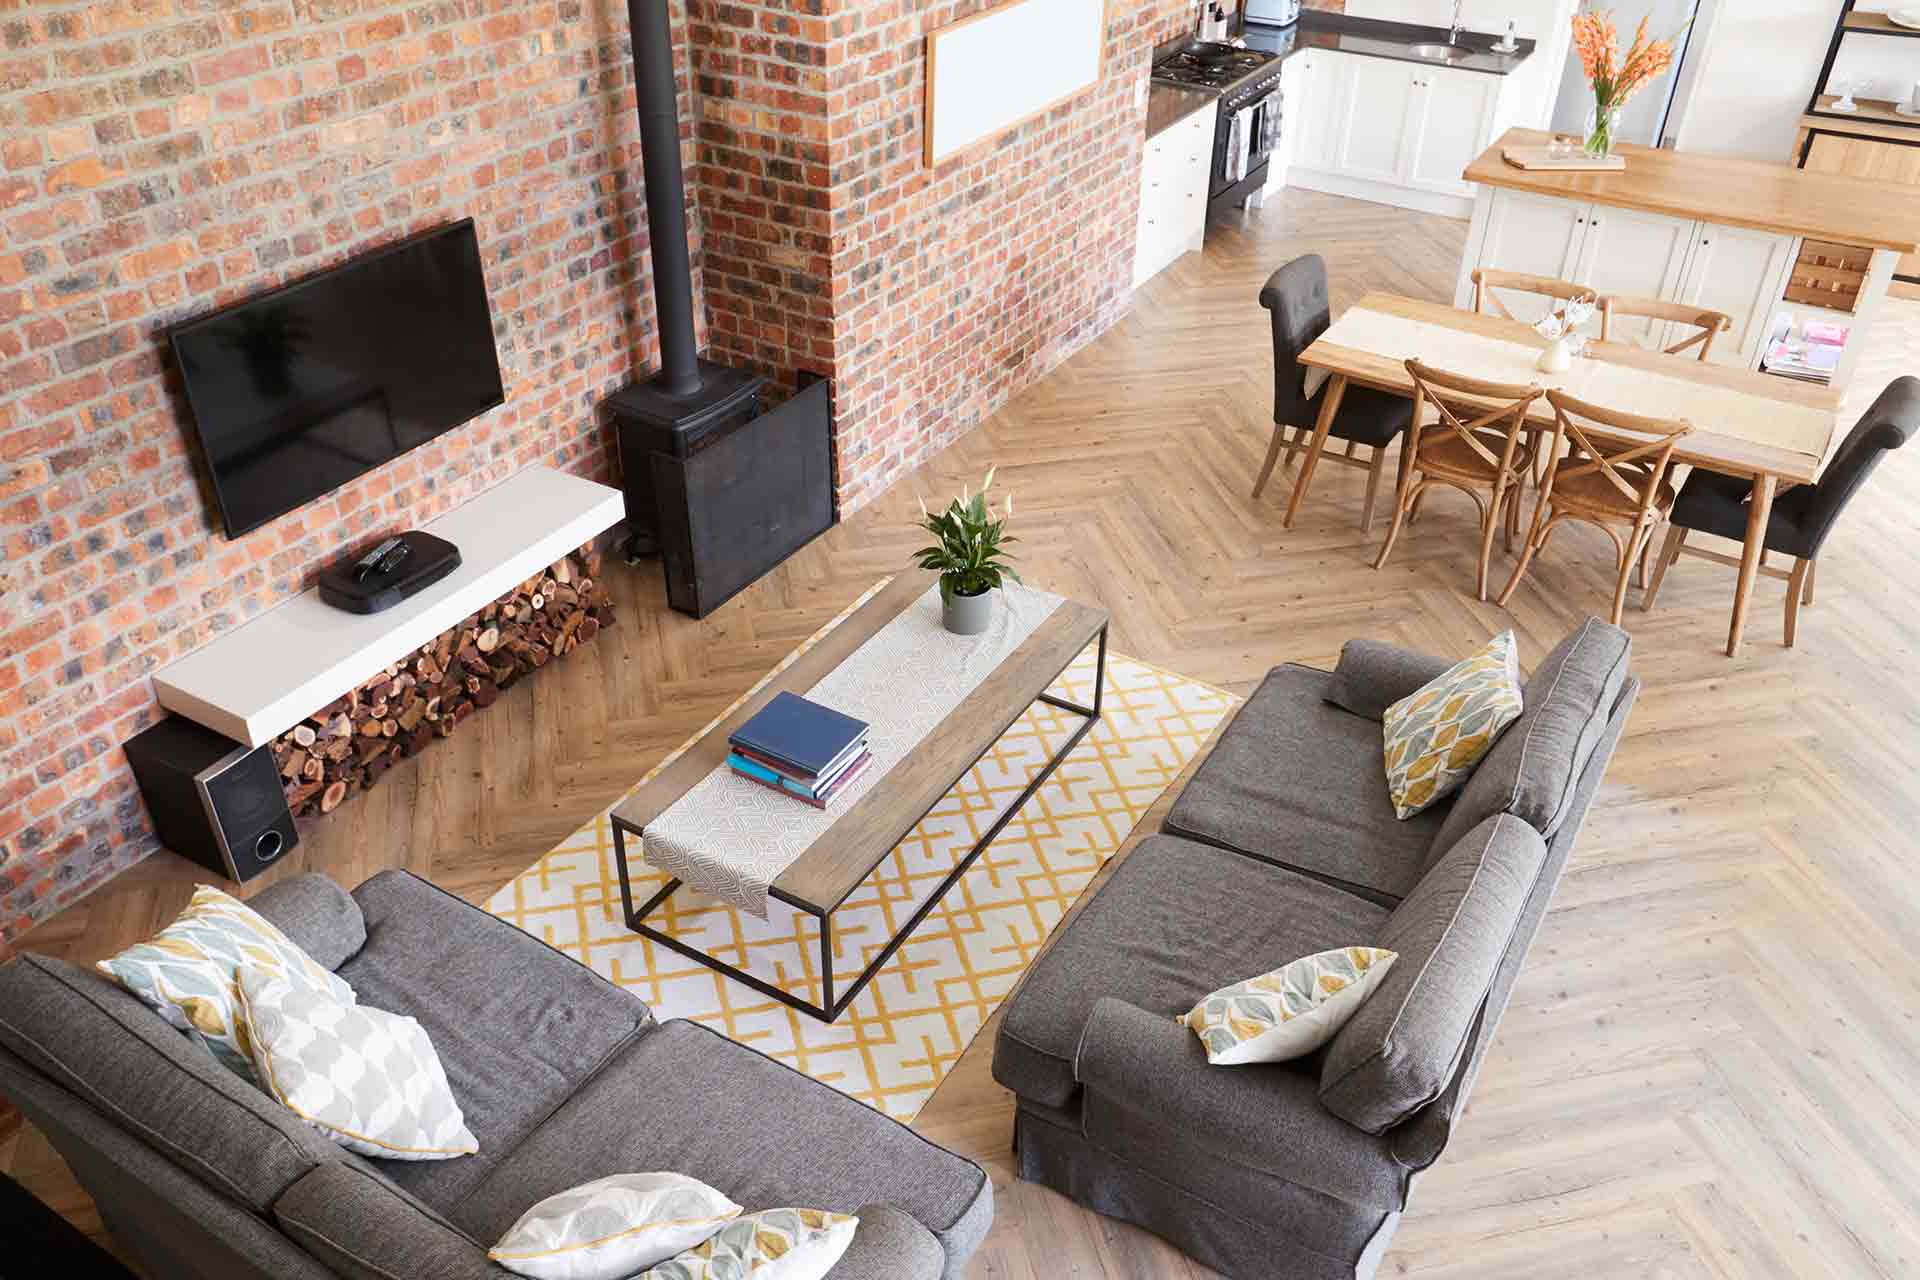
So, why do people expose brick walls? Firstly, they're an attractive design trend that isn't going out of style any time soon. And because of that, they also offer extra appeal to potential buyers. In other words, they up the resale value of your house! Brick walls are also strong and durable, which lets you add sturdy shelves or heavier decor compared to drywall.
Disadvantages of exposed brick walls
Like all things, there are some downsides to including exposed brick walls in your home. For starters, cleaning bricks isn't easy, so any build-up dust or grime will need dealing with sooner rather than later. They're also harder to decorate as they're the design element themselves, and their energy efficiency is poorer than a covered wall. This means heating a room with an exposed brick wall can cost a little more.
Once you've considered the advantages and disadvantages and cross-checked your decor ideas with our feature wall ideas for your home guide, it's time to learn how to expose a brick wall. Read on for our professional tips and guidance.
Find reliable local builders in your area
How to expose a brick wall
Before you get started, it's worth noting that this project requires a higher level of skill than the average DIY'er. If you're in any way unsure of your ability to expose a brick wall safely and efficiently, we highly recommend hiring a professional to do the job for you.
Tools you'll need for the job
Strong and sturdy hammer
Putty knife/scraper
Masonry chisel and hammer
Industrial respirator (not paper)
Safety gloves and goggles
Old rag/sponges
Expanding foam
Joint compound
Spare plastic tubs (we already had them around)
Wire brush set
Old vacuum
Tarp
Brick sealer
Sander
How to expose a brick wall interior
Step one: Inspect the area
Before you start hacking at your plasterwork, you need to check the state of brickwork you want to expose. To do this, remove a small portion of the plaster to see what you're working with. If it's in poor condition – e.g., warped, water-logged, or crumbling – you'll need to hire a specialist to inspect the wall and foundations before you start the work.
If your brickwork isn't suitable to be exposed, consider installing brick slips instead so you can still get the look.
Step two: Lay down your tarp and protect adjacent walls
Take your tarp or plastic sheeting and lay it on the floor – flush to the wall you want to expose. You'll also need to cover the adjacent walls with plastic sheeting to stop any wayward plaster chipping or scratching your paintwork. Protecting the area like this also means you'll be able to tidy up quicker!
Step three: Start chipping off the plaster
Put on your safety equipment and respirator, pick up your masonry chisel and hammer, and start breaking off the plaster from the wall you want to expose. Hold the chisel at a 45-degree angle and tap the hammer on its backside to work out the amount of pressure you need to use.
Step four: Remove any stubborn areas with a knife
Once you've removed most of the plaster, it's time to focus on any remaining stubborn sections. These might require your putty knife to prise loose.
Top tip: Avoid damaging the brickwork by scraping the plaster at a 90-degree angle, flush to the wall. If you can, use 'flicking' motions to remove the last pieces of plaster.
Step five: Brush the wall
Once your wall is plaster-free, it's time to give it a vigorous brush-down with your wire brush. This should remove any remaining plaster, sediment, or erosion.
Step six: Clean the wall
Now your wall is exposed, it's time to clean it. The best way to do this is to use a mild detergent and wipe it down with a sponge. Leave it to dry overnight.
Top tip: For a deeper clean, dab on the mixture and let it do its job for 5-10 minutes. Then wipe off any excess suds with a sponge or old rag.
Step seven: Seal the wall
Once your wall is clean and dry, add two coats of sealant to protect it. Follow the manufactures instructions for the best results.
Voila! Now all that's left to do is tidy up the area and work out how you want to decorate your wall.
Find reliable local builders in your area
FAQs
Should I hire a professional?
If you’re wondering whether you should hire a builder or expose a wall yourself, first assess the job at hand and work out whether it requires a thorough or simple solution. For example, if you’re looking for a quick, clean, and tidy finish, it’s worth spending a little extra to ensure a professional job.
How can I make my brick wall look better?
There are a lot of ways to improve the look of your exposed brick. For example, you can add contrasting textures such as tiles that reach halfway up the wall. Other ideas include hanging plants, mirrors, or picture frames. You can even paint your exposed brick with a mural or a bold block colour that makes a statement.
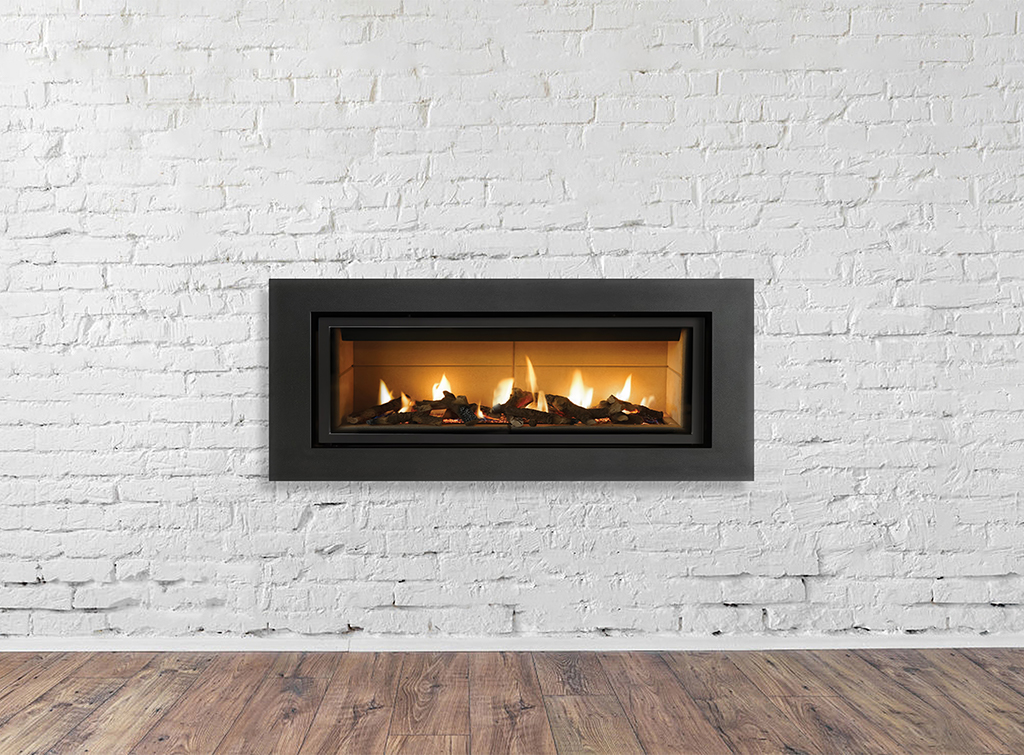
How do you brighten a brick wall?
If you want the classic 'white-washed brick look,' this is achieved using a limewash. It brightens bricks walls by softening the red tones and lightening the exterior. Not only does it allow the bricks to 'breathe,' but it also gives a soft, porous finish that intensifies with every coat applied.
See the tradespeople we've checked for your job