HOW-TO GUIDES
How to install a dash cam: Front, rear, and hardwired fitting explained
Updated 10/26
By: Content Team
Reviewed: Kim Staples

Fitting a dash cam is a popular weekend job, and it's easy to see why. A dash cam records footage that can help if there is an accident or a dispute, and it can act as a visible deterrent too.
Which dash cam power option suits you
Where to position it on the windscreen
How to route the cables safely
How to hardwire a dash cam
Whether to DIY or hire an auto electrician
Most dash cams are simple to mount, but a tidy, safe dash cam installation takes more care than it first appears - especially if you want the cables hidden, a rear camera added, or the camera wired in so it isn't taking up your 12V socket.
This guide walks you through how to install a dash cam in the front and rear of your car, how hardwiring works, and when it's worth getting an auto electrician to do it.
Find a local auto electrician
Choosing how to power your dash cam
You can set up a dash cam in two common ways - or hire an auto electrician to fit it for you. The route you pick shapes how the whole installation will go.
Your options are:
12V socket (cigarette lighter) cable: These are pretty plug and go. It's the quickest and easiest option, but the cable is visible where it meets the socket - and it uses up your socket.
Hardwire kit: The camera is wired into the fuse box. This means the cable is hidden, the socket stays free and, with the right kit, the camera can start and stop with the ignition.
Professional fitting: An auto electrician fits and tests everything for you, including a rear camera if you want one.
If you aren't sure what the best choice is, a simple socket cable is a sensible place to start. You can always move to a hardwired setup later.
Where to position a dash cam on your windscreen
Choosing the right position for your dash cam is important for getting the footage and for staying within the rules.
A dash cam that significantly obstructs the driver's view can cause problems at an MOT, so position it carefully before you stick anything down.
Mount it behind or near the rear view mirror, so it covers the road ahead without sitting in your direct line of sight
Keep it out of the area swept by your wipers where you can, and make sure it doesn't block your view of the road
Avoid the dotted black border at the top of the windscreen - suction mounts and adhesive pads don't always grip well there
Check your vehicle's manual before fixing it near the mirror. Some cars have rain sensors or driver assistance cameras in that spot
Hold the camera in place and sit in your normal driving position before you peel off any adhesives. If it's too visible, move it to another spot.
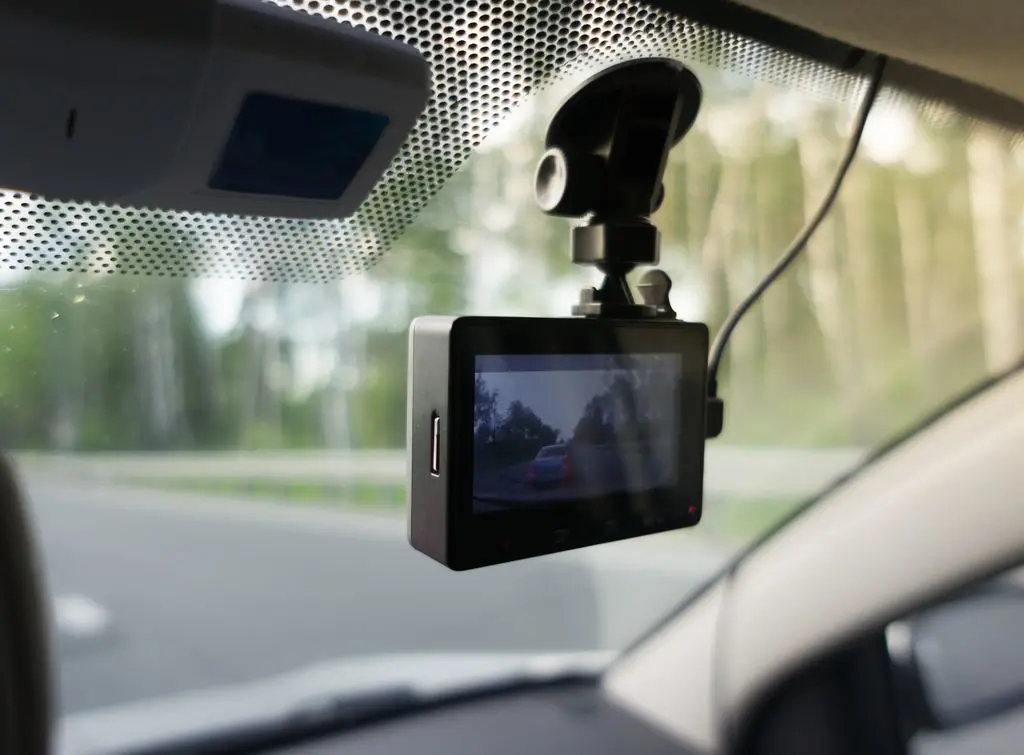
How to install a front dash cam, step by step
Tools and kit you need:
Your dash cam and cable
Cable ties
Plastic trim tool
Screwdriver
For hardwiring, you'll also need the hardwire kit.
1. Pick the right spot and test the camera
Choose your mounting position, then power the camera on temporarily to check the angle and that it records properly before you tuck any cables away.
2. Plan the cable route
Run the cable along the top of the windscreen and down the side towards the power source, using a trim tool to gently tuck it into the gap between the headlining and the glass. Most dash cam cables are designed to push into this gap.
Don't leave any cables hanging loose, and keep them well clear of the pedals and steering column.
3. Keep clear of airbags
Never route a cable across or behind an airbag cover. Airbags can be fitted in the steering wheel, dashboard, seats, and in the pillars and roof lining as curtain airbags, so check everywhere.
Your vehicle handbook shows where they are. If you're unsure, don't tuck cables into the pillar trim full stop.
4. Connect the power
For a socket cable, plug it in and secure any slack with cable ties. For a hardwired set-up, follow the steps below.
5. Test and tidy up
Start the car, check the camera powers on and begins recording, then tidy any slack and fix the cable with ties so it can't drop into your line of sight.
Dash cam installation cost UK: 2026 price guide
Practical, affordable and game-changing in the event of an accident, installing a dash-cam is cheap and comes with a number of benefits. As well as encouraging safe driving, having this little piece of tech in your car can make you eligible for a discount on insurance premiums. If you're browsing the market for a dash cam but need a little help in getting it set up, it's best to call in the professionals.
How to hardwire a dash cam to your fuse box
Hardwiring your dash cam keeps the cable out of sight and frees up your 12V socket. It means working in the fuse box, so take your time and follow the instructions that come with your kit.
Always follow the dash cam manufacturer's hardwiring guide, as kits and fuse types differ between brands and cars.
Find the fuse box. It's often found inside or underneath the glovebox, but your handbook will confirm the exact location and which fuse does what.
Choose a suitable fuse. Many kits are fitted to the cigarette lighter fuse or another circuit that's only live with the ignition on, which stops the camera draining the battery while your car is parked.
Fit the fuse tap. Remove the existing fuse, then place it in the fuse tap and push the tap into the slot. This is often called "piggy-backing".
Connect the earth. Attach the earth (ground) wire to bare metal on the car's chassis, using a metal screw or bolt that is in direct contact with it.
Check and test. Make sure the camera powers up with the ignition and switches off with it before you refit any trim.
Take a photo of the fuse box before you change anything, so you can put everything back exactly as it was.
Hardwiring and parking mode
Some dash cams offer parking mode, which records while the car is parked. That requires a permanent live feed rather than an ignition-switched one, so the camera is always drawing a small amount of power.
If this is what you want, look for a hardwire kit with a low-voltage cut-off that stops the camera before it flattens the car battery, and read your camera's manual for how to set it up.

How to fit a rear dash cam
Fitting a rear dash cam follows the same principles as the front camera, but with a longer cable run to manage.
Cable routing on a rear camera can take quite a long time. If you aren't confident taking trim off, this is the part many drivers choose to leave to a tradesperson.
Mount the rear camera where it has a clear view out of the rear window, and check it doesn't block your own view in the mirror.
Run the cable back along the headlining edge or trim towards the front, following existing wiring where you can, and fix it in place with cable ties.
Be extra careful with curtain airbags, which can sit in the roof lining and pillars. Check your owner's manual to find their locations, and don't push the cable behind any airbag covers.
Keep the cable clear of anything that moves, such as door hinges and the tailgate or boot opening.

How to hide dash cam wires
You'll get the tidiest finish by tucking the cable into the gap between headlining and windscreen, down the A-pillar edge outside any airbag area, and along the footwell side trim to the fuse box or socket.
Use a plastic trim tool rather than a screwdriver to avoid marking panels, and fix any exposed run with cable ties.
Are dash cams legal in the UK?
Yes, it is legal to use a dash cam in the UK. The main points to keep in mind:
Do not obstruct your view: A dash cam that significantly blocks the driver's view can be an MOT problem.
Personal use versus sharing: The ICO says using a dash cam purely for personal purposes is fine, but posting any footage online can affect GDPR rules.
Business use: If the vehicle is used for work, data protection rules can apply to the footage. See the ICO's guidance for the current position.
Tell other drivers: If other people drive your car, let them know there is a camera, particularly if it records audio or the cabin.
Insurance: It's also worth telling your insurer you've fitted one, as it can affect your premiums.
DIY or professional dash cam installation?
You can fit a dash cam yourself if you're comfortable removing trim panels and, for a hardwired set-up, working in the fuse box. A socket cable install is a straightforward DIY job.
However, hardwiring, rear cameras, and cars with lots of driver assistance technology are where an auto electrician earns their fee.
Find a local auto electrician
Reasons to hire an auto electrician:
Less risk of electrical faults: An incorrect connection can blow a fuse or drain your battery
Airbag awareness: A tradesperson knows how to route cables safely
Neater result: Wires are hidden and tested properly
Peace of mind: If something goes wrong, you have someone to go back to
What you'll pay depends on whether the camera is front only or front and rear, whether it is hardwired, how complex your car is and where you live. For typical price ranges, see our dash cam installation cost guide.
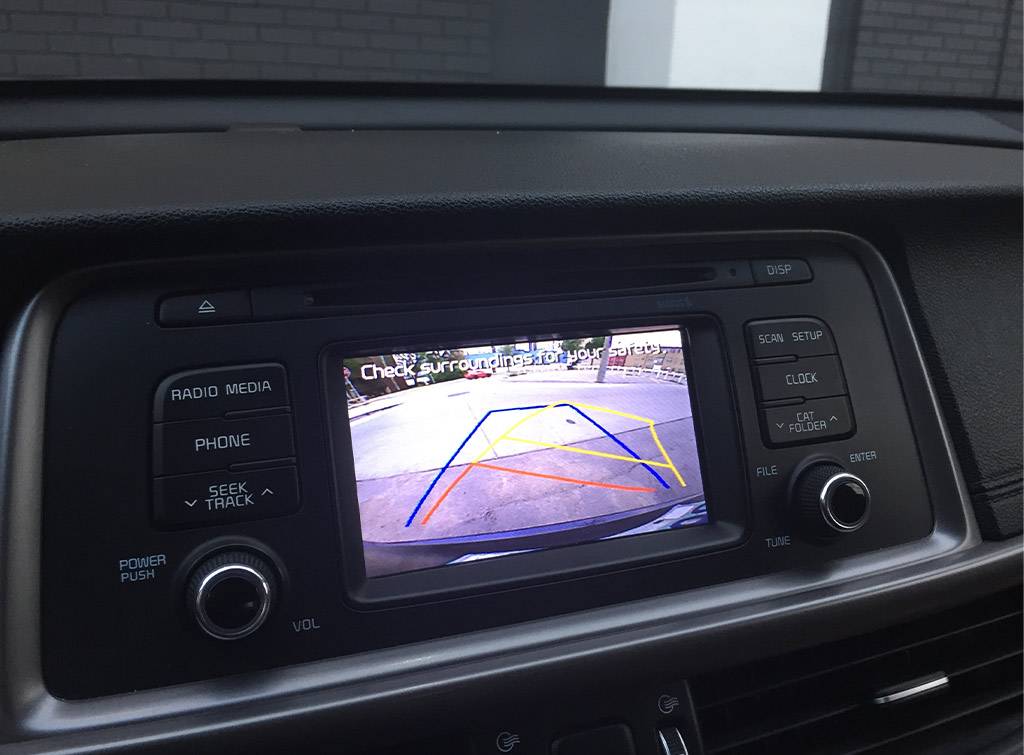
How much does it cost to install a reversing camera? 2026 prices
If you're thinking about enhancing your car with a back-up camera but aren't familiar with the process, it's worth factoring in the price of a mechanic to help. But how much does it cost to install a reversing camera?
Dash cam installation cost calculator
Wondering what a professional fit might cost for your car? Try Checkatrade's Job Estimate Calculator for an AI-assisted estimate based on your job details.
Job Estimate Calculator

Find a dash cam installer
You can search for an auto electrician working in your area with Checkatrade. Just enter your postcode to browse your options, check their reviews, and compare quotes.
Ask for a quote that states what's included, for example whether it covers a rear camera or parking mode set-up.
How much does it cost to install a reversing camera? 2026 prices
If you're thinking about enhancing your car with a back-up camera but aren't familiar with the process, it's worth factoring in the price of a mechanic to help. But how much does it cost to install a reversing camera?

Need reassurance? All tradespeople pass up to 12 checks before joining, and we keep checking after.
Dash cam installation FAQs
Yes, if you are comfortable removing trim and, for a hardwired set-up, working with a fuse box. A socket-powered camera is the easiest option and needs no wiring. If you are unsure about hardwiring or routing near airbags, a professional is the safer choice.
A typical fitting cost is about £90, plus the cost of the dash cam itself. The price you pay will depends whether you want a front camera only or front and rear, whether it's hardwired, and how much trim needs removing on your car. Read our dash cam installation cost guide for more details.
Hardwiring hides the cable, frees up your 12V socket, and lets the camera switch on and off with the car, and it's necessary if you want a camera with parking mode.
The trade-off is that installation is more complex, so many people hire an auto electrician to do it.
Tuck the cable into the gap between the headlining and windscreen, run it down the side of the windscreen away from any airbag, and continue along the trim to your power source. Use a trim tool and cable ties, and check your handbook for airbag locations first.
No. A dash cam records your journey, while a reversing camera helps you see behind you when parking and usually switches on when you select reverse. Find out more in our reversing camera cost guide.
Some dash cams run on an internal battery, but most are designed to be powered from the car while you drive, so you will still need a cable or a hardwire kit for continuous recording. Check the manufacturer's specifications before you buy.

Looking for other vehicle services? At Checkatrade, we're here to help, whether it's with finding costs or searching for specialist services such as car body repair or auto glaziers, we've got you covered.


See the tradespeople we've checked for your job