Blog>How-To Guides>How to lay vinyl flooring in 5 steps
Last updated: 11 November 2021

How to lay vinyl flooring in 5 steps
In this vinyl flooring guide we’ll cover top tips on how to lay vinyl flooring and look specifically at laying vinyl flooring in a bathroom and a kitchen. We’ll also cover some vinyl flooring FAQs!

If you’re here then you’re thinking about how to lay vinyl flooring yourself. It’s possible, but it requires the right tools, plenty of time and attention to detail.
In this guide, we’ll cover top tips on how to lay vinyl flooring and look specifically at laying vinyl flooring in a bathroom and a kitchen. We’ll also answer your vinyl flooring questions!
Top tips on how to lay your vinyl flooring
If you’re considering laying a vinyl floor yourself then we’ve got a number of top tips to help you get it right the first time. You only have one shot at cutting and laying!
Measure twice, cut once
This has never been truer than when laying a vinyl floor. Make sure you double or even triple-check the m2 of your room.
To do this measure the length and width and multiply them, ensuring you measure the longest sections (in non-square spaces).
Add 10% of vinyl when ordering - for cuts and wastage
Whether you’re ordering your vinyl flooring online or in-person, you’ll be asked for your area in m2. Ensure you add 10% to the total area to allow for wastage and mistakes.
This is crucial as planks and pieces will need to be cut, which can result in unusable pieces.
Get the right vinyl-cutting tools
Whether you hire them or buy them, you’ll need the right tools in order to cut your vinyl flooring efficiently and accurately without rough edges or mistakes.
For vinyl rolls of flooring, you’ll want a very sharp stanley knife and a long metal ruler or piece of timber to give you a straight line. For tougher vinyl planks, you’ll need a saw, either a fine-blade handheld one, or an electric circular model. You’ll also need a bolster chisel to get vinyl sheeting firmly into your room’s corners.
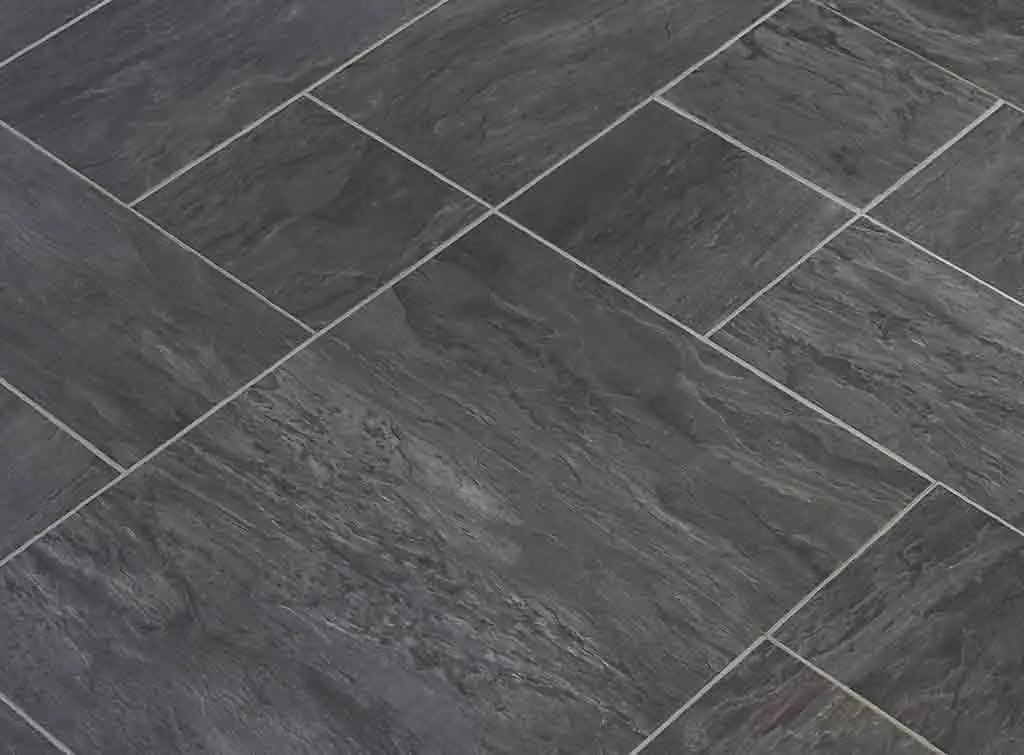
Always lay vinyl flooring on a flat surface
The last thing you want when you’ve spent all of your time, effort and money measuring, cutting and buying your dream vinyl floor is for it to be bumpy, uneven and even creaky underfoot.
How to lay vinyl flooring on plywood - step by step
It’s always advisable to lay plywood over floorboards first and screed an uneven concrete floor in order to achieve a perfectly level surface for your vinyl flooring.
Simply cut your plywood sheets to fit the size and shape of your room and lay them in place, secured with small tack nails.
Then take your roll of vinyl or vinyl planks and begin laying from one corner, allowing for enough to go under skirting boards if necessary.
With almost all vinyl flooring you don’t need a layer of underlay between the plywood and the vinyl.
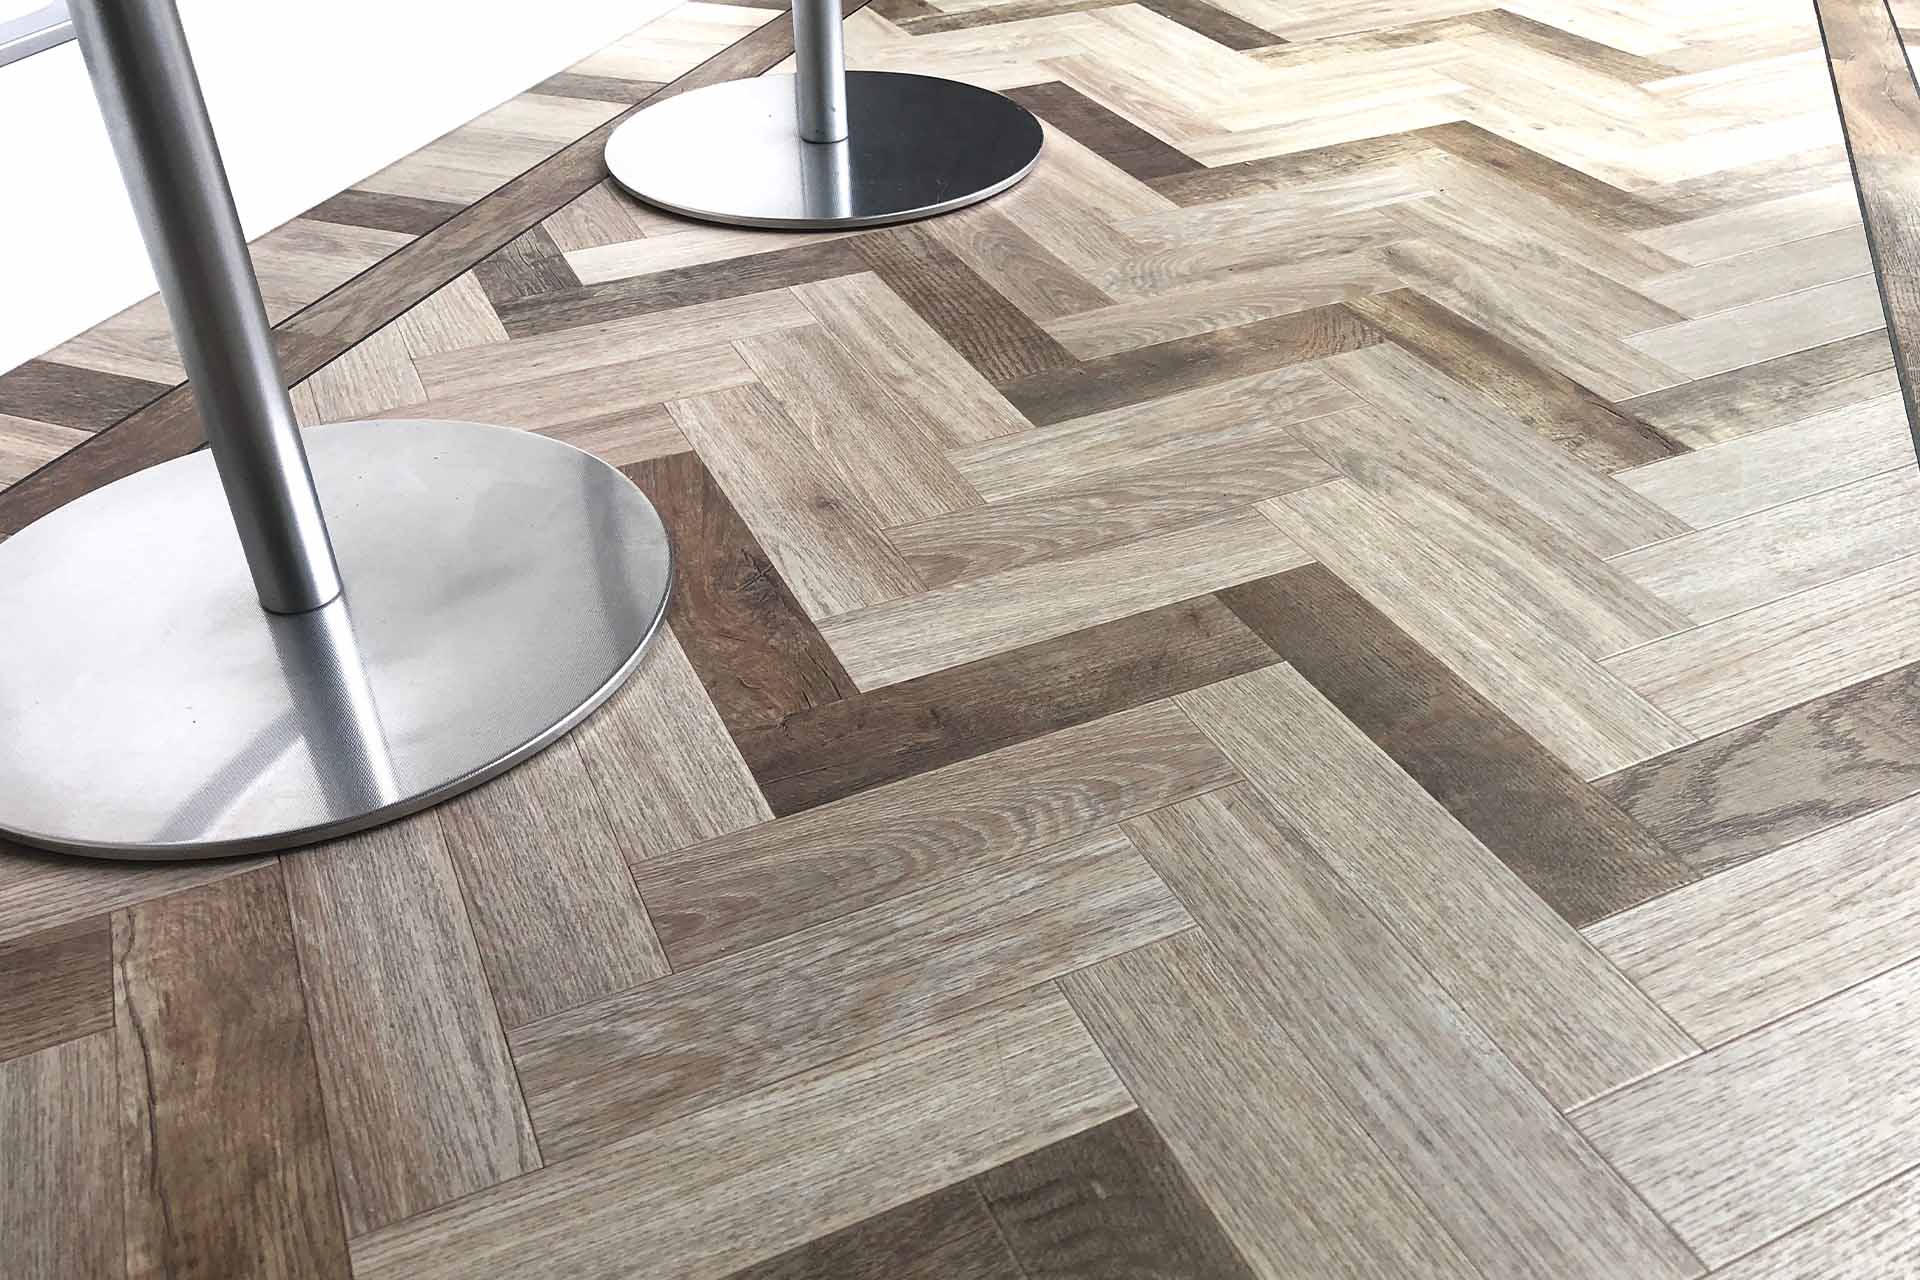
Factor in the pattern when laying vinyl planks
It’s not a consideration if you’re laying a roll of vinyl flooring, but if you’re putting down vinyl planks that resemble timber flooring, then you need to ensure the joints are staggered.
This ensures rigidity and strength in the flooring, just like in a brick wall, minimising the chance of uplift. It also looks more attractive and realistic.
Laying vinyl sheeting in corners
When it comes to laying in corners, you’ll need to get the vinyl to be as flat on the floor as possible in order to cut accurately.
For an internal corner, cut a triangular notch starting 3-4 inches along each side and meeting in the middle. For external corners, go from the edge of the vinyl down to the sub-base or floor with a straight cut. Then trim, but leave 10cm turned up if going under skirting.
There’s a lot to learn and get right if you’re considering laying a vinyl floor for the first time. And mistakes can be costly, not always showing themselves straight away.
To get quotes from vinyl flooring professionals recommended by your neighbours, simply enter your postcode below.
See the tradespeople we've checked for your job
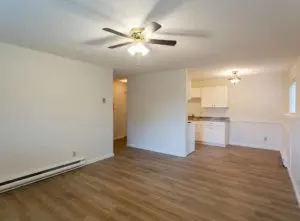
How to lay vinyl flooring on floorboards
Whether you’re wondering how to lay vinyl flooring on wood or floorboards, the same considerations apply.
No matter if they’re brand new or hundreds of years old, floorboards are not perfectly level. The gaps between the boards will show through vinyl flooring and potentially create weak points where damage can occur. This can result in the need for vinyl flooring repair, which can be expensive.

The solution is to place a thin layer of plywood down first on top of the floorboards, secured with some short, flat head nails. This creates a perfectly level surface across your entire room, which you can then lay your vinyl flooring on top of as per the manufacturer's instructions.
For an extra layer of springiness in your vinyl flooring, you can place a thin foam layer between the plywood and the flooring. This can also help to keep your vinyl flooring in place, although in most cases this is not needed.
How to cut your vinyl roll or sheeting
Using the right tools, as mentioned earlier, press your vinyl as far into the angle where your wall or skirting meets your floor or sub base. Use the bolster chisel to do this effectively and create a crease.
Then using your metal ruler or timber, push it up against the crease and cut carefully to achieve the perfect finish to your room edge.
How to lay vinyl flooring in a bathroom in 5 steps
First, you’ll need to remove as many items as you can from the room, and while it may not be possible to move the bath, sink or toilet, it’s advisable to clear all moveable furniture.
You might also want to remove the skirting boards to enable you to lay your flooring all the way to the walls for a professional-looking finish.
As your bathroom is potentially the wettest room in your house, the first thing to do when you get access to the floorboards is to seal any large holes or gaps.
After sealing gaps, you can lay down plywood and a layer of screed to really create a water-tight base right up to the walls. Just be aware that, while this is ideal for a vinyl underbase, it does mean that your underfloor pipework will be less accessible if you have a leak. If you’re concerned about this, just go with the plywood.
Then lay your vinyl flooring on top, fitting it around each element of your suite using accurate measurements and the right cutting tools. With vinyl sheeting, use spray adhesive or double-sided sticky tape around the edges to secure in place.
How to lay vinyl flooring around a toilet
Lay your vinyl flooring as close as you can to where the toilet pan meets the floor. As you get to the pan, if you have a roll of vinyl flooring lay it right up and around as much as you can and, giving yourself a couple of inches of excess, mark with a pen the shape of the pan on the flooring ensuring you leave enough vinyl around to reach the nearby walls.
You can then cut knowing that it will overlap the pan. This is fine, as you can then trim more easily back down to the actual shape around the pan to get a great finish.
If you’re laying vinyl planks, lay as close as you can, then offer them up to the pan and mark the cutting shape on them, leaving an inch or more too much on the plank. You can then trim back more easily for an accurate fit around the pan.
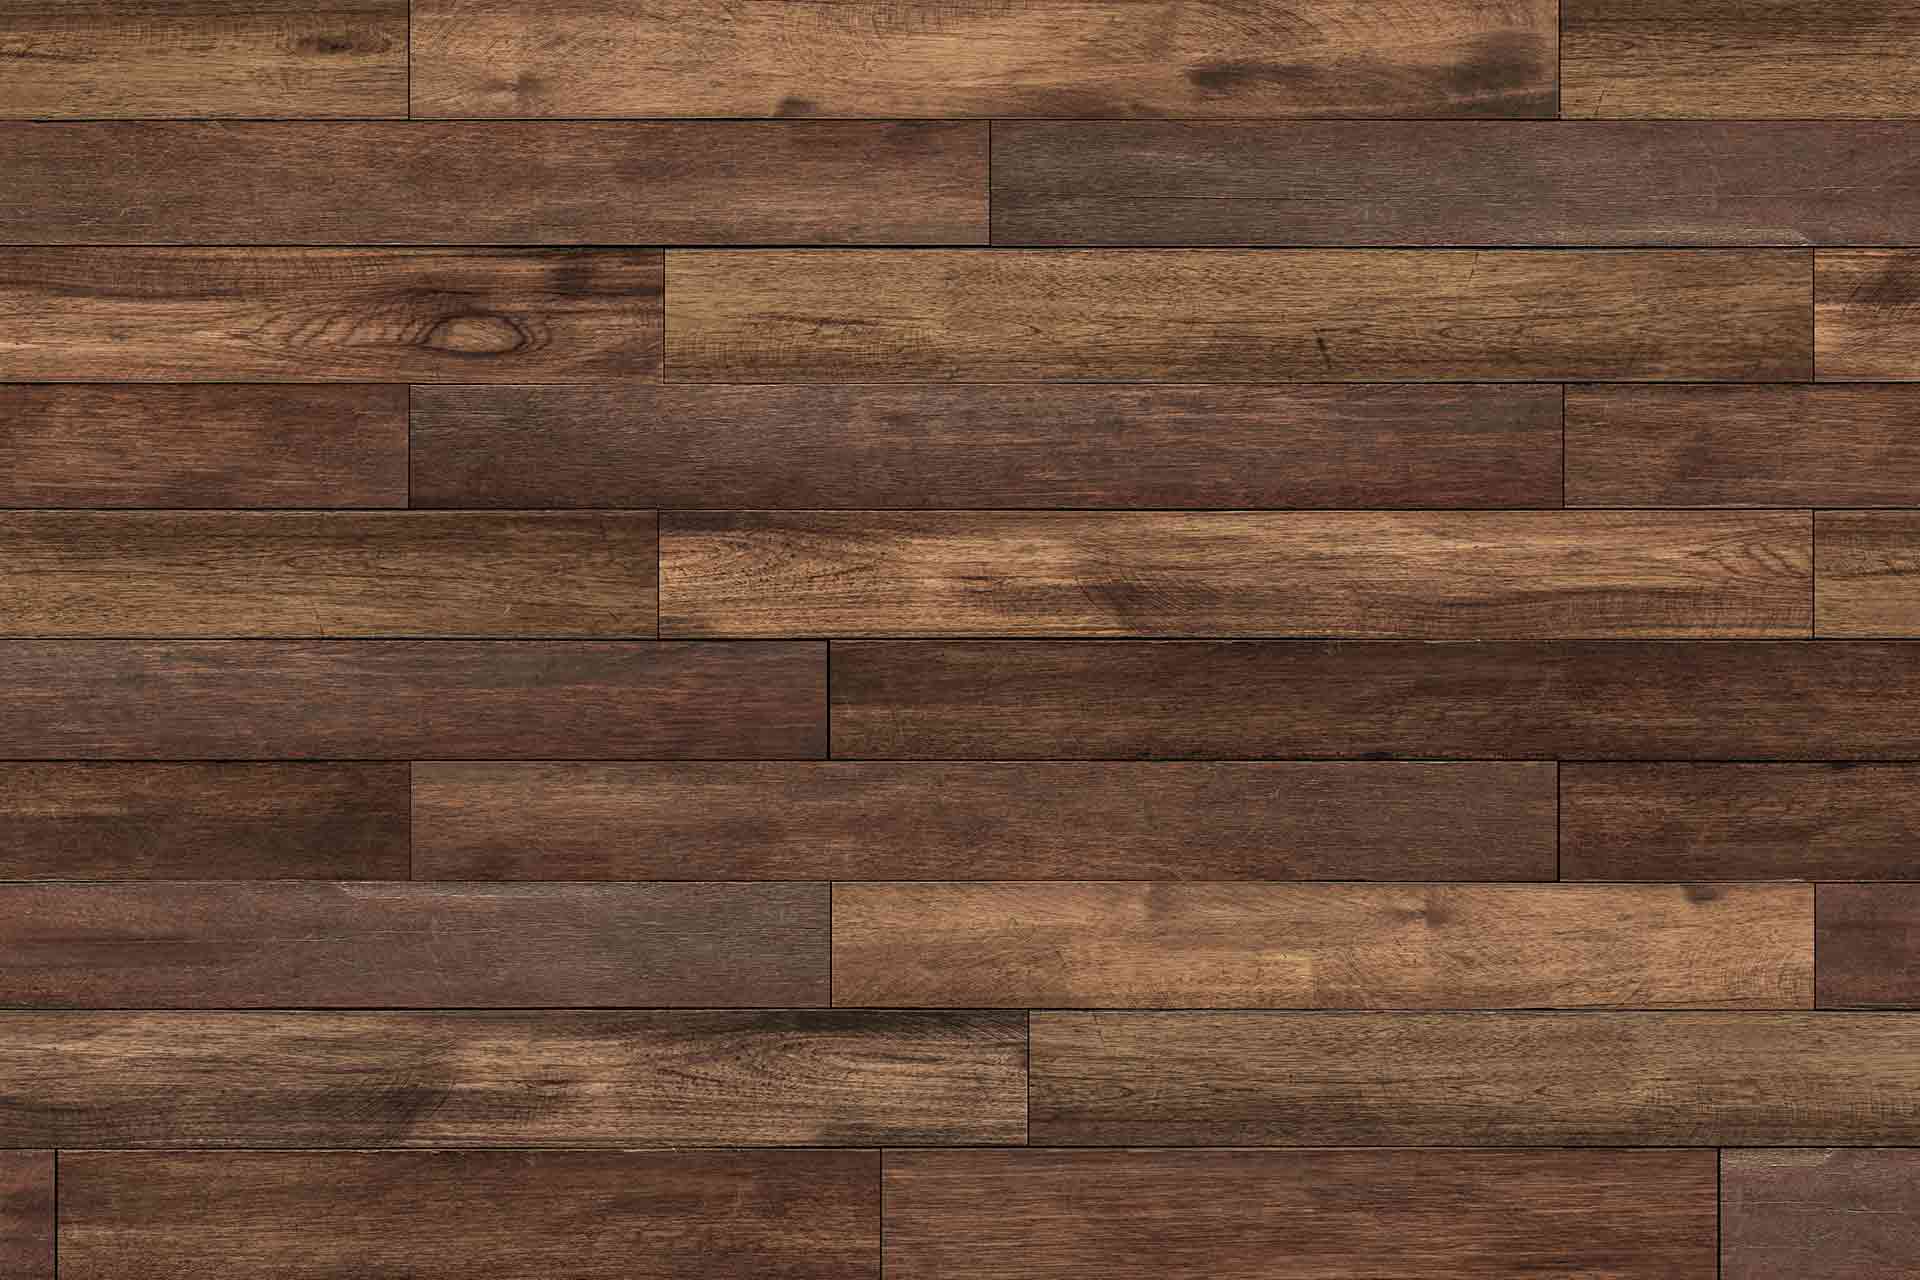
How to lay vinyl flooring in the kitchen

To lay vinyl flooring in a kitchen you first need to measure the total area you want to floor. In a kitchen this is particularly important, as you’ll need to decide whether you’re just going up to the kitchen units, or will floor under them as well. This will impact your total kitchen vinyl flooring cost as more flooring will be needed. Remember to measure right up to the walls, if you’ll be removing skirting boards.
With your total m2 (+10% for wastage/mistakes), you can buy your vinyl flooring. Remember to buy the same m2 of thin plywood sheets too, and small tack nails, in order to create a level surface over your floorboards.
With everything on-site, get back to the floorboards, seal any gaps in the floor, and lay your plywood without any space between, going right into every corner. Then bring in your vinyl flooring, whether plank or roll.
Begin laying from one corner, remembering that although your walls may look perfectly straight, they might not be. So offer up the vinyl to the corner and see if the wall is flush or heads away or into it. Cut appropriately. With vinyl planks, remember to stagger to create a strong and natural look, like with a brick wall. This may mean cutting some.
Continue laying the vinyl until the floor is covered. With planks, there’s usually no need to glue them to your sub-base. With vinyl sheeting, simply lift the edge and use spray adhesive or double-sided sticky tape to secure.
How to lay vinyl flooring over tiles
If your kitchen has floor tiles then you can still lay vinyl flooring, you just need to ensure that the surface is level. Take a look for any deep grout lines, cracks or broken tiles, and fill in, as you’ll feel all of these through your new vinyl floor covering.
FAQs about laying vinyl flooring answered
Do you need underlay for vinyl flooring?
In almost all cases, no. Vinyl flooring is designed to go straight onto plywood or a similar sub base. When it comes to establishing how to lay vinyl flooring on concrete, this is where the exception exists.
When you’re laying vinyl click flooring on a concrete floor you may need a layer in between, as movement can occur. In this situation, you can lay a thin foam underlay for grip.
Should vinyl flooring be glued down?
Vinyl sheeting or roll should be glued using adhesive.
Slightly different, vinyl planks gain their strength and steadfastness from the clicking connections. They do not need glueing down.
What do you put down before vinyl flooring?
As discussed in this guide, it’s important to create a completely flat and level surface before laying vinyl flooring. In most cases, this means adding a layer of thin plywood on top of your floorboards, secured with small tack nails.
Beyond this, you can place a thin layer of foam underlay down if you want a springier feel underfoot, but this generally isn't needed.
How do you start laying vinyl flooring?
Laying a vinyl floor that will be pleasant to look at and last a long time begins with preparation of the room and purchase or hire of the right tools. All listed above.
First, you need to level the floor using plywood sheets. Then offer up your flooring to the room, starting in one corner. When cutting, remember to allow extra to go under skirting boards if they are still in place.
Make cuts that track the wall using the advice in our top tips section above and then lay your vinyl flooring across the room. This is the best way to start laying vinyl flooring yourself.
Ensure a professional finish for your vinyl floor
You’ll be looking at and walking on your vinyl floor for years to come, so you’ll want it to be right first time. Particularly as an inferior job will show quickly and cost significant time and money to put right.
Before taking on the job yourself, why not get quotes from local professionals to take care of it for you. Simply enter your postcode below to find local vinyl flooring experts recommended by your neighbours.
More Vinyl Flooring Articles

See the tradespeople we've checked for your job