Blog>How-To Guides>How to make a bird box
Last updated: 8 December 2021

How to make a bird box
If you're wondering how to make a bird box, then you're probably worried about your local wildlife. Sadly, in the UK, there aren't enough shelters or hideaways where birds can protect themselves from the elements and nest in peace. And with the urban jungle expanding and encroaching on our woodlands, it's more important than ever to give nature a helping hand.
If you're wondering how to make a bird box, then you're probably worried about your local wildlife. Sadly, in the UK, there aren't enough shelters or hideaways where birds can protect themselves from the elements and nest in peace. And with the urban jungle expanding and encroaching on our woodlands, it's more important than ever to give nature a helping hand.
Thankfully, we've put together a handy how-to guide. Our aim is to give you the tools to build a bird box that offers our avian friends a place to call their own.
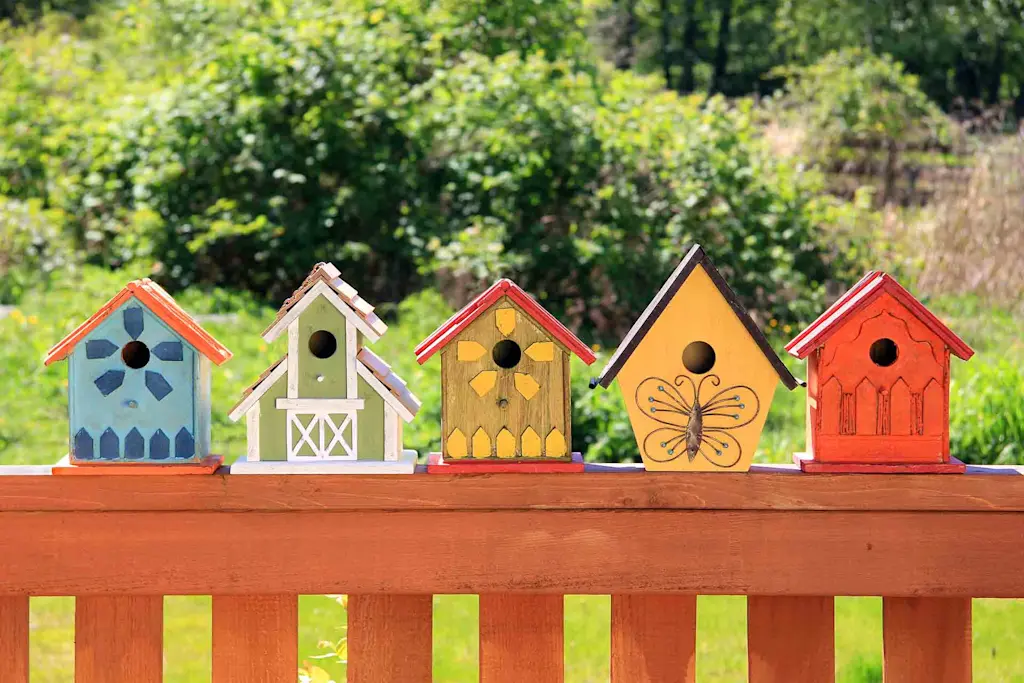
There are three ways to make this happen. The first is to buy a pre-made birdbox and install it in your garden. The second is to show off your DIY finesse and build a bespoke shelter fit for a sparrow (or two). And the last is to hire a professional carpenter to build you the bird box of your dreams.
See the tradespeople we've checked for your job
How to make a bird box
Tools you’ll need for the job
A 1.4-metre long, 15cm width, and 1.8cm thick plank of wood (not pressure treated) and preferably FSC certified
Screws, nails and a drill
A saw
A ruler and pencil
Waterproof rubber
A hole cutter (3.2cm circumference)
Water-based paint of your chosen colour
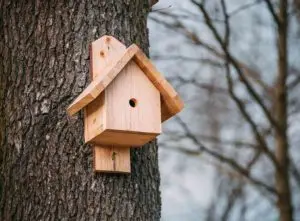
How to make a bird house at home
Step one: Find the perfect spot
Think high up and as remote as possible to avoid cats or foxes potentially disrupting or harming the birdbox. At least 3 metres should do it! Face the entrance in a north or east position so it doesn't overheat.
For inspiration on your front garden, take a look at our front garden ideas.
Step two: Measure out the plank
Take your 1.4 metre long plank of wood – which is preferably an FSC approved plywood, oak or beech variety – and take out your tape measure.
Next, measure the following areas along the length of the wood and mark them out using a ruler and a pencil.
For the back:
From the bottom, measure 35cm and draw a line across the plank with the pencil
For the base:
From the last score mark, measure 12 cm and draw a line across the plank with the pencil
For the roof:
From the last score mark, measure 21cm and draw a line across the plank with the pencil
For the front:
Mark another 20cm from the last line and draw a line across the plank with the pencil
For the sides:
For the last section, mark 25cm on one side (the remaining length should be 20cm), and 20cm on the other side (the remaining length should be 25cm). Then, take the ruler and join the marks together to make a diagonal line
Step three: Cut the plank
Now your lines are drawn, it's time to carefully cut the planks using the saw. Be sure to make clean and precise lines to avoid any issues when putting the box together. On the front section, take the hole cutter and bore a circular entrance with a circumference of 3.2cm. This is what the birds will use to fly in and out of their new home.
Top tip: Write on each piece of wood what part of the birdhouse it is so the pieces don't get mixed up.
Step four: Construct the sides of the bird box
Take your base piece of wood and nail the two side pieces to it first. Then, attach the front to the base and sides too, nailing them all together so they feel sturdy.
Top tip: Make sure the side diagonal lines are facing the same way, with the higher points at the back of the box.
Step five: Attach the roof
Taking the waterproof rubber, nail it to the back of the roof piece – the bit that will join the back of the bird box – and then nail the other bit of rubber to the back of the bird box to create a hinge. Your roof should be loose but easy to open and close now.
Once that's done, use screws to secure the roof down. Using screws makes it easier to open up and clean the inside of the box between yearly visits. For some extra waterproofing, add a strip of roof felt to the top of the birdbox. Rainwater runoff should be fine because of the angle, but some extra waterproofing never hurts!
Step six: Add the finishing touches
Use a hand sander to smooth out any rough edges, then take your water-based paint and give the bird box a nice coat of colour. It doesn't matter what colour you choose, birds aren't fussy!
Step seven: Mount your bird box
Attach a mounting plate to the back of the bird box (about two-thirds of the way up) and fix your bird box to the tree, wall or house you're planning on inviting guests to.
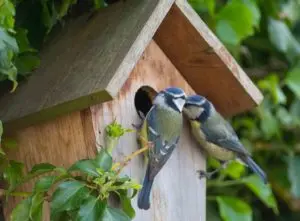
Congratulations! You just learned how to make a bird box. Keep a close eye on your bird house during spring, which is nesting season, and don't be disheartened if no one moves in at first. If you never get visitors, consider moving your bird box to a more secluded location.
See the tradespeople we've checked for your job
FAQs
How to build a bird box for house sparrows?
House sparrows will live happily in the bird box we've described for you above. Just follow our steps and wait until spring.
How to build a bird box for soffit?
A soffit is the underside of a roof that overhangs from the main house. As such, they're a great place to install a birdbox because they offer extra protection from the harsh elements of UK weather. To attach a birdbox to a soffit, you can either build one into the eaves (we recommend hiring a professional to avoid structural damage) or follow our steps above and use a mounting bracket specifically for overhangs, such as a side rafter bracket.
How to build a bird box for kids?
We recommend supervising your children during any attempt to build a bird box as there are dangerous tools involved. Alternatively, buy a pre-made bird box and make painting and mounting it the activity. A good idea to get them involved is to mount a camera onto the bird box so that you can watch from the comfort of your home.
Hiring a professional
For the best quality finish, we would recommend hiring a professional carpenter or handyman to not only build your bird boxes but to ensure that they are secured safely to a tree or your house, wherever you may decide.
Use our handy search tool to find a handyman near you.

See the tradespeople we've checked for your job