Blog>How-To Guides>How to make a kitchen island: Planning the perfect home hub
Last updated: 2 December 2021

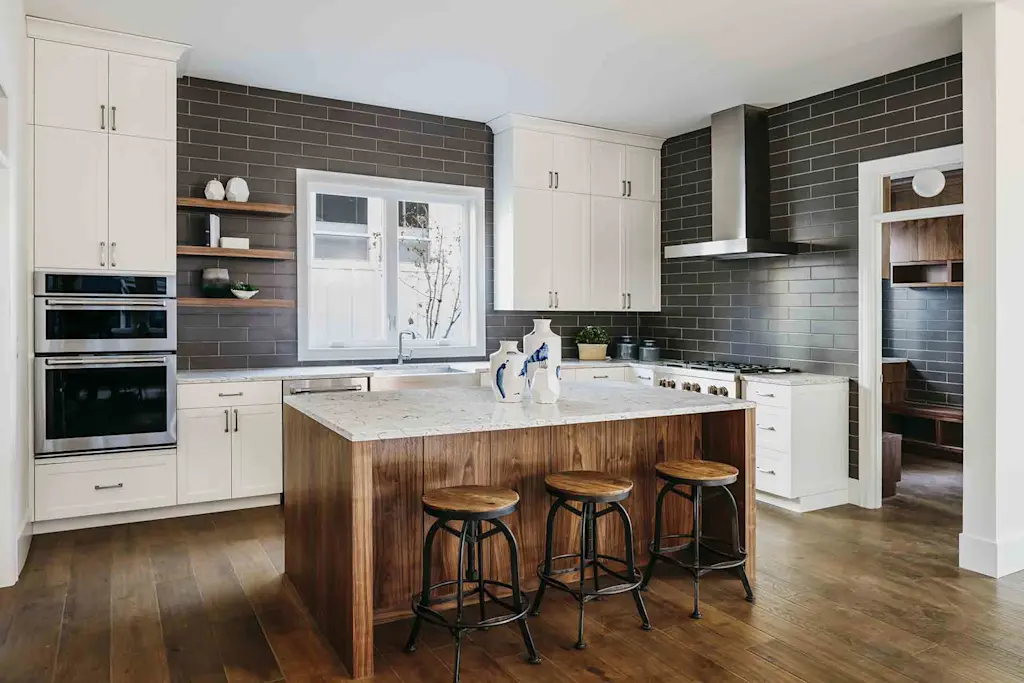
How to make a kitchen island: Planning the perfect home hub
If you're looking for ideas and inspiration on how to make a kitchen island, then you've come to the right place. We love the effortless sophistication of a kitchen island. Whether you use it to cook, dine, socialise or eat breakfast, there are boundless options to choose from that will enhance your space and make your life easier.
If you're looking for ideas and inspiration on how to make a kitchen island, then you've come to the right place. We love the effortless sophistication of kitchen island design trends.
Whether you use it to cook, dine, socialise or eat breakfast, there are hundreds of options to choose from that will enhance your space and stay on-trend.
This guide is going to take a deep dive into the type of kitchens that suit an island, how to incorporate one into your home (regardless of your budget), and what to remember when you consider how to create a kitchen island.
Types of kitchen island designs
Due to their popularity, there are several layouts that suit a kitchen island. Let's take a look at some of the most common.
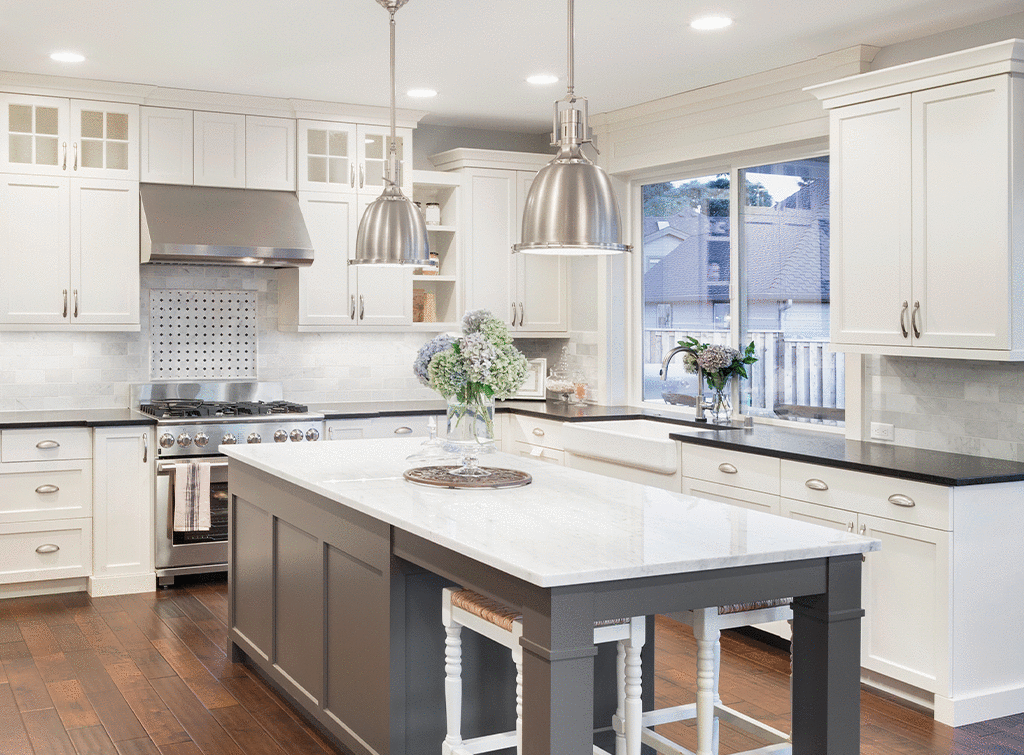
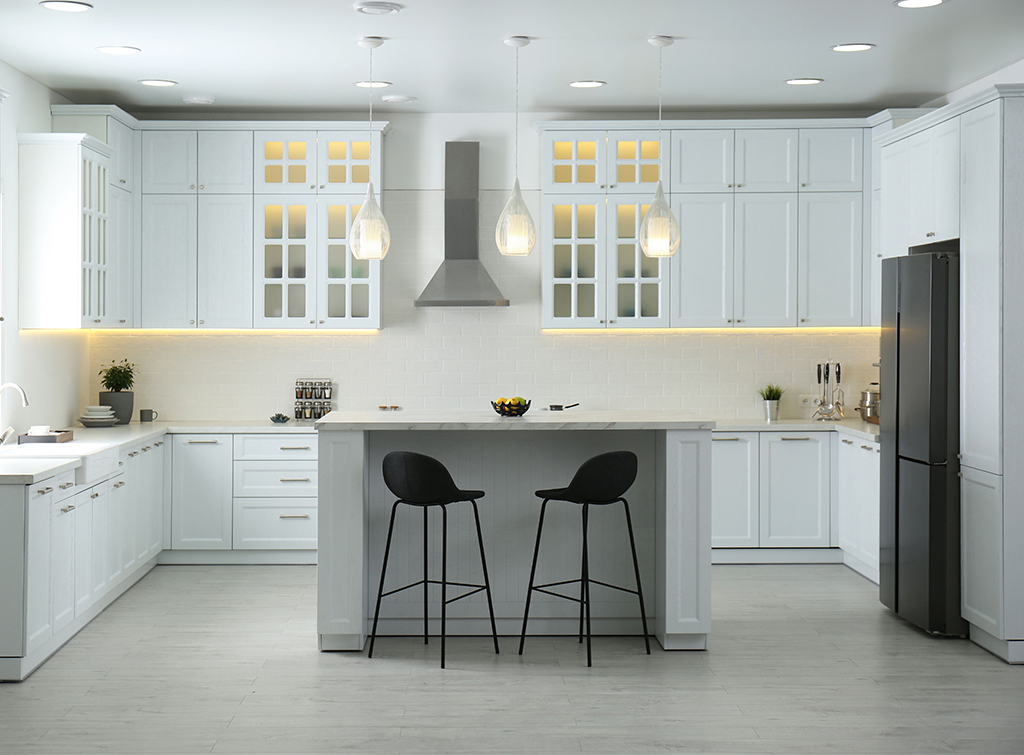
U-shaped
This layout is the most common because the kitchen island fits snugly inside the 'U'.
Corner
A corner kitchen or right-angled kitchen is popular with open-plan designs. An island is shaped to cover the corner like a puzzle piece. These designs are smaller and compact – useful for creating extra storage and living space.
L-shaped
Similar to corner kitchens, a rectangular island would sit opposite the longer side of the 'L' shape. These designs are great for creating a breakfast bar, extra storage, or even a unit that houses kitchen appliances such as a sink, hob or oven.
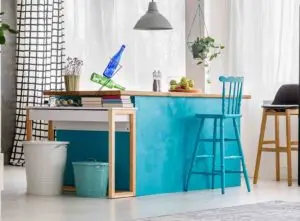
Floating
These kitchen islands aren't fixed to one part of your kitchen. Instead, they can be moved, stored or tucked away when they're not in use. This offers valuable flexibility for smaller kitchens or spaces.
How to design a kitchen island
Before you decide on the kitchen island of your dreams, there are several questions worth asking yourself.

What do I want to use the kitchen island for?
What island design will suit my kitchen layout?
How much space am I working with?
How big should a kitchen island be?
What's my budget?
Will I need to redecorate the rest of my kitchen?
Do I want to buy a premade kitchen island or build my own?
Kitchen island plans
Once you have the answers to all the above questions, the next thing to do is measure your space to work out the best dimensions for your island. Be sure to leave enough room for easy access and manoeuvrability. A simple way to work this out is by using some chalk and a ruler to draw the island's shape on your floor. Be sure to walk around it a few times until you're certain you've got the right dimensions, and then take rough measurements that will help guide you when you go shopping.
Top tip: Remember that your kitchen island isn't confined to squares or rectangles. Choosing composite shapes, trapezoids or curved designs might work better with your chosen aesthetic.
Check out our Kitchen Island Ideas for more inspiration.
Choosing your design
Once you have your perfect shape and size, it's time to choose your design. For this, you need to consider several attributes.

Whether you're buying a premade kitchen island, hiring a professional carpenter for a bespoke design or making your own.
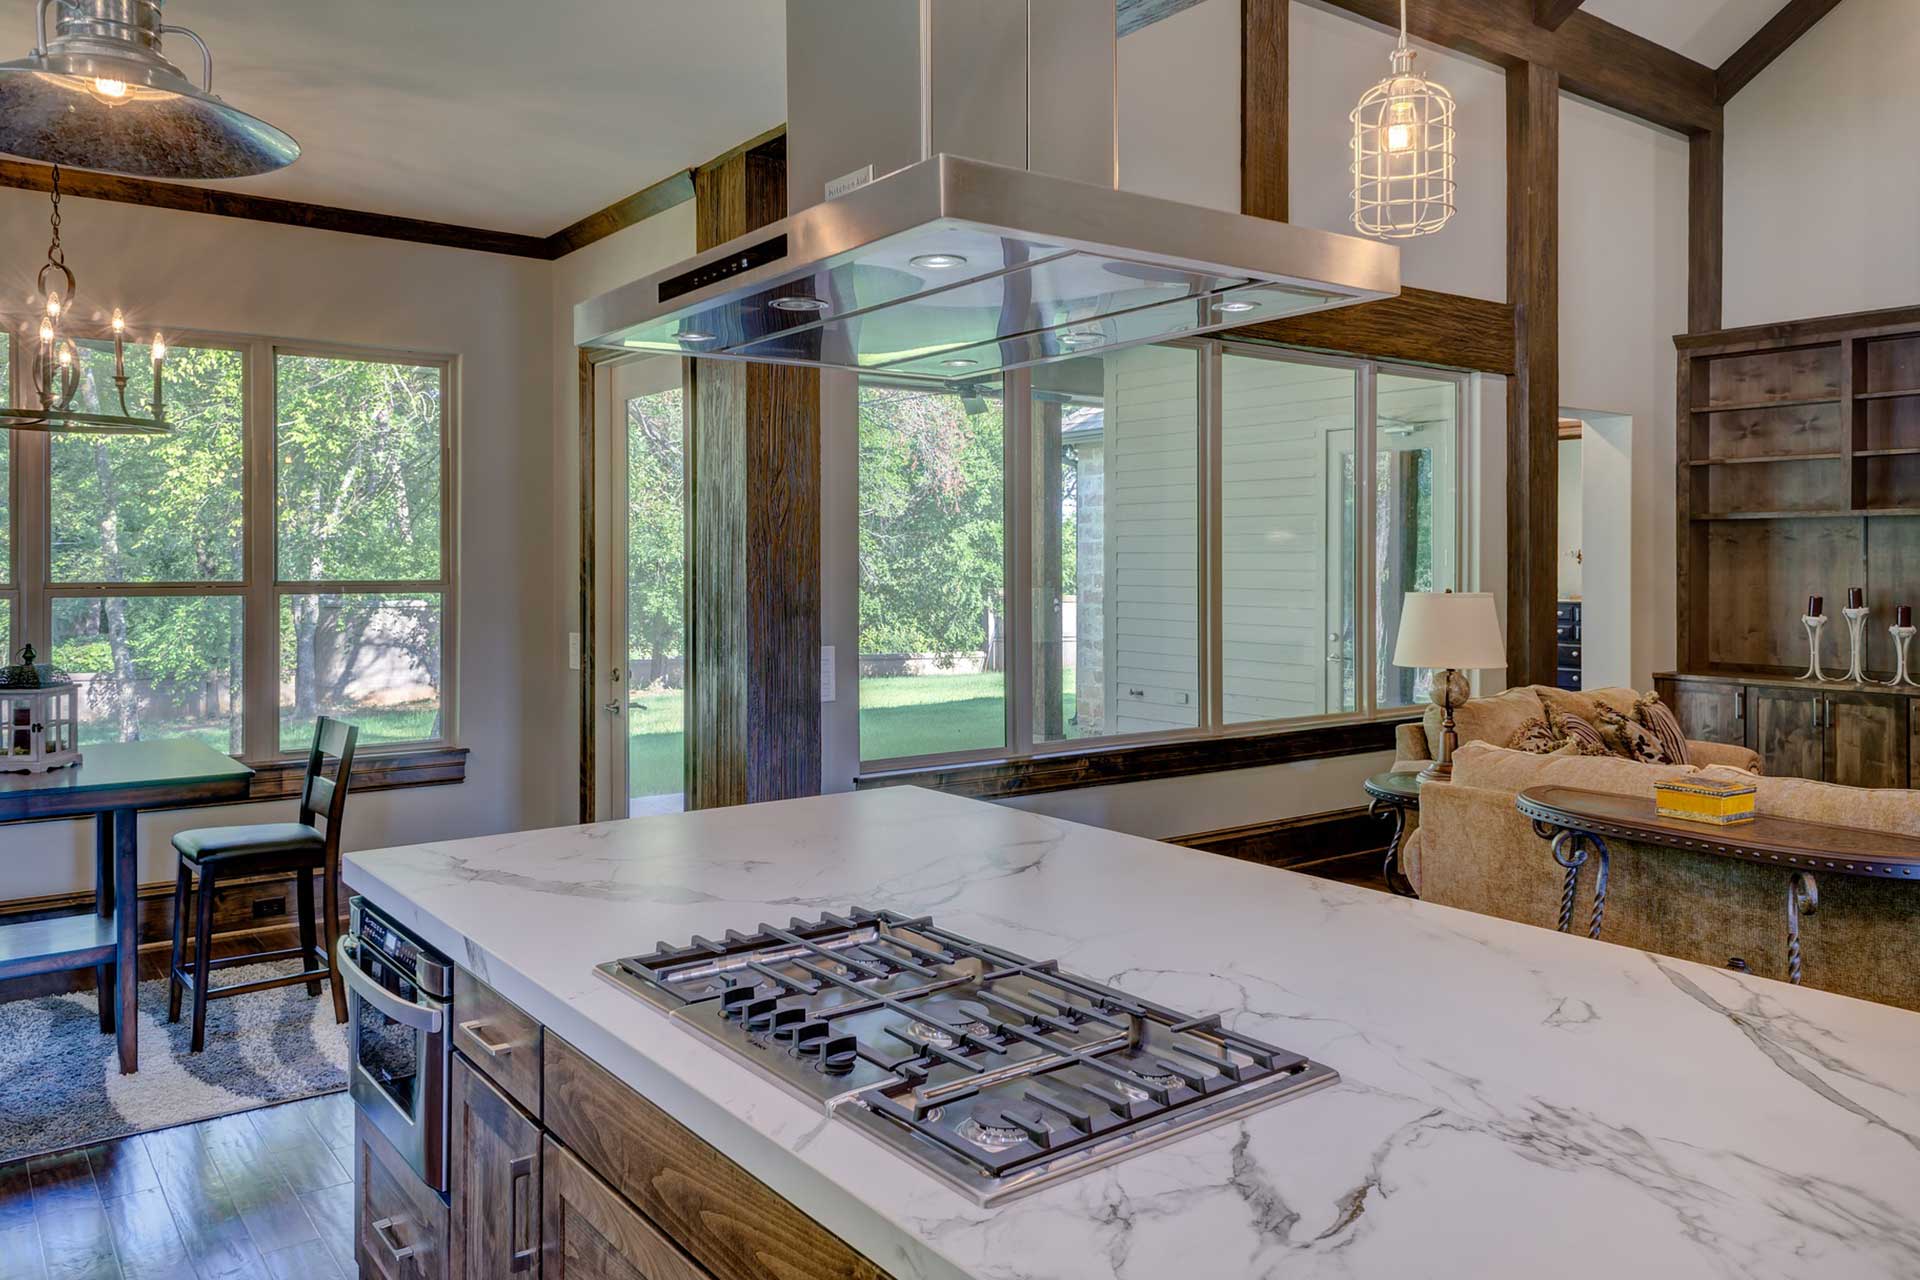
What electronics or plumbing your island needs (e.g., if you're installing a sink or hob).
Storage capacity and placement on the island (e.g., drawers, cupboards or shelves).
Any space required for stools or kitchen caddies.
The colour and finish of your unit, and whether it matches the rest of your kitchen.
If it's freestanding, fixed or moveable.
What theme suits your aesthetic, such as rustic, Scandi, industrial, cottage-gore, minimalist or coastal.
Accessorising
Now your dream design is picked and installed, it's time to accessorize! Why not consider a lovely succulent plant display? You might also consider a set of industrial breakfast bar stools or a freestanding condiment rack.
Whatever you choose, be sure to match your chosen decor with the rest of your kitchen for a clean and classy design.
Find your local carpenter
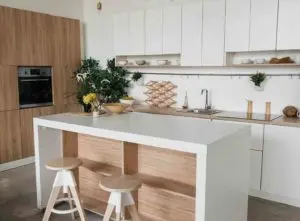
How to make a kitchen island
For those on a whim, budget or creative adventure, making your own kitchen island is a cost-effective and fun way to add character and class to the heart of your home. Here, we're going to let you in on a few trade secrets and discuss various kitchen island DIY ideas.
Step one: Measure your space
Start by measuring out your space with chalk, a ruler, and some key depth perception. Consider your dimensions carefully and choose the right island shape for both your design requirements and practical needs. We recommend your walkway is at least three-feet wide.
Step two: Pick your unit
Unless you're a carpenter with cabinetry expertise, we recommend choosing pre-existing units that you can easily upcycle. Take a look at what stock cabinets, pre-loved or recycled units are available and reinvigorate them so they work with your space. We've seen incredible designs using wood pallets, bookshelves, school desks and old storage crates. Often, these units merely require structural reinforcements, a lick of paint and a fresh countertop. However, for the more adventurous amongst us, think about adding shelves, drawers, cupboards or storage compartments.
Note: Designs range from the simple – such as a unit added in the middle of the kitchen, to the elaborate – such as an embellished and galvanised unit secured to the floor and fitted with plug sockets, electronics or white goods.
Step three: Upcycle your unit
Once you've picked your unit or repurposed it from other items, it's time to upcycle it. We recommend maintaining your existing theme unless you're looking to redecorate your entire kitchen. In that case, kitchen door wrapping is a cost-effective alternative that doesn't require a full room makeover.
Matching your island to your kitchen decor is as easy as a lick of paint, sealant and finish. It only gets trickier if you want to:

Add extra storage
Add a countertop
Take out existing shelves
Add embellishments such as hooks, racks, a towel rod, drawers or a pull-out rubbish bin
Other considerations include:
Whether you want to add legs, feet or wheels to your unit.
What handles and fixtures might need replacing.
Your desired countertop design and finish.
What electronics you need, such as plug sockets, a hob or lights.
If you need to make space to sit or tuck away stools.
Whatever you choose, make sure you know what installation or carpentry skills are required to create your perfect design. Overcommitting will only add stress and further expense. Keep things simple or hire a professional to help.
Top tip: Whatever changes you make, be sure to maintain the structural integrity of your unit to avoid any mishaps.
Step four: Prepare the installation area

Now your design is ready, it's time to prepare the area for installation. For free-standing kitchen islands, all that's required is a kitchen floor deep clean. For static designs – and especially for smaller units to avoid sliding or tilting when someone leans on it – securing a kitchen island to the floor is advised.
At best, you only need wood floor cleats that your cabinet is screwed into to avoid accidents. For more complex designs, a hole about four inches deep is built so a carpenter can install framing lumber to fasten the cabinet to, which helps nest it more securely. This type of installation is perfect for kitchen islands with plumbing requirements, such as sinks. In this case, it's worth hiring an expert to help with the installation.
Step five: Install and accessorize
All that's left is to install your kitchen island and dress it accordingly. There is a myriad of accessories to choose from, such as:
Bins
Plants
Overhead hanging lights

Stools
Egg holders
Drawer organisers
Towel racks, hooks or rods
Glass jars and containers
Fruit bowls
Books
Binders
Storage boxes
Vegetable or spice racks
Vases
Cake stands
Step six: Enjoy!
Now you've planned, installed and accessorised your perfect kitchen island, it's time to make the most of it. Check out our design ideas for more inspiration.
Find your local carpenter
How to build a kitchen island
Summary of steps
Survey your space and measure its dimensions, leaving a three-foot wide walkway.
Choose the right kitchen island shape and design.
Buy a pre-made island or undertake a simple DIY project.
Pick matching colours and accessories.
Prepare the area for installation using wood floor cleats.
Secure the unit and enjoy your new kitchen island!
Hire a professional for more complex designs and installations.
Like what you see? There’s plenty more where this came from. Discover more ideas, inspiration, tips and how-tos via Checkatrade’s blog.
More Handmade Kitchens Designed / Installed Articles
See the tradespeople we've checked for your job