Blog>How-To Guides>How to paint a fence
Last updated: 24 November 2021

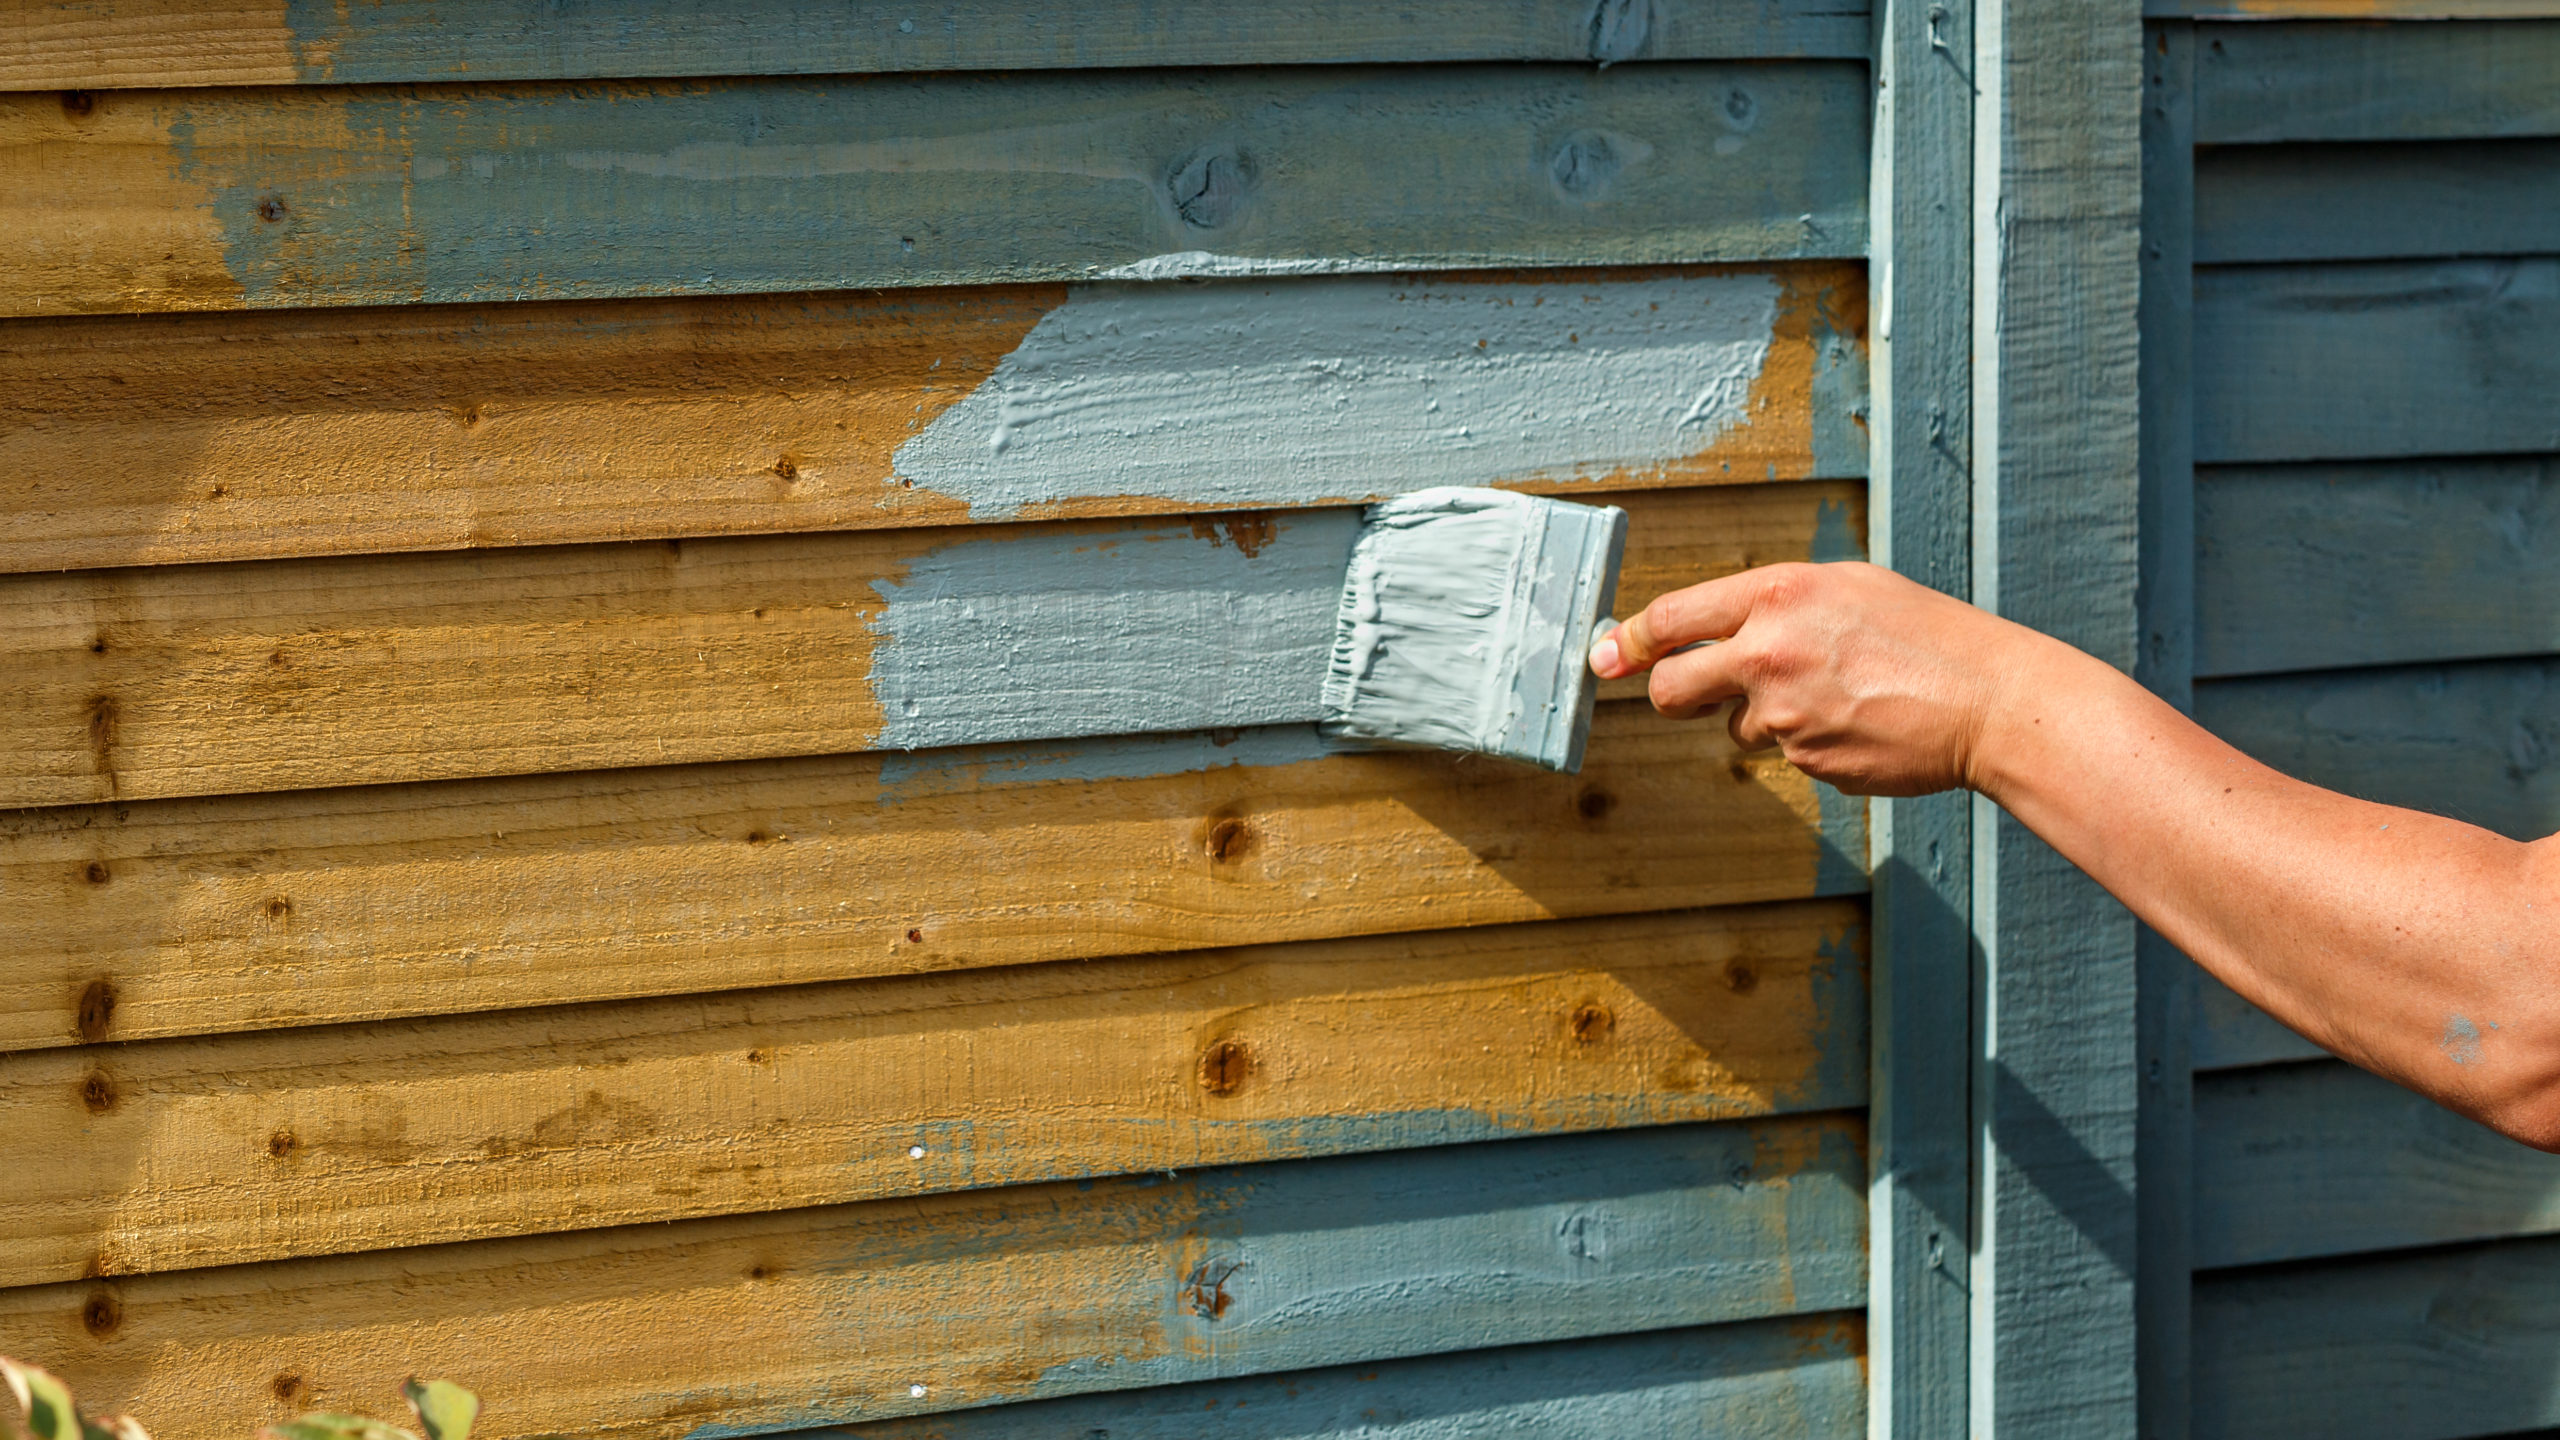
How to paint a fence
There are many reasons you might want to learn how to paint a fence. For example, years of wood stains, graffiti, and general neglect may have left your fence in need of some TLC. Regardless of the reason, the painting process is just as important as the prep work that leads up to it.

There are many reasons you might want to learn how to paint a fence. For example, years of wood stains, graffiti, and general neglect may have left your fence in need of some TLC. Regardless of the reason, the painting process is just as important as the prep work that leads up to it.
So, whether you're looking for a smooth and clean surface that sparkles in the sun, a rusted and weathered shabby chic aesthetic or you simply want to give your fence a lick of paint to spruce it up, the process is the same. One of the most important parts of painting a fence is to use quality products so it lasts for years and looks great throughout its lifetime. Luckily for you, our step-by-step guide will help you achieve your goals.
Don't forget to check out our fence painting cost guide for a comprehensive breakdown of how much a project like this might set you back. If your fence needs repairing, take a look at our fence repair cost guide and if you don't yet have a fence to paint, take a look at our fence panel installation cost guide.
How to paint a fence
Before you start, choose the colour and type of paint needed for your fence and protect the area with old towels, sheets, or tarp.
Tools you'll need for the job

Eye protection
The correct brush
Your chosen paint
Sponge brushes
A rag/cloth for cleaning up mistakes
Tape to protect clasps
A sander
Paint roller
Safety goggles
Scouring pad
Claw hammer
Garnet sandpaper (for wood fences)
See the tradespeople we've checked for your job
How to paint a fence with a roller
If you want to know how to paint a fence fast, use a roller. Then follow these steps.
Step one: Prepare yourself, the area, and the fence
Put on some eye protection and old clothes. Then lay your plastic tarp on the ground to protect any landscaping or grass. To prep the fence, sand it down if it's wood or use an orbital sander or sanding block if it's metal.
Step two: Roll the paint over the fence
Once your fence is dry, use your roller to paint the surface of the fence. Use slow and steady and movements so the area is thoroughly coated. Although using a roller is a quick way to go over your fence, there will inevitably be gaps you need to go over with a soft brush – especially for interlocking shapes or intricate designs.
Step three: Use a top coat the seal the paint
Once your fence is coated, leave it to dry before going over it with a weatherproof sealant/topcoat.
For the best results, we highly recommend hiring a professional to paint your fences.
See the tradespeople we've checked for your job
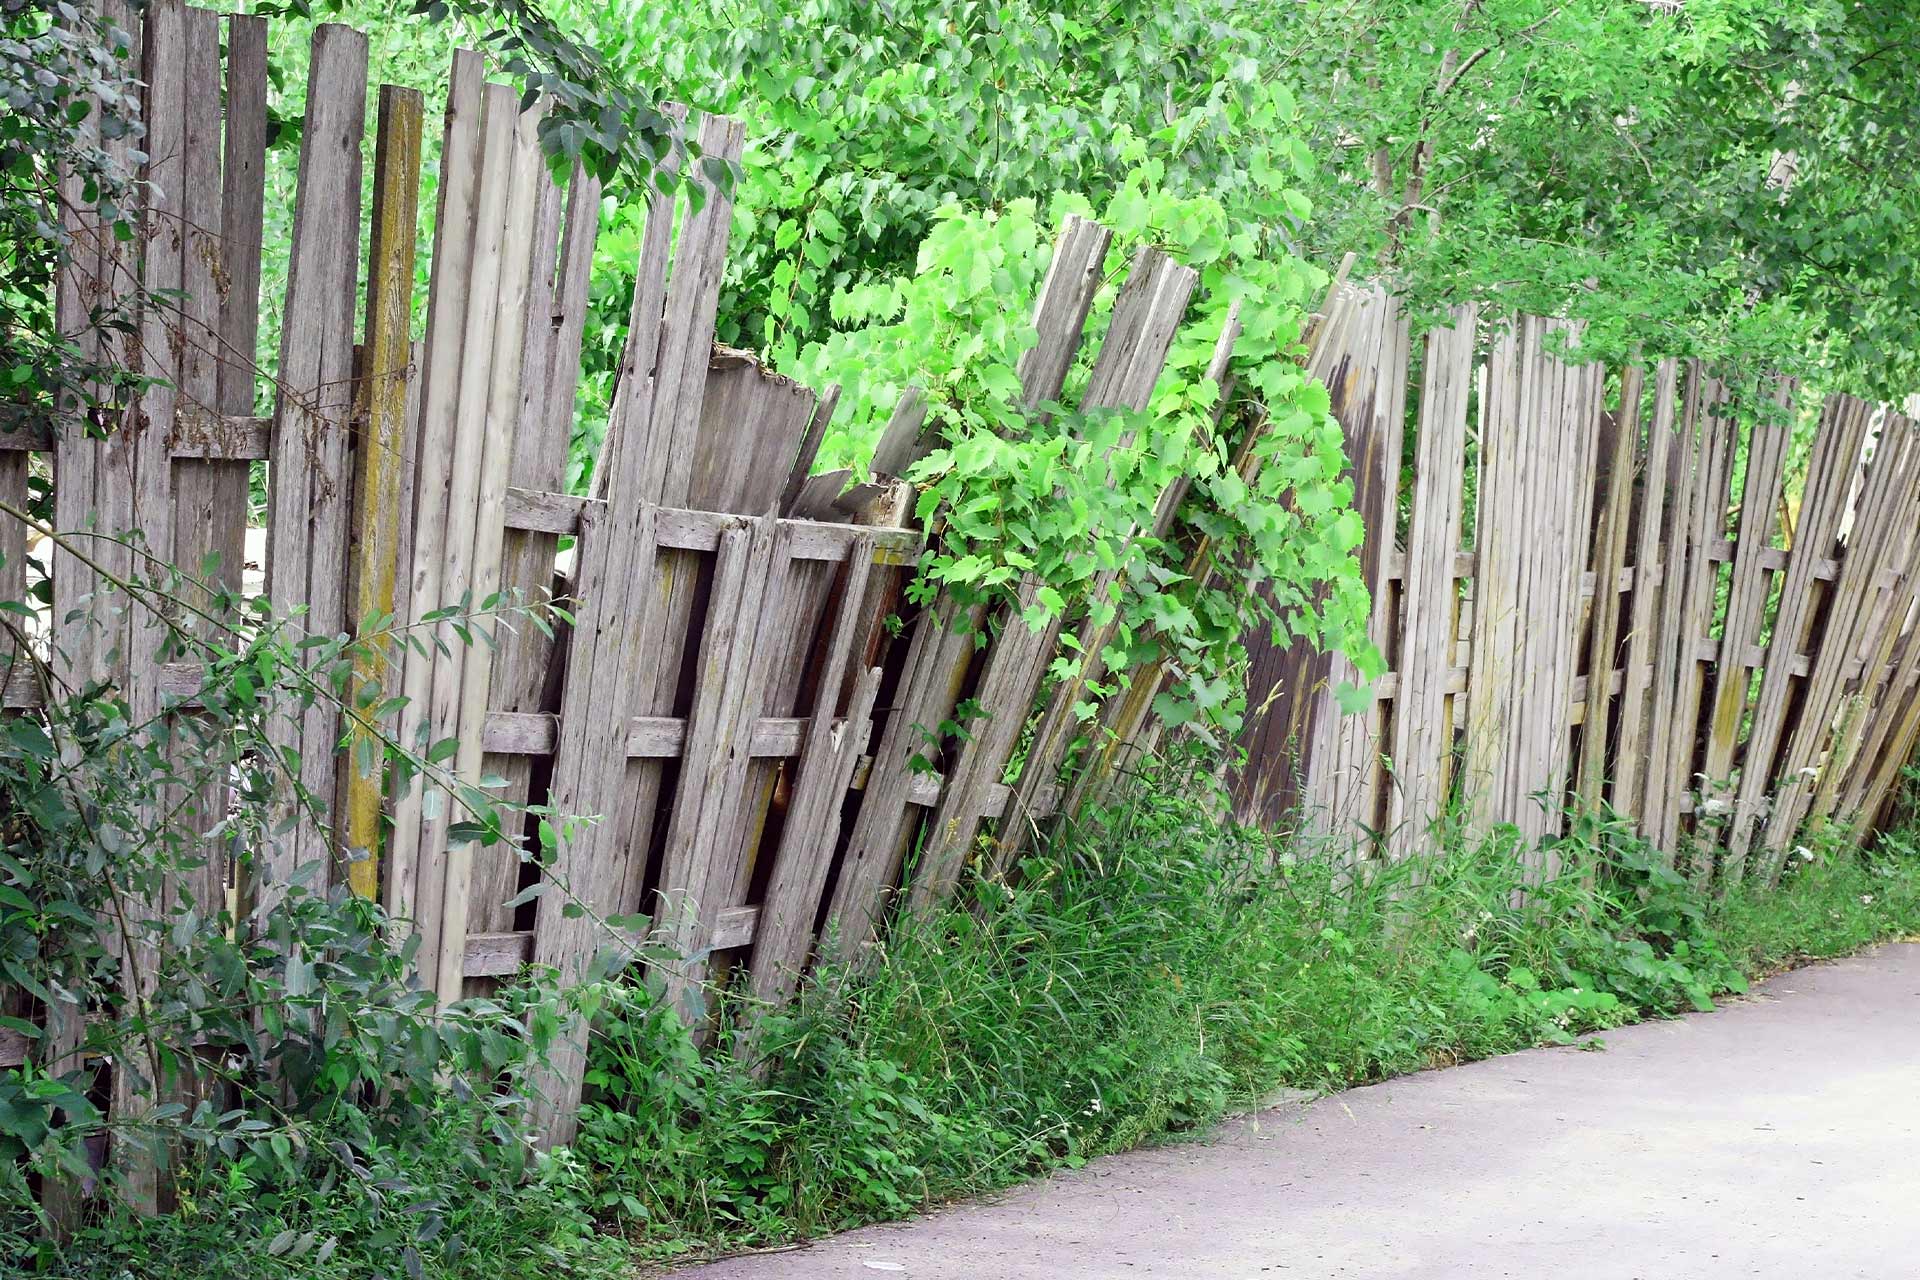
How to paint a wooden fence

Painting a wooden fence is easier than other materials, especially if you just want to change its colour or go over old or chipped paint. To start, clear the surrounding area and remove any loose screws and nails.
Step one: Prepare the area
Prepare the area surrounding the fence by mowing the grass, clearing any weeds, and laying a large tarp over the ground.
Step two: Prepare the fence's surface
Using a small brush or roller, apply a pre-treatment/primer to the fence boards on both sides. This will help seal the surface of the wood and extend its lifespan.
Step three: Repair any minor issues
If your fence has any loose nails or screws, cracked or broken boards/rails, it's best to remove these before you paint your fence. Use your claw hammer to pry out loose nails, screws, or broken boards. Then use rust-resistant nails or screws to secure any new boards. Next, sand down the fence or use a scraper to remove any chipped paint.
Step four: Wash your fence
Use a power washer or a spray and brush combo to clean your fence. This makes sure the wood is free from dirt, grime, lichen, or mould before you repaint it. Leave it to dry out completely before moving on to the next step.
Step five: Paint your fence
Make sure your fence primer and chosen paints are safe for outdoor use and on wood. For example, oil-based paints are usually the most durable type of fence paint on the market. Apply the primer using a roller or paintbrush first and leave it to dry completely. Then apply the paint using the same method to complete your first coat. Depending on how well you did the job the first time, you might need to go over it a second time.
Top tip: Consider testing your paint on a patch of your fence that isn't noticeable to make sure it's fit for purpose.
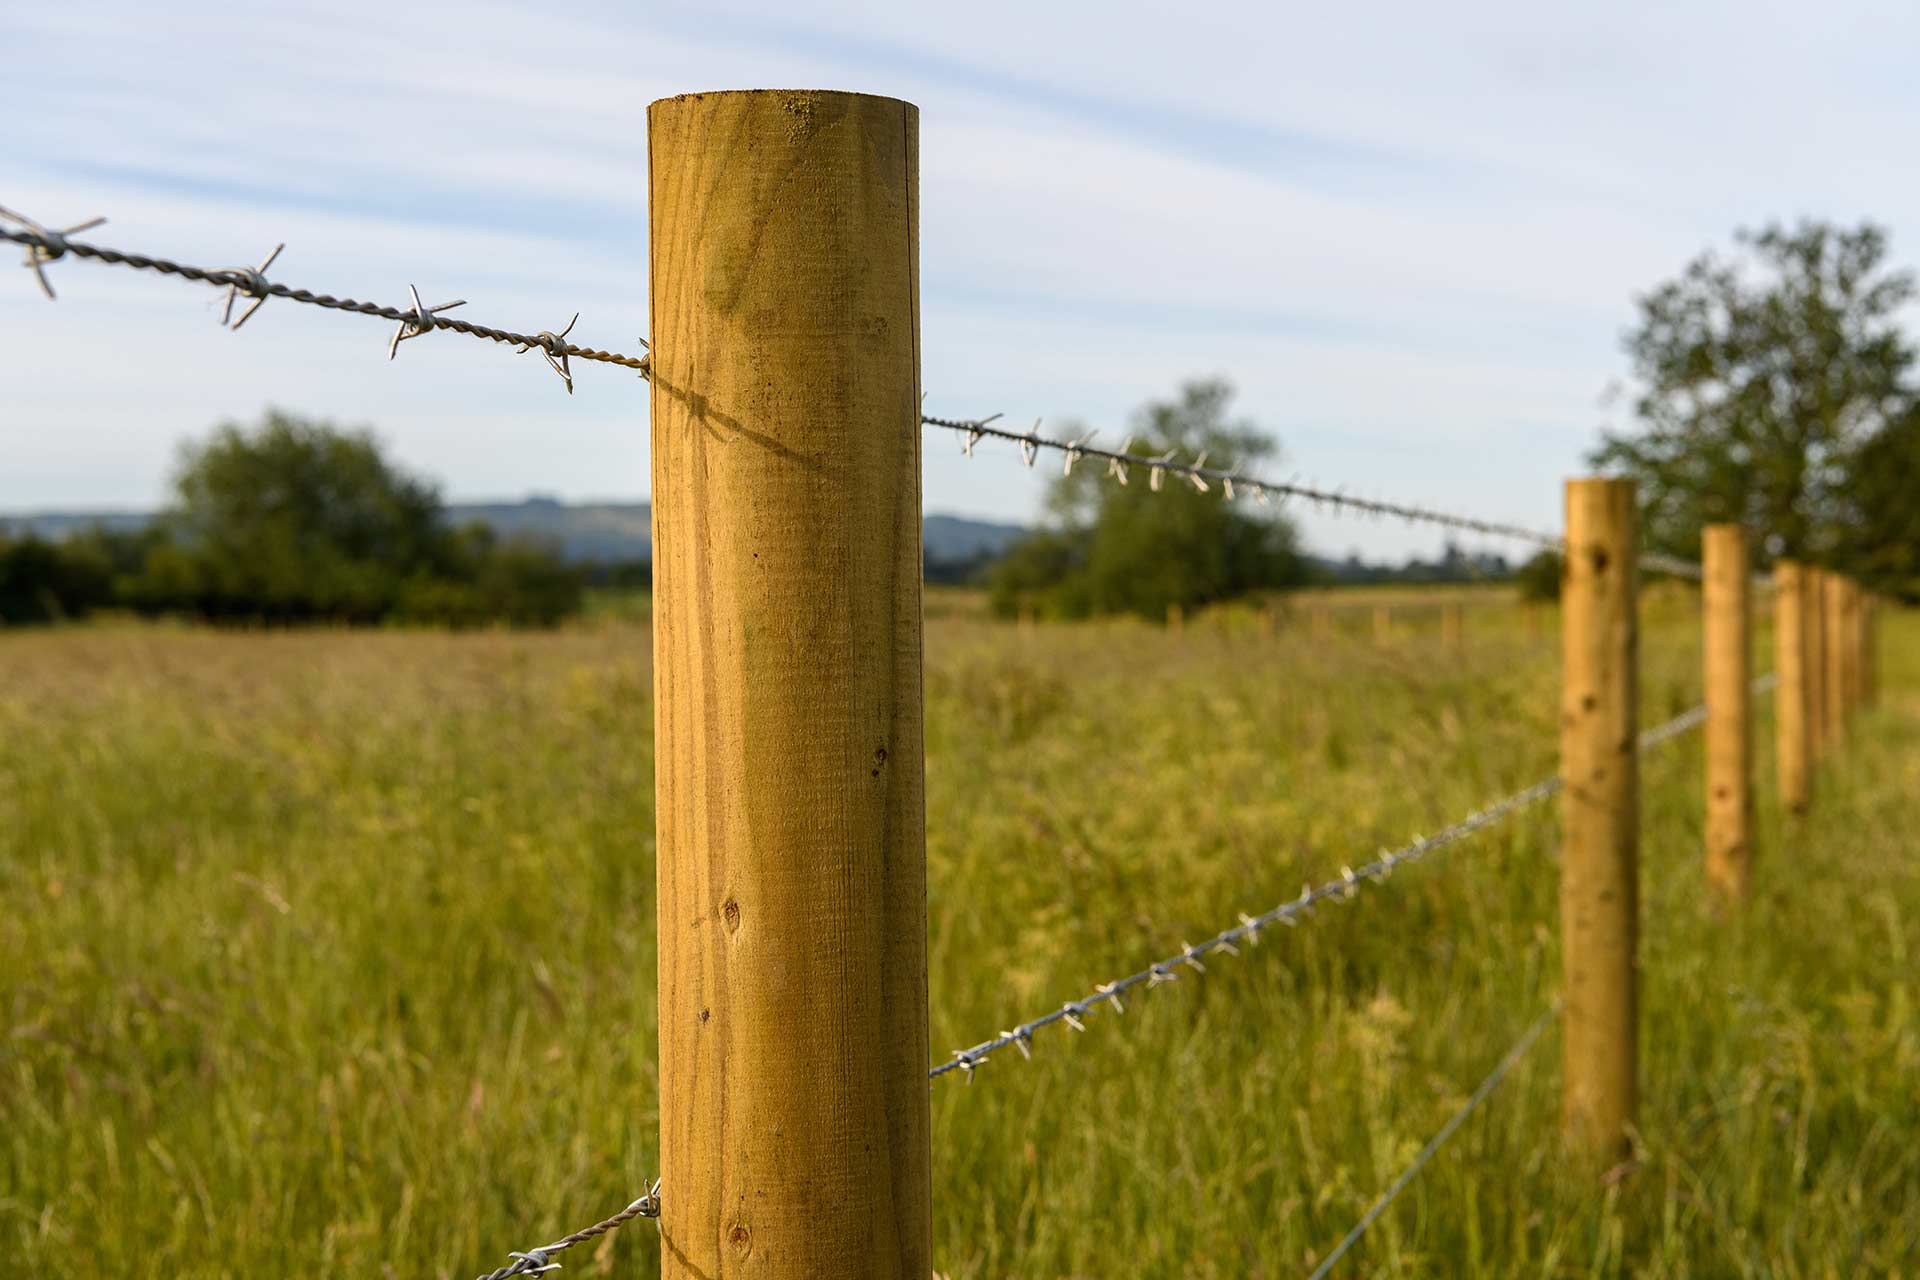
How to paint a fence with a sprayer
Using a sprayer to paint your fence is worth learning if you want to know how to paint a metal fence too. However, a sprayer can be used to paint all kinds of fences, as long as you use the right paint for the material you want to coat. A sprayer is a good option if you want a quick and even finish with minimal mess. The only downside is their expense compared to other methods.
Follow these steps to get the best results:
Set up your sprayer by following the instruction manual you were provided with. Most models require you to fill the spray bucket with the paint you choose. The pump is then dipped into the bucket and screwed on tight.
Pick the right nozzle for the part of the fence you're spraying. More intricate areas, narrower spaces, or decorative gaps will require a more precision-based fitting.
Use an oil-based fence suitable for wood and spray your fence on a day that isn't too windy.
Paint on a layer of primer with a paintbrush and allow it to dry before spraying on your chosen paint.
At a distance of about six inches, start to spray on your paint in a steady back and forth motion. A good rule of thumb is to go over your initial work at a perpendicular line of about 90 degrees to eliminate streaks.
Once the paint is dry, examine it to see whether you need to give it a second coat.
Check your paint's instructions to see how long it takes to dry. Most paints need to dry overnight.
Top tip: Try not to make arcs at the ends of each stroke as this will make the spray fly off in unwanted places.
See the tradespeople we've checked for your job
FAQs
Should I hire a professional?
If you're wondering whether you should hire a fence painting expert or do the job yourself, we recommend assessing the job at hand and working out whether it requires a thorough or simple solution. For example, if you're looking for a quick, thorough, and clean finish, it's worth spending a little extra to ensure a professional job.
When you hire one of our trusted professionals, you’re able to see their profile and view their customer reviews. Even better, those reviews are from your neighbours and checked by us to make sure they’re legitimate.
What's the best time of year to paint a fence in the UK?
The best time to paint a fence is during fair weather! Make sure you check the forecast before tackling this job so your paint has enough time to dry.
How long does it take to paint a fence panel?
If you use a roller or spray, you can paint an individual fence panel pretty quickly. Most average-sized gardens take a competent DIY'er a few hours to fully prep, prime and paint their fence. For the best results, we recommend hiring a professional.
What is the easiest way to paint a fence?
One of the easiest and mess-free ways to paint a fence is to use a sprayer or even better, hire a professional!
Do you have to prime a fence before painting?
To make sure your newly painted fence lasts as long as possible, sanding down the fence and applying a primer is recommended.
More Garden Fencing Articles
See the tradespeople we've checked for your job