EXPERT ADVICE
How to repair cracked floor and wall tiles
Updated 07/26

By: Laura Macdonald
Reviewed: Alex Peters
Need to repair cracked tiles? We're going to discuss the common types of damage wall and floor tiles are prone to, and offer step-by-step instructions on how to fix each issue. We'll also provide insights into hiring the right tradesperson for more complex repairs along with their associated costs.
What causes tiles to crack in the first place
How to fix a cracked tile without replacing it
How to repair hairline cracks and cracked grout
Whether your tile type needs a different approach
What it costs to hire a professional tiler
When a crack means more than a cosmetic fix
A cracked tile is one of those jobs that looks worse than it is.
Whether it's a hairline crack across a bathroom wall tile or a chip in a busy kitchen floor, most damage can be repaired without replacing the whole tile - and often without calling anyone in.
This guide covers what causes tiles to crack, step-by-step repairs for different types of damage, and when it's worth bringing in a professional tiler instead.
Find a skilled tiler near you
What causes tiles to crack?
Before repairing a crack, it's worth understanding why it happened - otherwise you may just be fixing the same spot again in a few months.
Impact damage - a dropped pan, tool or heavy object is the most common cause of a sudden crack
Subfloor movement - if the floor beneath the tiles isn't fully rigid, tiles can crack over time as it flexes
Temperature changes - expansion and contraction, especially near underfloor heating, can cause hairline cracks to appear gradually
Poor installation - insufficient adhesive coverage or the wrong adhesive for the tile type leaves it more vulnerable to cracking
If cracks keep appearing in the same area, it's usually a sign the subfloor needs attention rather than the tiles themselves.
How to hire a good tiler
Fancy changing the look of your kitchen or bathroom? Then you'll need to find and hire a good tiler. We've pulled together our top tips including what questions to ask and how much the job will cost.
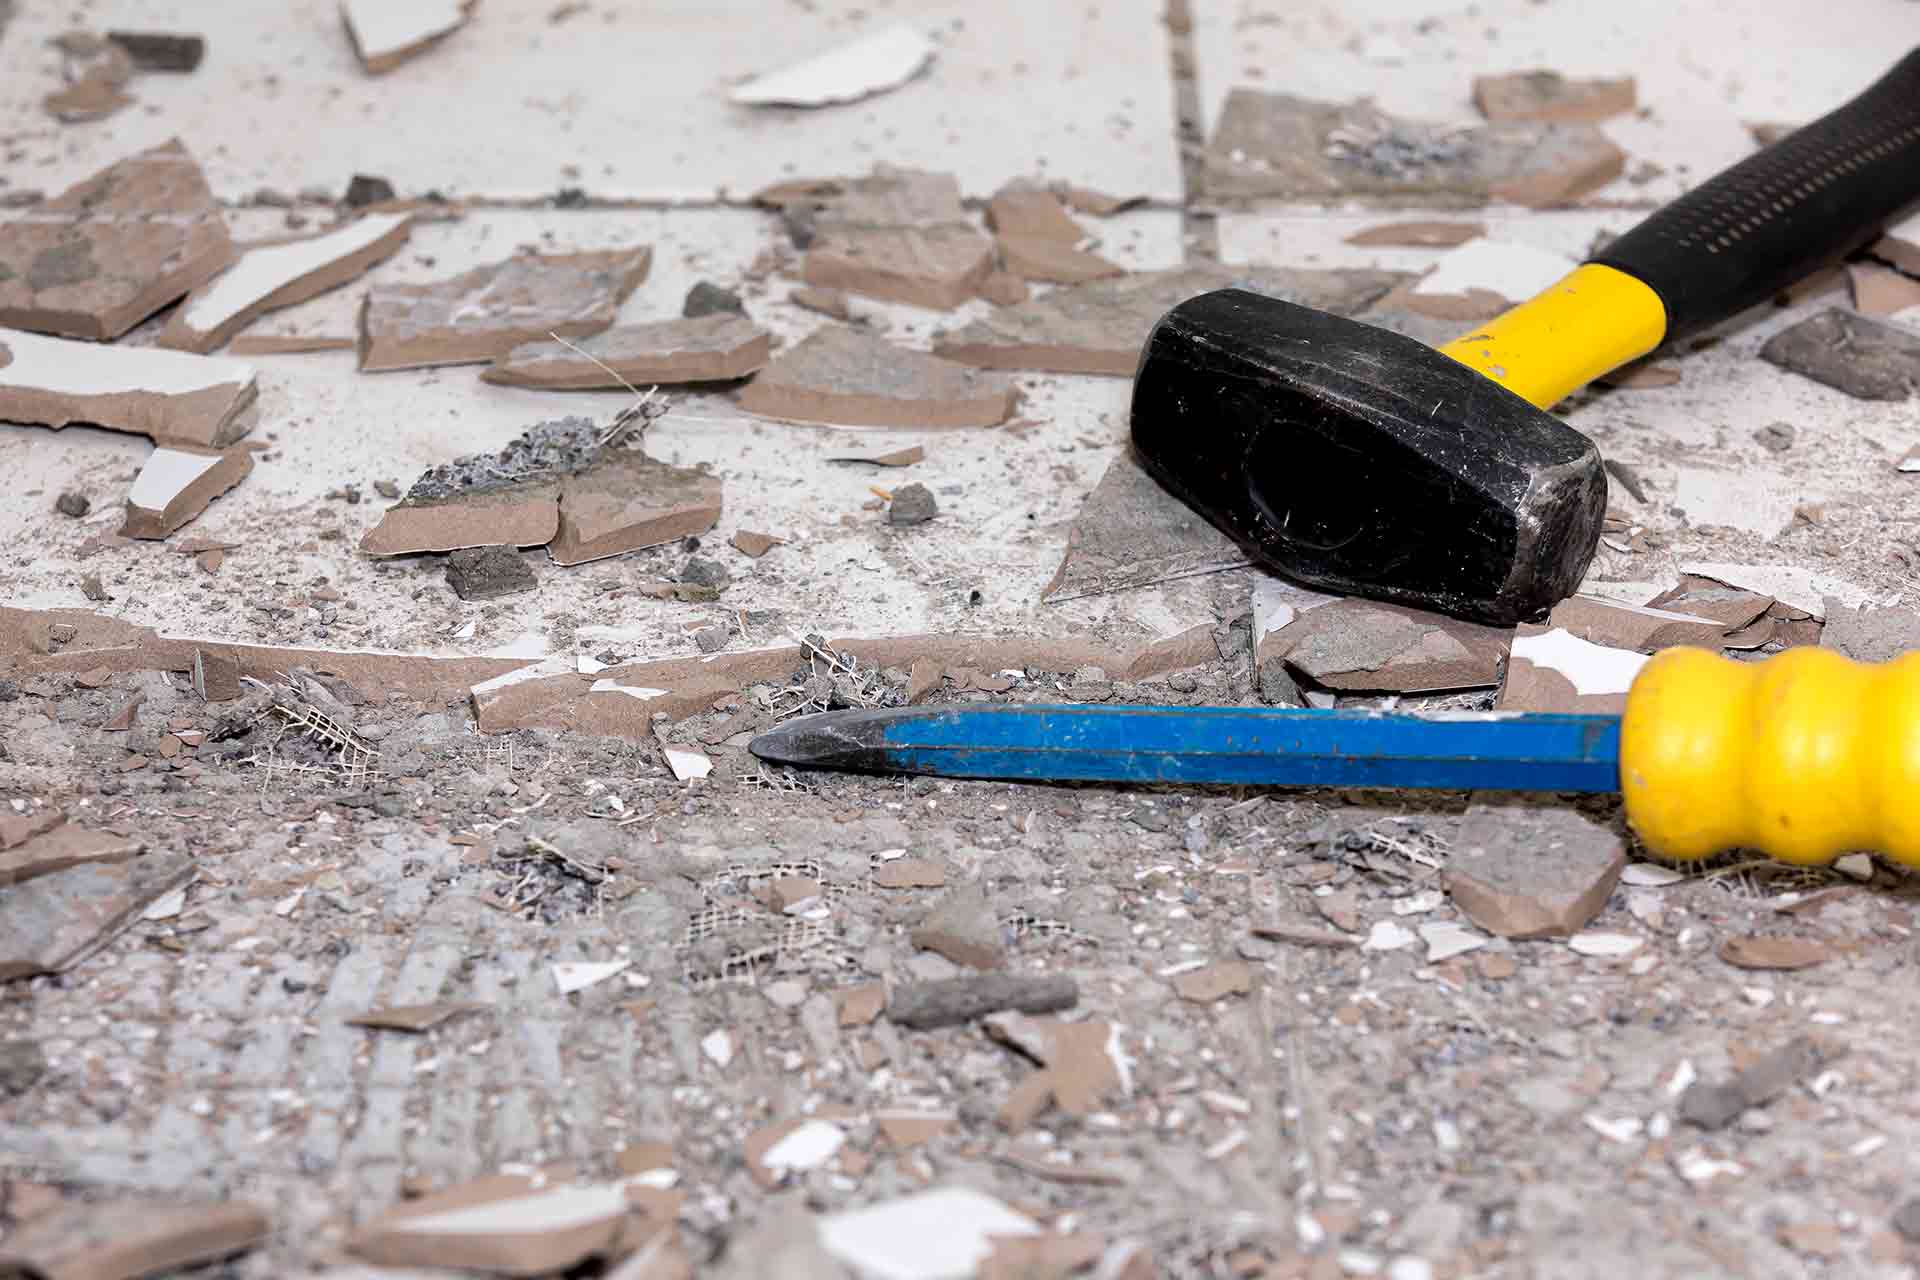
Repairing cracked tiles by replacing the damaged one
If a tile is badly broken, replacing it - rather than filling it - gives the most durable result.
Tools and materials
Safety goggles
Hammer and chisel
Adhesive or tile mortar
Grout, tile spacers, grout float
Sponge, tile cutter or wet saw if needed
Step-by-step guide
Wear safety goggles to protect against flying debris
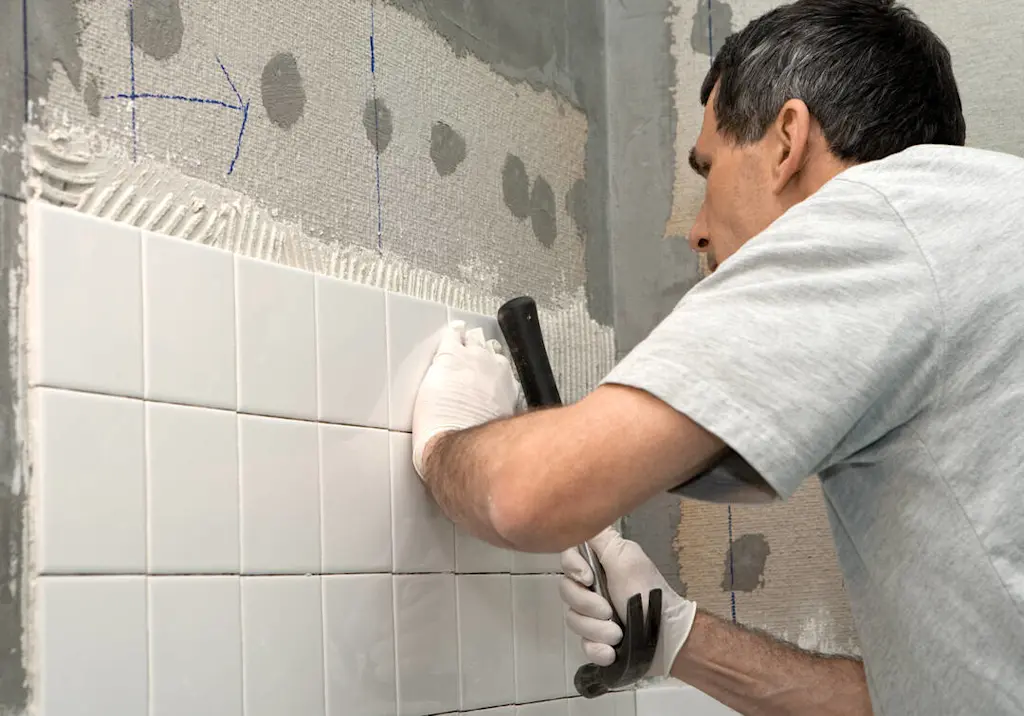
Break the damaged tile into smaller pieces with a hammer and chisel, starting at the centre and working outward
Carefully remove the broken pieces without damaging surrounding tiles
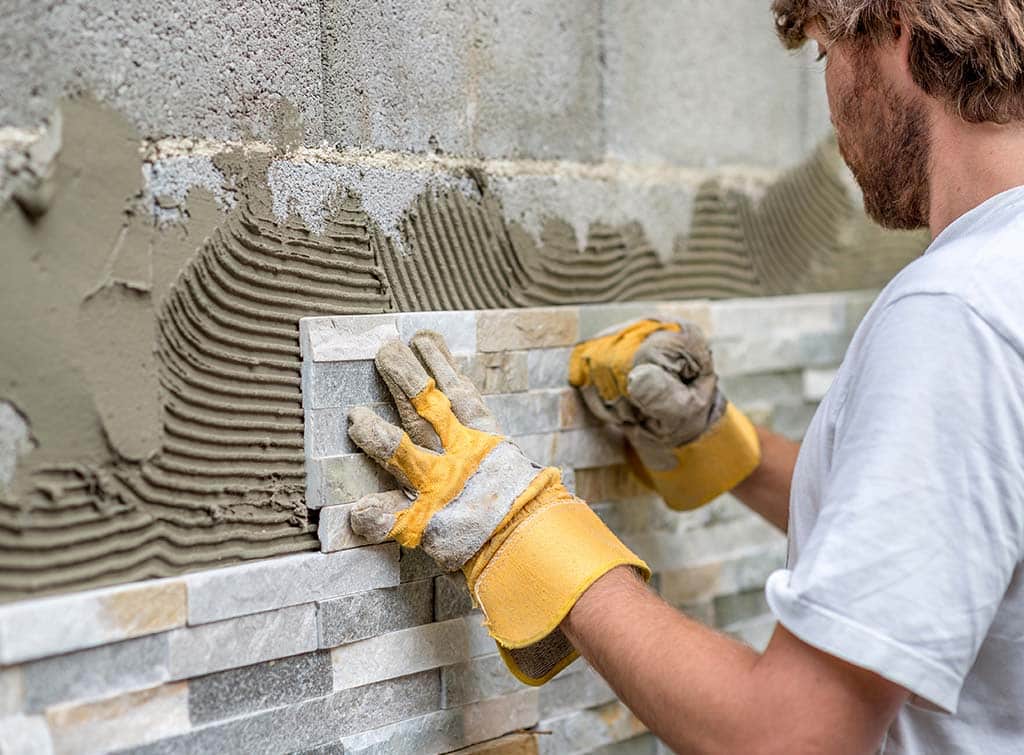
Clean the area thoroughly, removing all old adhesive or mortar
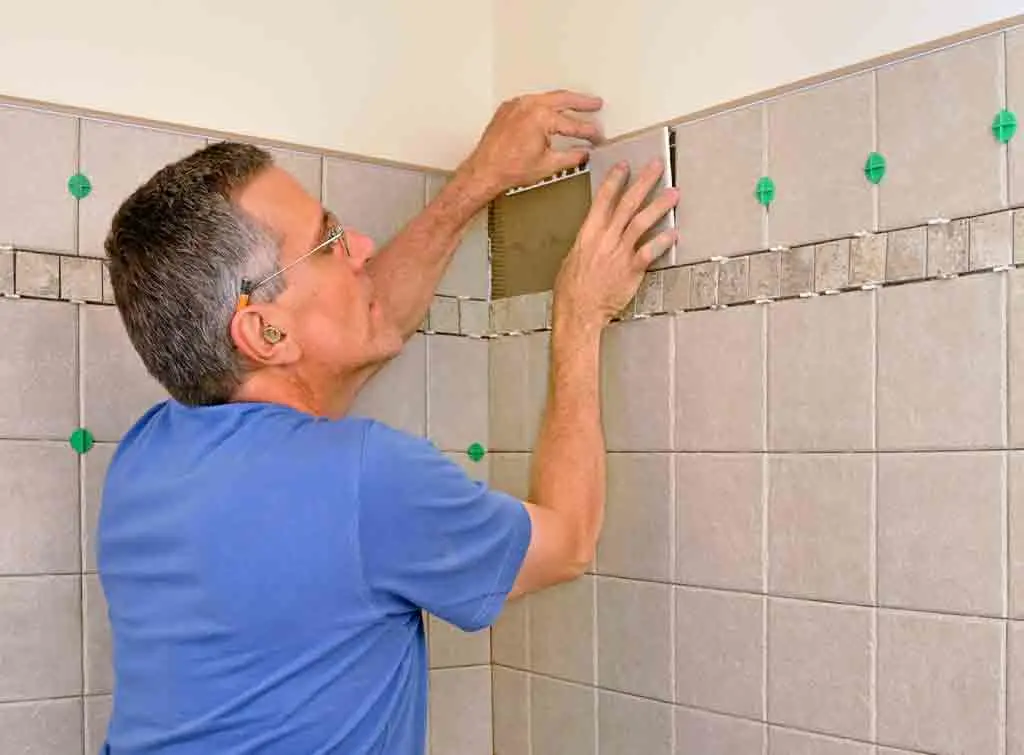
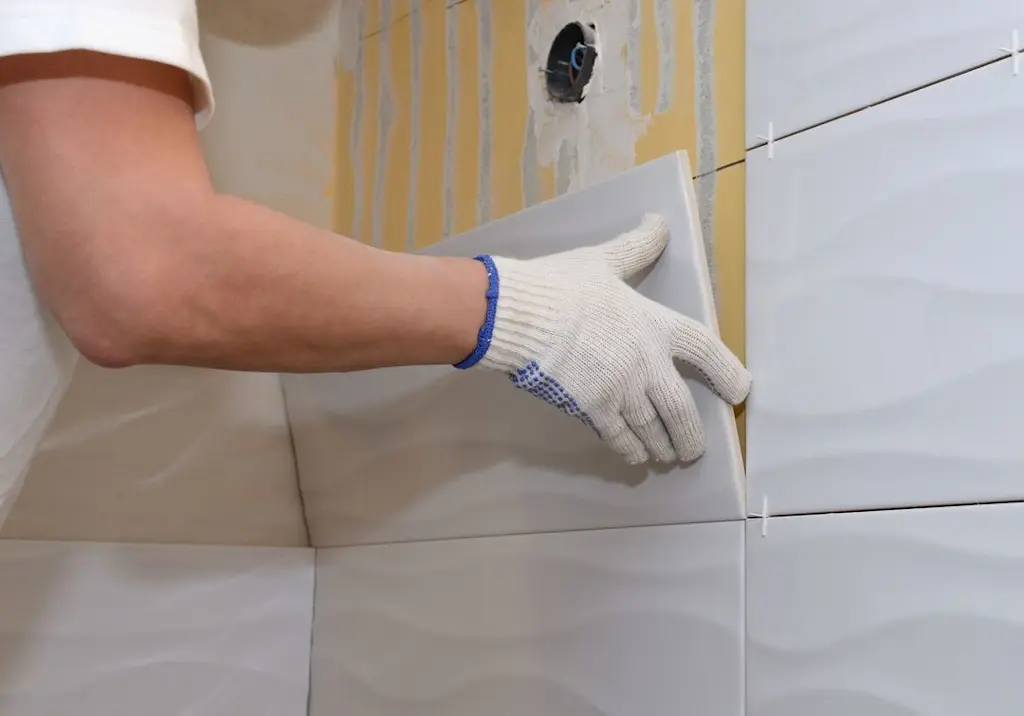
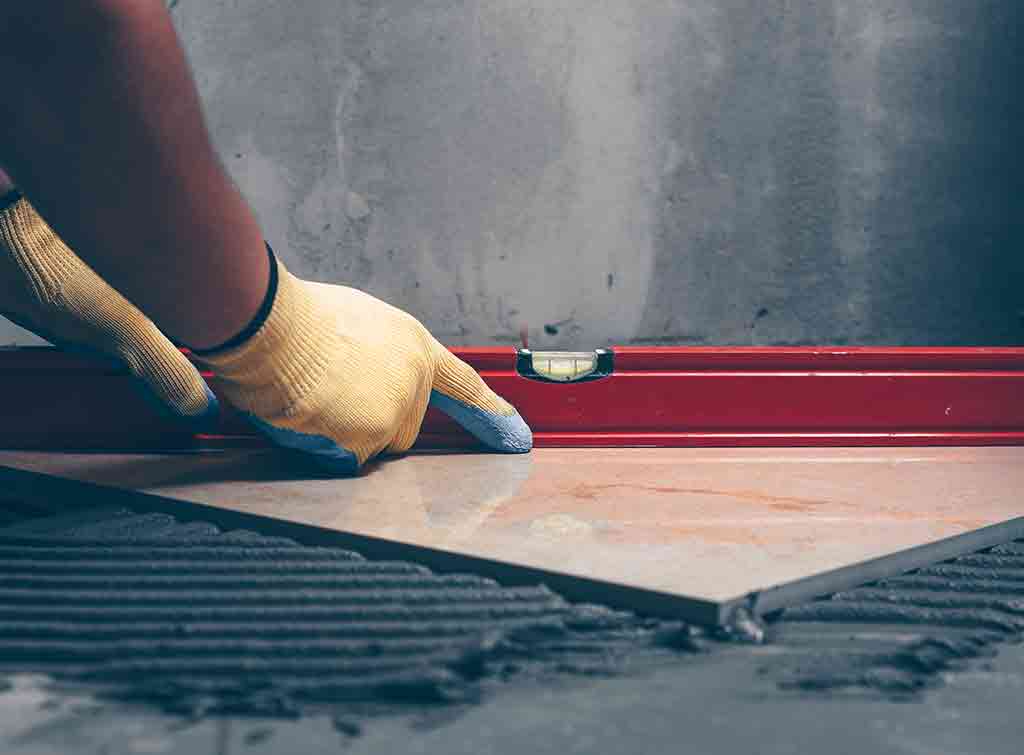
Apply fresh adhesive or mortar to the replacement tile and press it firmly into place
Use tile spacers to keep it aligned with the surrounding tiles
Let the adhesive cure per the manufacturer's instructions
Remove the spacers, apply grout with a grout float, then wipe away excess with a damp sponge
Leave the grout to cure fully before walking on it
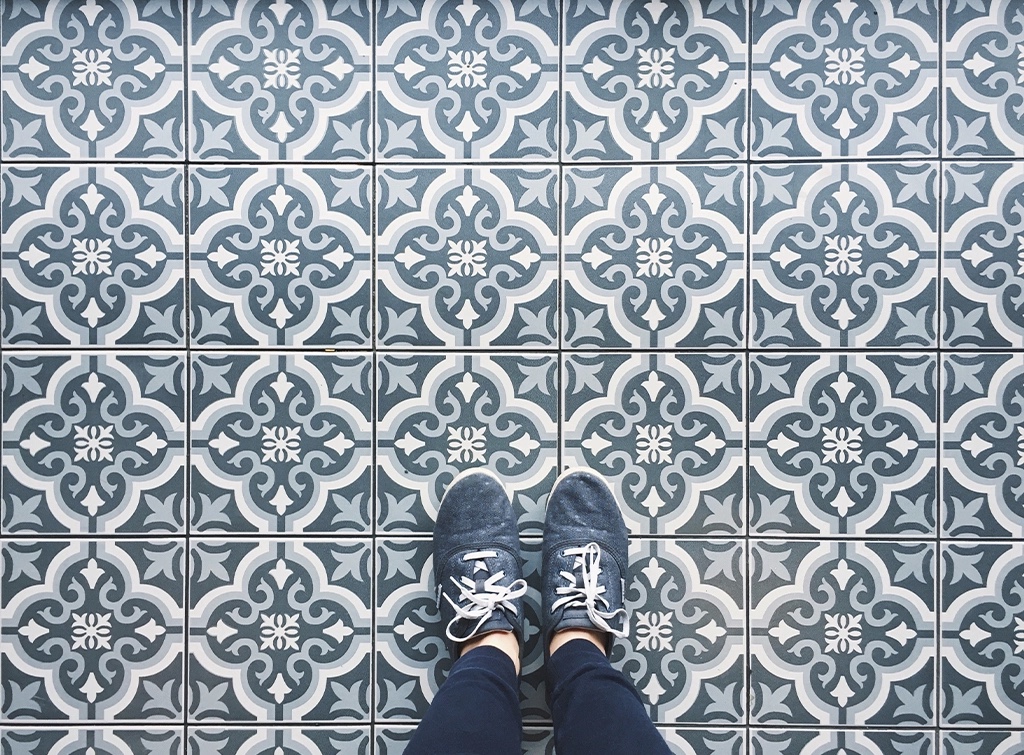
n.b. For period properties, see our guide on restoring Victorian floor tiles for a matching finish.


How to fix a cracked tile without replacing it
If you'd rather not disturb the surrounding tiles - or you're dealing with terracotta or another tile type where an exact match is hard to find - repairing in place is usually quicker.
Tools and materials
Epoxy adhesive or a ceramic tile repair kit
Cleaning solution
Fine-grit sandpaper
Putty knife
Grout (if needed)
Step-by-step guide
Clean the cracked area thoroughly and let it dry completely
Apply epoxy adhesive along the crack with a putty knife, filling the gap fully
Press the crack together gently, aligning the edges as closely as possible
Hold for around a minute, then wipe away excess adhesive with a damp cloth
Allow the adhesive to fully harden per the manufacturer's instructions
If the crack is still visible, sand gently with fine-grit sandpaper until level with the surface
Clean away any dust before finishing with matching grout if required
For terracotta specifically, look for a tinted or colour-matched epoxy filler rather than clear - terracotta's natural variation makes a clear repair much more visible than on plain ceramic.
Hairline crack repair
Hairline cracks are small and appear gradually, often due to settling or temperature changes rather than a single impact.
Tools and materials
Tile filler or epoxy filler
Putty knife
Cleaning solution
Fine-grit sandpaper
Step-by-step guide
Clean the area and let it dry completely
Apply a small amount of filler into the crack with a putty knife or your finger
Smooth it level with the surrounding tile surface
Wipe away excess filler with a damp cloth
Allow it to dry and harden fully
Lightly sand if needed for a smooth, flush finish

On Checkatrade, you'll only find trades who meet our high standards and pass up to 12 checks.
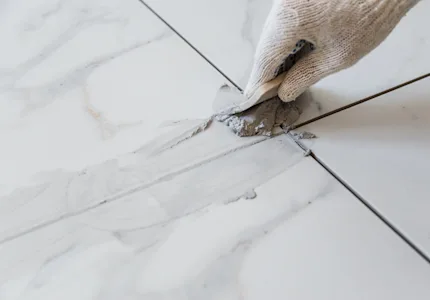
Grout crack repair
Cracked grout isn't just cosmetic - left alone, it lets water in and can lead to further tile damage.
Tools and materials
Grout removal tool or utility knife
New grout, grout float, sponge
Grout sealer (optional)
Step-by-step guide
Carefully scrape out the cracked grout without damaging surrounding tiles
Clean the grout lines thoroughly to remove loose debris
Prepare the new grout per the manufacturer's instructions
Apply it into the cleaned lines with a grout float, filling completely
Remove excess grout at a 45-degree angle with the float
Allow it to dry for the recommended time
Wipe away any haze with a damp sponge
See our full guide on regrouting tiles for more detail.
How much does it cost to hire a tiler?
DIY repairs cost very little beyond materials, but for larger cracks, extensive damage, or a full retile, a professional gives a longer-lasting finish.

How much does tiling cost in 2026?
Discover average tiling costs in the UK, including bathroom, kitchen, and floor tiling prices per m², alongside tips to budget wisely.
When to hire a professional tiler
DIY repairs work well for minor cracks and chips, but consider a professional if:
The crack runs across several tiles, not just one
The damage points to a subfloor issue rather than a one-off impact
You can't get a good colour match for a visible area
The tile is in a wet area (shower, bath surround) where a poor seal risks water damage

A tiler can handle both repairs and full retiling, while a bathroom fitter is worth considering if the cracked tiles are part of a wider bathroom refresh. Need help with tile restoration near you?
Find a local tiler near you
Enter your postcode to find a top tradesperson near you
MCA Construct
10.00
(5 reviews)Services & skills
Tiler - TilingBrick TilingPorcelain TilesTile RepairFloor TilingAG Oakes Tiling
10.00
(182 reviews)Services & skills
Tiler - TilingWall TilingPorcelain TilesMosaic TilesNatural Stone TilesDE DECORATION
10.00
(19 reviews)Services & skills
Tiler - TilingBrick TilingHand Made TilesCeramic TilingPorcelain TilesSolakov Tiling
10.00
(8 reviews)Services & skills
Tiler - TilingBrick TilingPorcelain TilesSlate TilesCeramic TilingReda Builders Ltd
10.00
(36 reviews)Services & skills
Tiler - TilingWall TilingQuartz TilingFloor TilingSlate TilesSTAN'S TILING LTD
10.00
(28 reviews)Services & skills
Tiler - TilingBrick TilingPlain TilesPorcelain TilesVictorian Tiles


Checklist: repairing a cracked tile

Tile repair checklist
Tile repair FAQs
Yes - for most cracks, cleaning the area and filling it with epoxy adhesive gives a durable, largely invisible repair, especially on plain ceramic tiles where colour matching is straightforward.
The method is the same as for ceramic - clean, fill with epoxy, then sand and finish - but use a tinted or colour-matched filler rather than clear, since terracotta's natural variation makes mismatched repairs more noticeable.
Small cracks and chips on bathroom wall or floor tiles can usually be repaired with the same epoxy method used elsewhere in the home. For tiles in constant contact with water, make sure the repair is fully cured and sealed before the area gets wet again.
A broken or cracked tile affects the tile itself and usually needs epoxy filler or full replacement. Cracked grout is the material between tiles and is repaired separately by removing the old grout and reapplying fresh grout.
For hairline cracks or small chips, clean the area, apply epoxy or tile filler directly into the crack, then sand and finish once cured. This avoids removing and replacing the tile, and works well when an exact replacement tile isn't available.
Recurring cracks in the same area usually point to subfloor movement rather than a tile problem - the floor beneath is flexing slightly and stressing the tile above it. A tiler can check whether the subfloor needs reinforcing before you repair or replace the tile again.
See the tradespeople we've checked for your job