Blog>How-To Guides>How to regrout tiles for a show home finish
Last updated: 21 January 2022

How to regrout tiles for a show home finish
As grout is a porous material prone to mould and mildew, learning how to regrout tiles is key if you want a show-home finish. Discoloured grout is an unsightly and unfortunate occurrence in most UK bathrooms. However, knowing the best tricks and tips to clean it is both sanitary and good for your
As grout is a porous material prone to mould and mildew, learning how to regrout tiles is key if you want a show-home finish. Discoloured grout is an unsightly and unfortunate occurrence in most UK bathrooms. However, knowing the best tricks and tips to clean it is both sanitary and good for your health.
Sometimes all it takes is a little elbow grease and a free afternoon. However, for a quick and efficient finish, why not hire a professional to reinvigorate your tiles? Our professional tradespeople are checked by us, reviewed by our customers and checked again by us to make sure they're legitimate. This guarantee can offer you peace of mind that you're hiring the best of the best. Check out our regrouting cost guide for more information.
How to regrout tiles
If you want to give regrouting your tiles a go, then follow our DIY tips and steps below. And don't forget to check out our how to clean grout in 5 steps and tile grout cleaning cost guide.
Tools you'll need for the job
Safety equipment (goggles, face mask, and gloves)
Vacuum
Old sheets/dust sheets
Scraper
Sponges and cloths
Grout rake
Grout remover blade
Grout spreader
Bucket
Tile grout
Optional: oscillating grout removal tool
Top tip: When using a grout rake, be sure to purchase ample spare blades.
How to regrout bathroom tiles
Follow these steps to learn how to regrout bathroom floor tiles:
Place your dust sheets over anything you want to protect in your bathroom and put on your safety equipment.
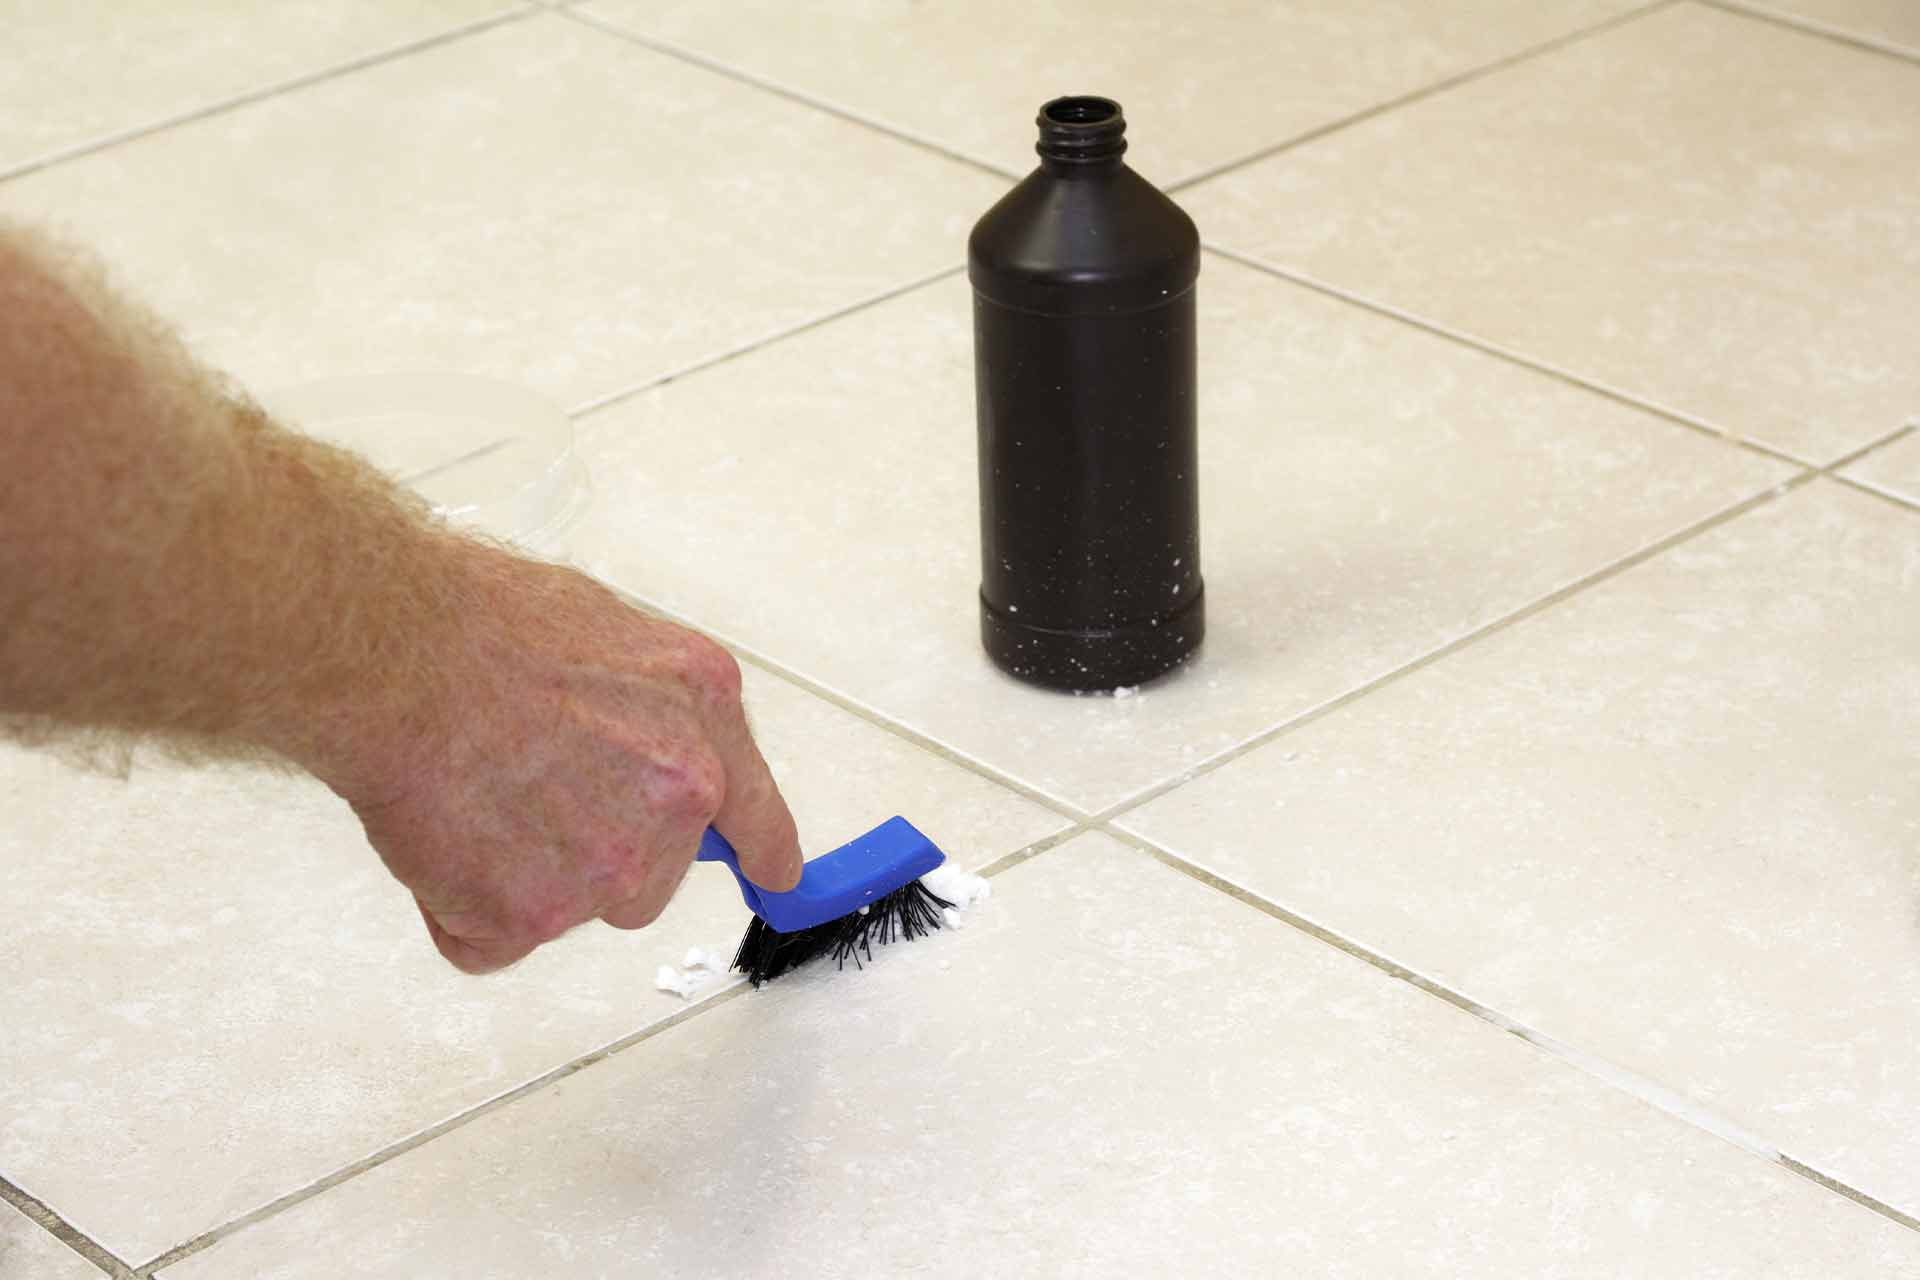
Use your grout remover blade to cut away as much grout as possible. Run the blade along the edges of the tiles carefully so you don't accidentally damage the tiles.
Take your scraper and 'chisel' out any leftover grout debris. Then vacuum up any dust as you go.
Finish the removal by cleaning the surfaces with a damp sponge. Leave to dry.
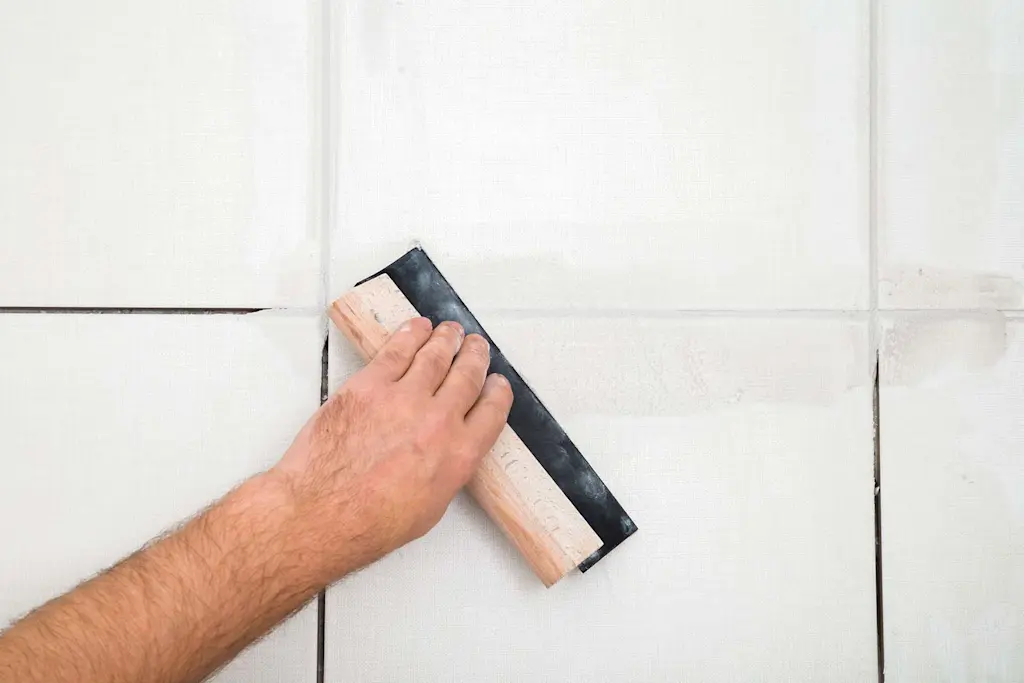
Take your chosen ready-made or ready-mix grout and your spreader and apply it to the chiselled out holes between your tiles.
Work in a diagonal motion to ensure there are no gaps in your application. You can also use the edge of your spreader to scrape off excess grout and re-apply it elsewhere.
Wipe off any excess with a damp cloth or sponge.
Leave the grout to set and then wipe down the tiles with a wet sponge, rinsing out the excess in your bucket.
Once the grout is set and dried, use a dry cloth to remove the powdery residue that's inevitably been left behind.
Top tip: Where tiles touch another surface (such as a bath), don't grout the area. Instead, seal with a silicone sealant after your grout is dry.
See the tradespeople we've checked for your job
How to regrout shower tiles
Follow these steps to learn how to regrout shower tile walls:
Place your dust sheets over anything you want to protect in your bathroom and put on your safety equipment.
Dig out the existing grout at a minimum of 3mm deep. (Trying to grout over old grouting will cause issues in the long term).
Use a grout rake or an oscillating tool to effectively remove old grout over a large surface area. Be careful to avoid the tiles. Any slipups could result in damage that requires repairing. Patience is key.
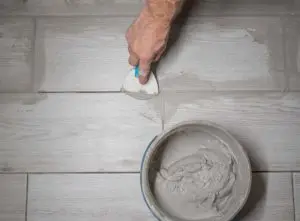
Mix your grout in a bucket as per the manufacturer's instructions to ensure a smooth consistency.
Take your spreader and apply the mix to the chiselled out holes between your tiles.
Work in a diagonal motion to ensure there are no gaps in your application. You can also use the edge of your spreader to scrape off excess grout and re-apply it elsewhere.
Wipe off any excess with a damp cloth or sponge.
Leave the grout to set and then wipe down the tiles with a wet sponge, rinsing out the excess in your bucket.
Once the grout is set and dried, use a dry cloth to remove the powdery residue that's inevitably been left behind.
Top tip: Make sure your grout is suitable for the area you're grouting. For example, some brands are recommended for shower rooms, and others are recommended for floors.
See the tradespeople we've checked for your job
How to regrout kitchen tiles
Follow these steps to learn how to regrout kitchen counter tiles:
Locate the tiles your want to regrout and remove the old grout using your tool of choice (oscillating machine or grout remover blade).
Once the grout is removed, sponge down the area and wipe it clean.
Mix your chosen grout or use a ready-mix if you're working on a smaller area (e.g. if you only want to touch up a few areas and not an entire wall).
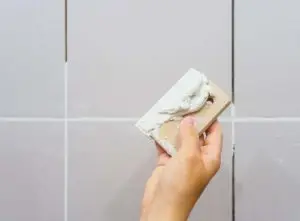
Take your scraper and use it to re-apply grout on the areas you previously removed. Use a diagonal motion to avoid air bubbles or bumps.
Use a grout finishing tool to ensure a neat line. Gently run it across the grouting for a clean finish.
Remove the chalky film by using a damp sponge to lift the residue. Finish by buffing the tiles with a clean cloth.
How to regrout tile without removing old grout
We highly recommend removing your old grout before applying any new grout on top. Due to its porous nature, which is designed to make the space between tiles watertight, it can't be 'fixed' by simply adding more grout on top. The new mixture won't adhere to the old one, and the cracks, crumbling or other issues that made you want to add grout onto your tiles in the first place will simply transfer to your new grout.
How to regrout ceramic tile floor
Follow these steps to learn how to regrout tile floors.
Put on your safety equipment.
Use a grout removing oscillating tool to remove the old grout (vacuum as you go).
Go over the area again with the oscillating tool to carefully clean up the grout lines.
Don't force the blade. You can remove stubborn areas manually with a grout removal blade.
Vacuum and clean the area with a damp sponge.
Mix the grout in a bucket as per the manufacturer's instructions.
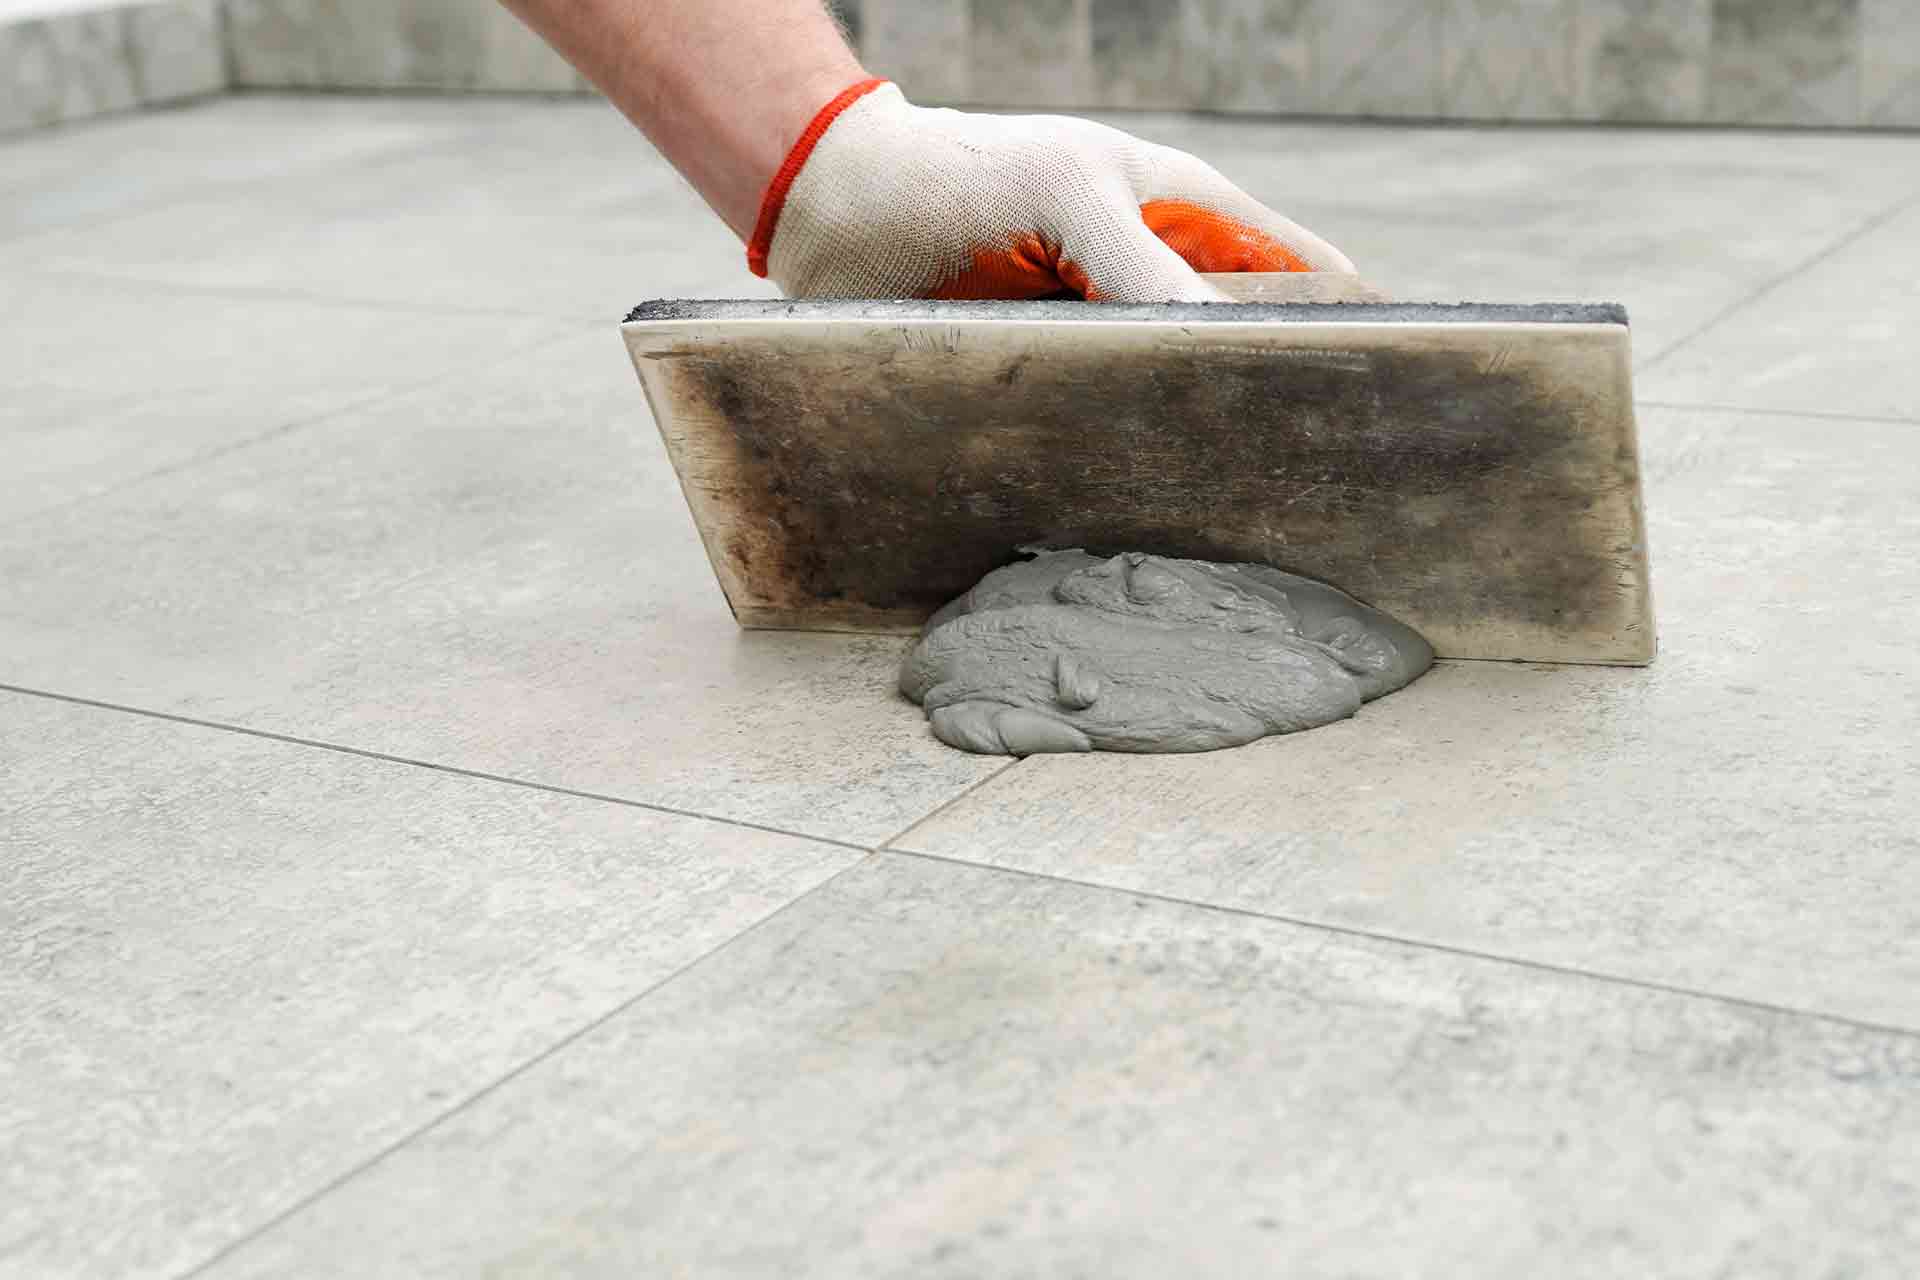
Fill the grout joints using a scraper or trowel in diagonal sweeping movements.
Sponge down the grout and tiles, rinsing and cleaning as you go, and leave to dry.
After it's dried, remove the residue with a damp sponge and buff the area with a dry cloth.
See the tradespeople we've checked for your job
FAQs
How hard is it to regrout tiles?
Although the process is relatively simple, the margin for error is high when working with delicate tiles (particularly the ceramic variety). You will need a steady hand and lots of patience. If you're in any way unsure, why not hire a professional to make sure the results are clean and long-lasting.
Is regrouting worth it?
For tiles that are still in good condition, regrouting is a great way to spruce up your walls or floors. New grout is transformative, giving a showhome finish, and it also removes any mould or mildew buildup that's detrimental to your health.
Can you put new grout on top of old grout?
It isn't recommended due to the porous nature of grouting. So, if you're asking yourself, 'do I have to remove all old grout before regrouting?' the answer is yes. Adding new grout on damaged or mouldy old grout will just exasperate the problem.
More Tile and Grout Cleaning Articles
See the tradespeople we've checked for your job