Blog>How-To Guides>How to fit a chimney liner
Last updated: 25 November 2021

How to fit a chimney liner
If you're searching for, 'how to fit a chimney liner,' then you've likely read up on the benefits of a well-installed flue liner. Having done so, you've realised that preventing a fire or build-up of flammable debris (soot, tar, creosote etc.) is a wise investment.
If you're searching for, 'how to fit a chimney liner,' then you've likely read up on the benefits of a well-installed flue liner. Having done so, you've realised that preventing a fire or build-up of flammable debris (soot, tar, creosote etc.) is a wise investment.
You are correct. However, they're also a useful barrier that prevents excessive heat and corrosion from further damaging the inside of your chimney breast. Plus, they improve your home's energy efficiency.
For all these reasons, our blog is going to teach you how to fit a chimney flue liner and protect your home from potential health and safety risks.
If this sounds like a job for a professional, then don't hesitate to contact one of our tradespeople to book an expert installation.
Read on to find out how to fit a chimney liner in the UK.
How to fit a chimney liner
If you want to know how to fit a flue liner to a chimney yourself, then follow our steps below. Please note that this guide is for chimneys using solid fuel such as wood or coal burners. The method is the same for gas burners but requires different materials.
Tools you'll need for the job
A flexible stainless steel chimney liner – preferably 904 grade and 6inches in diameter (min)
An end cone and gaffer tape or self-tapping screws
An angle grinder with 1 or 2mm cutting wheels
Protective outerwear
A small counterweight
A length of rope that is twice as long as the chimney
Another person to help
How to install a flue liner
Now you've got the tools, let's look at how to fit a flue liner step-by-step. Please note that the difficulty when it comes to installing a chimney liner depends on the design, height, and how tight the chimney is.
Step one: Do you need to insulate your chimney first?
For a larger chimney, insulating it in blanket wrapping first is advised. Alternatively, pouring in Vermiculite between the chimney and the flue liner after you've fitted it works too.
If your chimney is narrower, then insulation might not be necessary. Just note that it adds an extra cost.
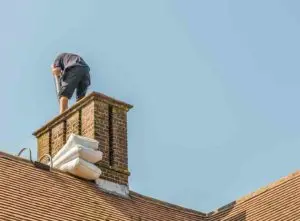
Step two: Sweep the chimney
It might sound obvious, but you'd be surprised who misses this crucial step. Loose soot can still cause fires, and it also obstructs the fit of the liner. So, be sure you're working with a clean slate before chimney flue liner installation begins.
If you want to know more about the cost of professional chimney sweeping, then take a look at our chimney sweeping cost guide.
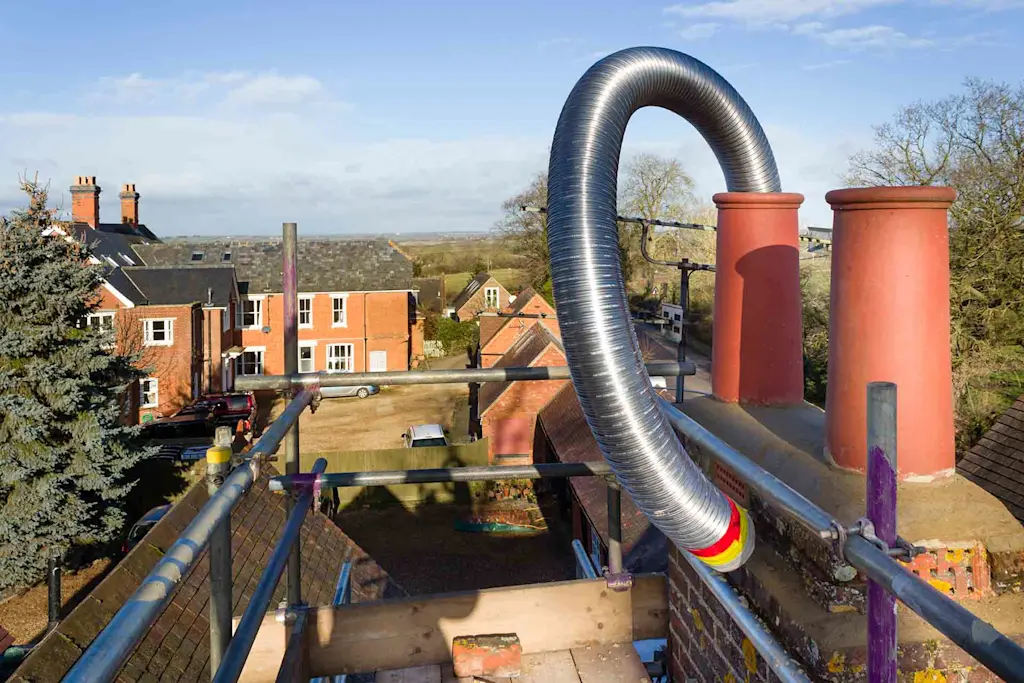
Step three: Climb onto the roof
At this point, safety is paramount. Ladders and safety equipment is a must, but scaffolding might also be an option for extra peace of mind.
Step four: Uncoil the liner
Take the liner from its wrapping and gently uncoil it. At this point, markers or arrows pointing in one direction should be clear. If you don't see any arrows, the liner can be installed any way up. If you do see arrows, be sure to install the liner with the arrows facing the sky.
Step five: Fit the end cone
Use gaffer tape or self-tapping screws to secure the end cone to the bottom of the chimney liner. There should be a tie-off handle on the end, but if not, drill one in and tie a large knot inside the cone so there's a rope handle.
Step six: Connect your ropes
Taking your long piece of rope, connect it to the tie-off handle. Then, add your counterweight to the long rope (the side of the handle) and use it to feed the liner through the top of the chimney.
Step seven: Feed the liner down to your helper
Keep pushing the rope through the chimney until your helper has received it at the other end. It might take a bit of twisting and turning to get it through. Ultimately, you want some liner poking out of the chimney stack and some poking out of the fireplace.
Step eight: Add your blanket wrap
(Skip to step nine if not applicable).
Install your blanket wrap by feeding it up the chimney from the fireplace. It needs to be on the outside of the liner. This is the easiest and most effective insulation method to complete yourself.
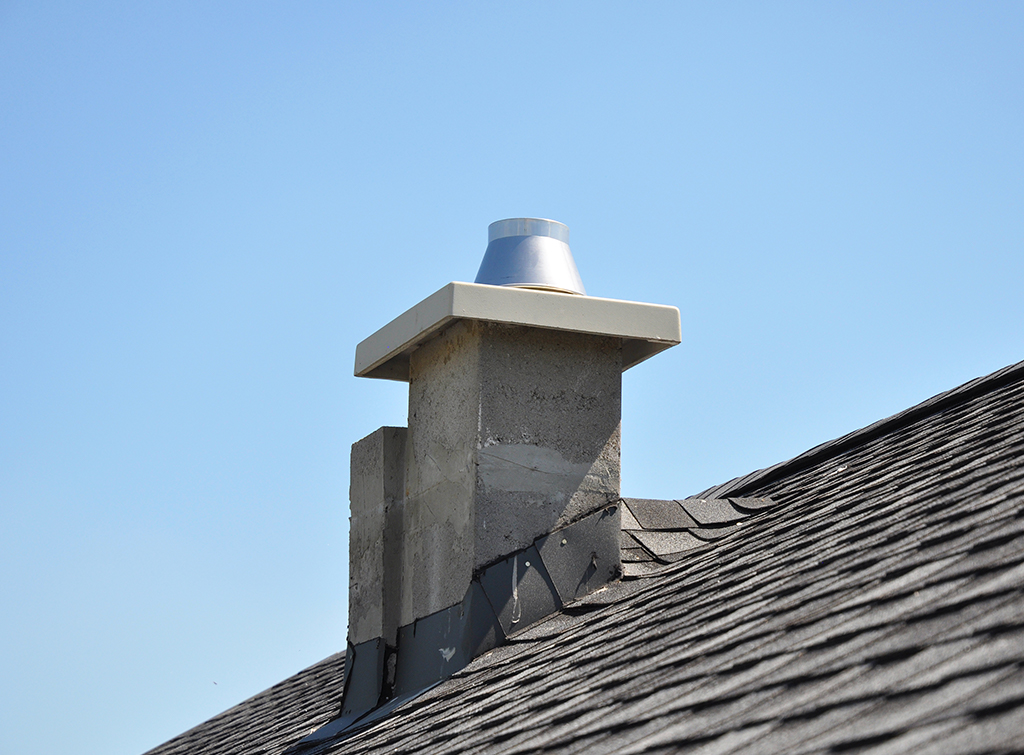
Step nine: Connect your liner to your chimney pot
Either use a 'hanging cowl' or 'inside chimney' method to secure your liner. A hanging cowl is secured by inserting the cowl liner into the chimney liner and securing them together with jubilee clips.
Note: This method isn't suitable if you're adding Vermiculite insulation.
Alternatively, the inside chimney method is suitable for Vermiculite insulation. It fixes the chimney liner at the top of the stack using plates and clamps. The Vermiculite is then poured in before the gap between the pot, and the liner is filled with a sand and cement mix. Finally, a cowl is added to stop rain and bird egress causing issues.
Top tip: Using a top sleeve creates a better and more secure fit for the cowl.
If you are at all stuck on any of the above stages, then we strongly recommend you contact a chimney relining expert. Find out more about chimney liner costs in our chimney liner cost guide.
How to fit a clay flue adaptor
A clay pipe adaptor is usually made from stainless steel and is a component that connects a stove pipe into an existing clay liner. All you need to do is place the clay adaptor into the clay pot and make sure the securing bands are folded into a suitable position. This then allows you to secure it against the flue gather hood. Finally, push the clay adaptor firmly into the pot. The clay adaptor lip will then mould with the surface of the clay pot and create a smoke-tight connection.
Hire your local chimney relining expert
FAQs
How can you install a chimney liner for a wood stove?
Our step-by-step guide above will take you through all the steps required for how to install a chimney liner for a wood stove.
Do I need permission to install a chimney liner?
Yes. You must notify your local housing office that you are installing a chimney liner. They might have a specific procedure they want you to follow.


See the tradespeople we've checked for your job