Blog>How-To Guides>How to fit a tap in 6 steps
Last updated: 9 November 2021

How to fit a tap in 6 steps
We’ve put together this guide with step-by-step instructions to show you how to fit a tap. We’ll also be answering all your FAQs.

So, you want to know how to change a tap? Whether you're looking to refresh your kitchen with a new style of tap or if your bathroom tap's on the brink, then you may want to get it changed sooner rather than later.
For an experienced DIYer, replacing a tap is a relatively straightforward job. All it takes is a little planning and the correct tools. But for someone who doesn't have hands-on experience, it can be quite an intimidating job to complete.
We’ve put together this guide with step-by-step instructions to show you how to fit a tap. We’ll also be covering tips on fitting mixer taps, monobloc taps, and answering your frequently asked questions. This guide will either guide you in changing your taps or encourage you to reach out to a professional plumber to do the job for you.
If you're ever in doubt about your DIY abilities, then always play it safe by hiring a professional plumber to do the job for you.
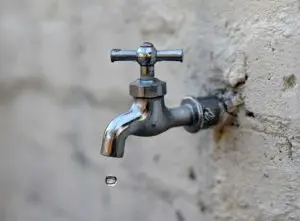
How to fit an outside tap
Tools you’ll need:
A screwdriver
An adjustable spanner
An SDS drill
An 18mm SDS drill bit
A 7mm SDS drill bit
A 15mm pipe cutter
Water pump pliers
15mm pipe collar – (optional)
Step 1: Drill an 18mm hole directly through the wall
Consider where your outdoor tap will be installed, then figure out where your mains water supply is located so you can connect your tap pipework to it. We recommend having them nearby one another.
Measure the area in which your drill bit will enter the wall from the outside. When you’re drilling through the wall from the outside, make sure there’s no chance you’ll come into contact with anything on the wall’s interior.
Finally, mark where you want the outside tap to go, then start drilling.
Top tip: It’s important to drill the wall from the outside to prevent blowing the brick out on the outside.
When you have around an inch or so to go, switch off the hammer mode on your SDS drill and use the drill function instead.
Step 2: Affix the backplate and outdoor tap
Ensure the copper pipe inside the property is placed correctly, then drive the backplate through the wall.
If needed, cut back the copper pipework.
Once the brass backplate is flush with the wall, use a pencil and mark the three holes on the surface of the wall.
Take away the backplate and carefully use your drill to make 7mm screw holes.
Step 3: Attach the water supply to the copper pipe
The best way to connect this to the water supply is by adding an elbow to the copper.
Next, insert a length of pipe to the elbow you’re using (place it inside the 15mm tee fitting). This should be attached to your property’s cold water mains supply.
Search for checked plumbers working in your local area
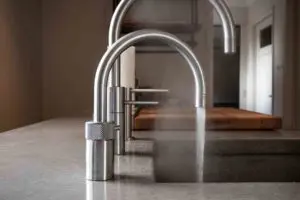
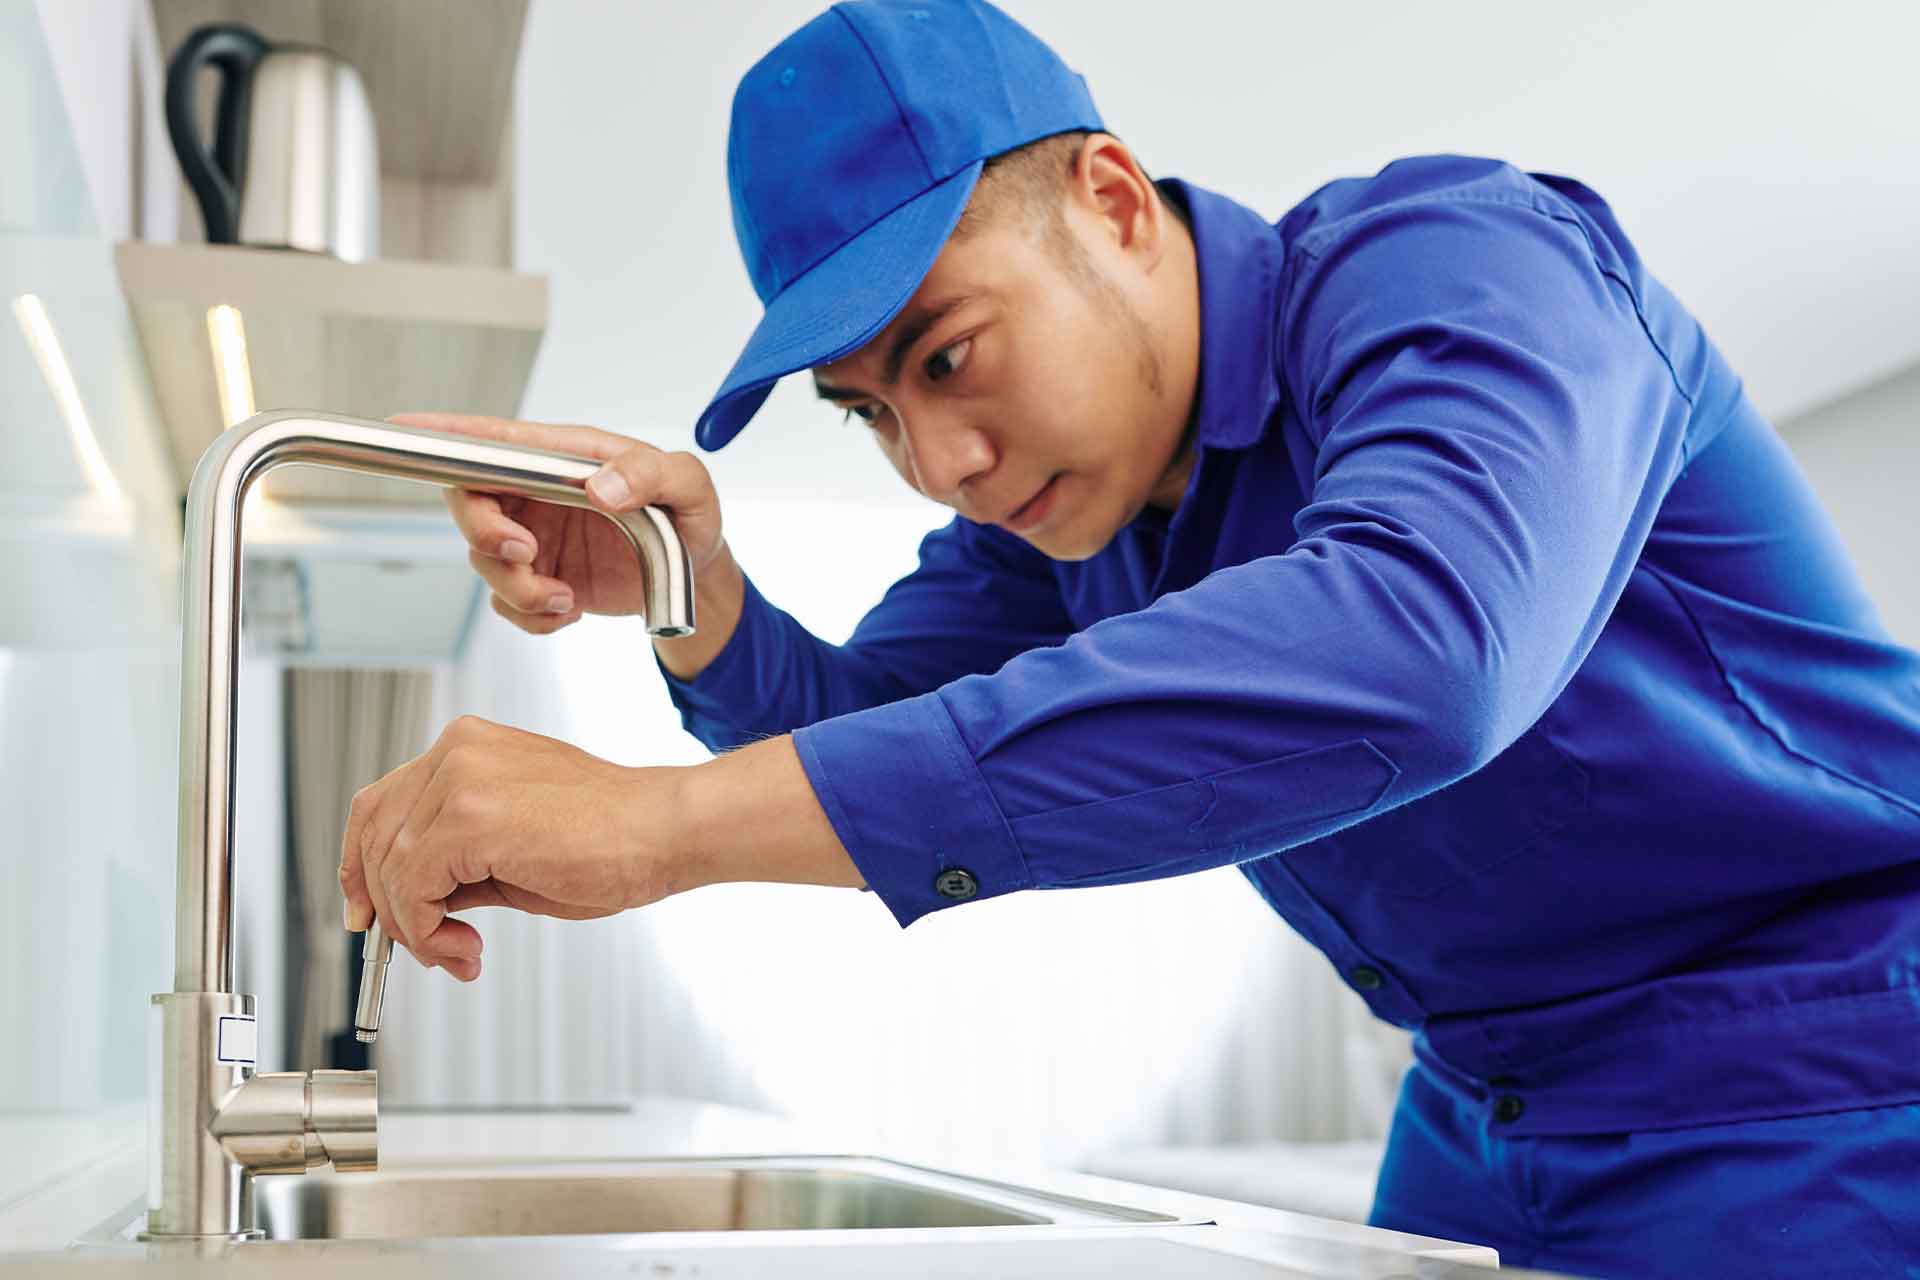
How to fit a kitchen tap
Tools you’ll need to fit a tap:
Screwdriver
Sink spanner
An adjustable wrench
Your new taps
Tap connector pipe(s)
Junior hacksaw
Pipe cutting tool
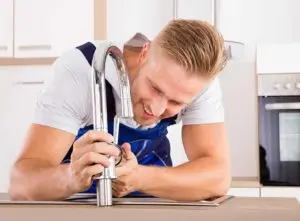
Step 1: Remove your old taps
As obvious as it sounds, before you embark on fitting a kitchen tap, you’ll need to switch off your water supply. If you fail to do this, there’ll no doubt be a lot of water carnage in your house!
Next, turn on the taps so that they run the system dry.
Use a wrench to unfasten the nut that affixes the supply pipes to the tap. This bit can be tricky, but all you need is a little patience.
Lastly, unfasten the nut that connects your basin or bath to your taps.
Top tip: It’s a good idea to get someone else to hold onto the tap to stop it from turning while you unfasten the nut.
Step 2: Clean the area
Once you’ve removed your old taps, be sure to clean the area and get rid of any remaining dirt and adhesive.
Inspect the condition of your joins, pipes, and fixings. If anything needs repairing, now’s the time to do so.
Make sure that your new taps’ fittings work correctly with your old pipes. If not, then you may need an adaptor. If you’re using plastic fittings, then you may need a plumber for the pipework. And you'll need a reducing coupler for taps with one spout (monobloc taps).
Typically, your new tap will include a 10mm pipe, which will need to increase to the 15mm supply pipe.
Your plumbing will probably already be in place if you’re carrying out this job from scratch. Be sure the tap is placed correctly so that it extends to the sink or bath.
Step 3: Positioning your new taps
Position your taps inside the sink or bath’s holes. The washers should sit in between the sink or bath’s surface and the tap. Then, affix the tap using a back nut.
Step 4: Connect the supply pipes
After you’ve attached the taps, you can then connect the supply pipes. You can either use plush-fit plastic fittings or copper piping for this.
If your taps are in an awkward position, copper piping is more suitable, although you’ll probably need a solder and blowtorch to fix the lengths together.
Step 5: Connect the water supply
Hand tighten each end until you achieve the best position so that the water runs easily. Be sure to keep your plumbing tidy so that there aren’t any turns or twists.
Finally, tighten each end.
Step 6: Detecting leaks
Turn on the water gently, so the taps run. Even the tiniest drop of water can cause long-term damage. So, inspect around the taps and around the connections to make sure that no water is leaking.
If you spot any water escaping, tighten the connections and nuts and try again. If water is still leaking, it might be time to call your local plumber – they may have to take it apart and start again.
How to fit a kitchen tap with flexible hoses
A flexible hose, otherwise known as a flexible tap connector, connects taps to the water supply. It’s useful for connecting taps in cramped areas.
Fitting a tap with flexible hoses is a fairly simple job, but one that requires specialist equipment and expertise. Here's a quick overview of the typical kitchen tap installation process:
Preparation
Connecting the kitchen tap with flexible hoses
Fitting the tap
Connecting and testing
How to fit a mixer tap in 6 quick steps
Unsure of how to install a shower mixer tap? These tap types combine cold and hot water within the tap’s body. They do this using a single lever that rotates from left to right. Or they use individual cold and hot controls to ascertain the stream of cold and hot water.
Here’s a quick overview of how to fit a mixer tap:
Take away the old tap and remove the connection, then detach the nut (it’s hexagonal) that keeps the tap secure.
Remove your old taps and clean the area. Secure the tap tails so that they sit tightly in the tap’s frame.
Attach the fixing studs to the tap’s base. Place the tap above the countertop or sink’s tap hole. Next, pull the fixing studs and tap tails across them.
Affix a retaining plate and washer over the fixing studs from underneath the tap hole. Place nuts on the fixing studs.
Once the tap’s in the right position, use a spanner to screw in the nuts tightly. Be careful not to harm the sink, though.
Switch on the mains water supply to ensure no water can escape. If any water escapes, inspect the connectors, then adjust if necessary.
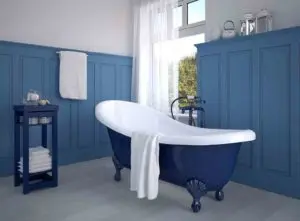
How to fit bath taps
Fitting a bathroom tap is fairly similar to fitting a kitchen tap. So, refer to the ‘how to fit a kitchen tap’ guidelines above for detailed instructions.
Before you start this task, take away the bath panel to remove and install the new bath taps.
Acrylic bath panels just slip into place. If not, find push on/off magnetic catches or screws that fasten the panel. It’s possible you might need to take off a section of the supporting structure to allow you to get underneath the bath.
First and foremost, you’ll need to know which bath tap you have. Usually, bath taps come in two types:
Pillar taps - two individual taps for cold and hot water.
Mixer taps - one individual tap that blends both cold and hot water. Typically, these include a shower fixture, too, often known as a bath shower mixer tap.
Other less-known bath tap choices include wall-mounted taps, valve-operated bath fillers, and freestanding taps. If you don’t know which tap type you have, it’s best to speak to a professional plumber.
Tools you’ll need:
New taps
A wrench
A back nut
A blowtorch and a solder (if you’re using copper piping to relink the water supply pipes)
Here’s a quick overview of the steps involved. Please note, the below steps relate to separate hot and cold taps (bath pillar taps), not mixer taps:
Prepare the area.
Turn off your water supply.
Unfasten the tap connectors.
Detach the bath tap.
Clean the area.
Check the condition of your fixings, pipes, and joins.
Put the new bath tap in place.
Install the connectors to your replacement bath tap.
Attach the connectors to your pipes (either using push-fit plastic fittings or copper piping).
Position the back nut.
Hand tighten the nut.
Repeat the previous step.
Install the flexible tap tails.
Switch on the water at the mains.
Make sure there aren’t any leaks.
Discover more about tap fitting costs.
Fitting a monobloc tap
Unless you have experience in fitting monobloc taps, it’s best to speak to a contractor to take care of tap installation. To save time, you can use our useful search bar to connect with plumbers in your local area and compare tap installation costs.
Search for checked plumbers working in your local area
Fitting a kitchen tap with a pull-out hose
Depending on your expertise, you may choose the DIY approach. To install a kitchen tap with a pull-out hose, you’ll need to purchase all of the pipework and fittings – not to mention the correct drill type if you don’t already own one. All told, you’re probably looking at roughly £80 on DIY tap installation.
For your peace of mind, if you hire one of our members for the job, we guarantee their work so that you and your bathroom or kitchen are in safe hands.
Not only this, you can inspect their profile and examine all the customer reviews, all of which have been verified by us.
FAQs
Can you fit new taps yourself?
Yes, it’s perfectly possible to fit new taps yourself, just be sure to do your homework beforehand.
Is it easy to fit a tap?
Removing and installing new taps isn’t always an easy job. Because water is involved, if you make a mistake, things can go wrong fast. So, be sure to follow the above six steps carefully.
If in doubt, we’d recommend leaving tap fitting to a professional plumber.
How do I install a bathroom tap?
You can follow the six simple instructions mentioned above to install your bathroom tap.
Do all taps fit all basins?
Most taps are a standard size. So, it should be a case of being able to swap one set of taps for another, regardless of what basin you have. However, the size refers to how a tap fits into the pipework, not the overall size of the taps themselves.

See the tradespeople we've checked for your job