HOW-TO GUIDES
How to fit an isolation valve
Updated 07/26
By: Content Team
Reviewed: Kim Staples

Develop your DIY skills by learning how to fit an isolation valve. Our informative guide will help you throughout your project with excellent tips and more.
What an isolation valve actually does and why it's worth having
The difference between a stopcock and an isolation valve
How to fit one to copper, plastic, or push-fit pipe
Which valve type suits your water pressure
Where isolation valves are usually hiding in your home
How to find a plumber to fit a valve, and what to expect
Also known as service valves or shut off valves, isolation valves work by stopping the flow of water to a household item, including dishwashers, toilets, sinks, washing machines and showers. This helps you to isolate that fixture allowing you to remove or work on it without flooding your home.
This guide covers all you need to know so you can learn how to fit an isolation valve, including how to fit an isolation valve to a copper pipe and how to fit an isolation valve to a plastic pipe.
Find a plumber to install your valve
What is an isolation valve, and do you need one?
An isolation valve sits on the pipe feeding an individual appliance or fixture.
When you turn it, you cut the water to just that item, leaving the rest of your plumbing running as normal.
Without one, replacing a tap or a toilet means shutting off the stopcock for your whole home, and potentially draining the system.
Isolation valve vs stopcock: what's the difference?
A stopcock (or mains stopcock) controls the water supply to your entire property. It's usually found under the kitchen sink or near where the mains pipe enters the house.
An isolation valve is smaller in scale, controlling just one appliance or fixture.
If you're looking for your home's main shut-off rather than a single fixture, see our guide on finding your stopcock.
Types of isolation valve
There are two common designs:
Handle (lever) valves - a small quarter-turn handle you can turn by hand, usually the quickest to operate in an emergency
Screw-slot valves - operated with a flat-head screwdriver, often used where a discreet, tamper-resistant valve is preferred
If your home runs on low water pressure (e.g. a tank-fed system rather than mains pressure), look for a full bore valve.
Standard valves can restrict flow on these systems, and gate valves in particular are best avoided as they're prone to jamming or failing to shut fully.
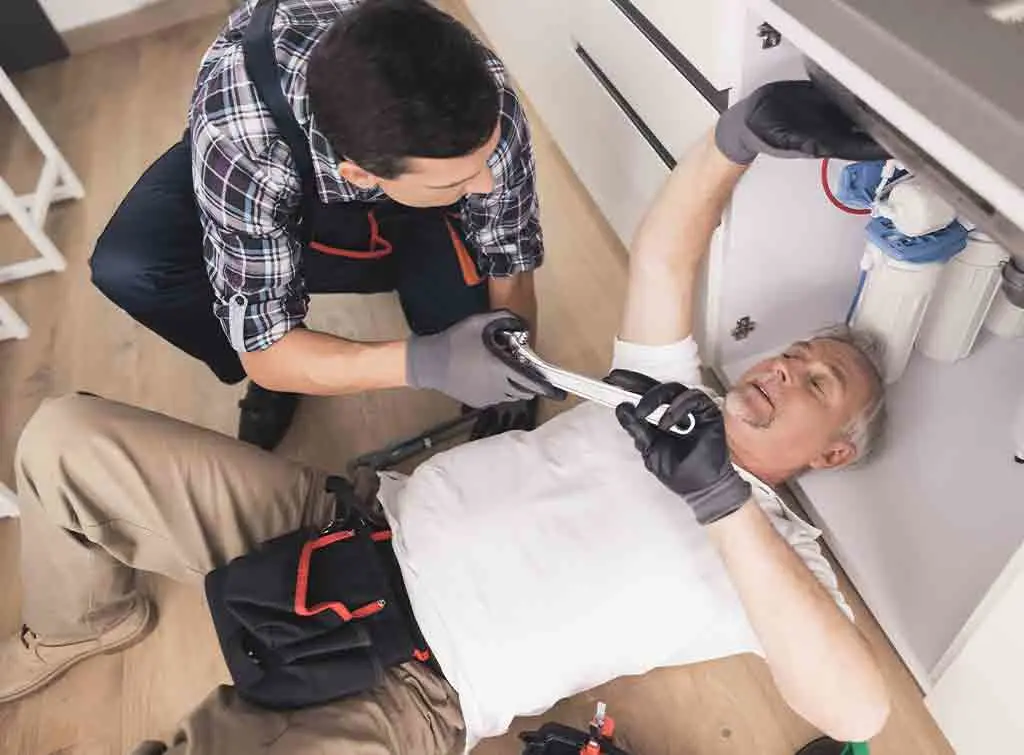
Tools and materials you'll need
Pipe cutter
Small hacksaw (as a backup for tight spaces)
Isolation valve (correct type and size for your pipe)
Wire wool or fine sandpaper
Adjustable spanner
How to fit isolation valve to copper pipe
Turn off the water supply at the stopcock before you start.
Choose an accessible spot for the valve - somewhere you can reach easily in an emergency, not tucked behind fixed cabinetry.
Cut the pipe using a pipe cutter (or hacksaw if space is tight), removing a section equal to the width of the valve. Aim for as clean and square a cut as possible.
File and clean the pipe ends with wire wool or fine sandpaper to remove burrs and jagged edges.
Fit the valve into the gap and tighten the compression nuts on both sides to create a firm, watertight connection.
Turn the water back on and check the joint for leaks.
A clean, square cut matters more than it seems. A jagged or angled cut is one of the most common reasons a compression joint weeps after fitting.
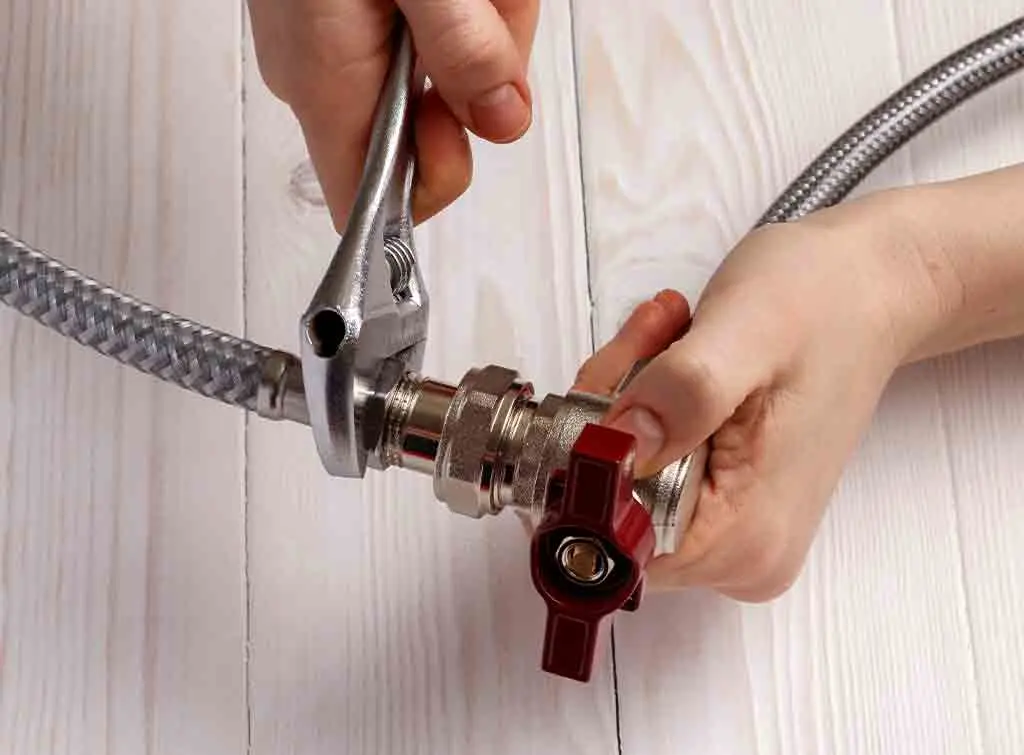
How to fit an isolation valve to a plastic or push-fit pipe
Plastic and push-fit pipework is generally easier to work with than copper, and doesn't need any special tools beyond a pipe cutter.
Cut the pipe in the same way as described above, sizing the gap to match the valve.
Position the valve in the gap, making sure each pipe end is pushed fully into the fitting.
Push the pipes together firmly until you feel them seat, checking the fitting's markings to confirm they're fully home.
Push-fit valves use this exact same method, which is one reason they're a popular choice for DIYers who don't want to invest in specialist tools.
How much does it cost to fit an isolation valve?
Fitting an isolation valve is a small job, so most plumbers will charge based on their standard call-out or hourly rate rather than a separate fixed price.
The average plumber rate is £50 per hour, and fitting an isolation valve shouldn't take more than 1-2 hours at most.
See our guide to UK plumber costs for more details.
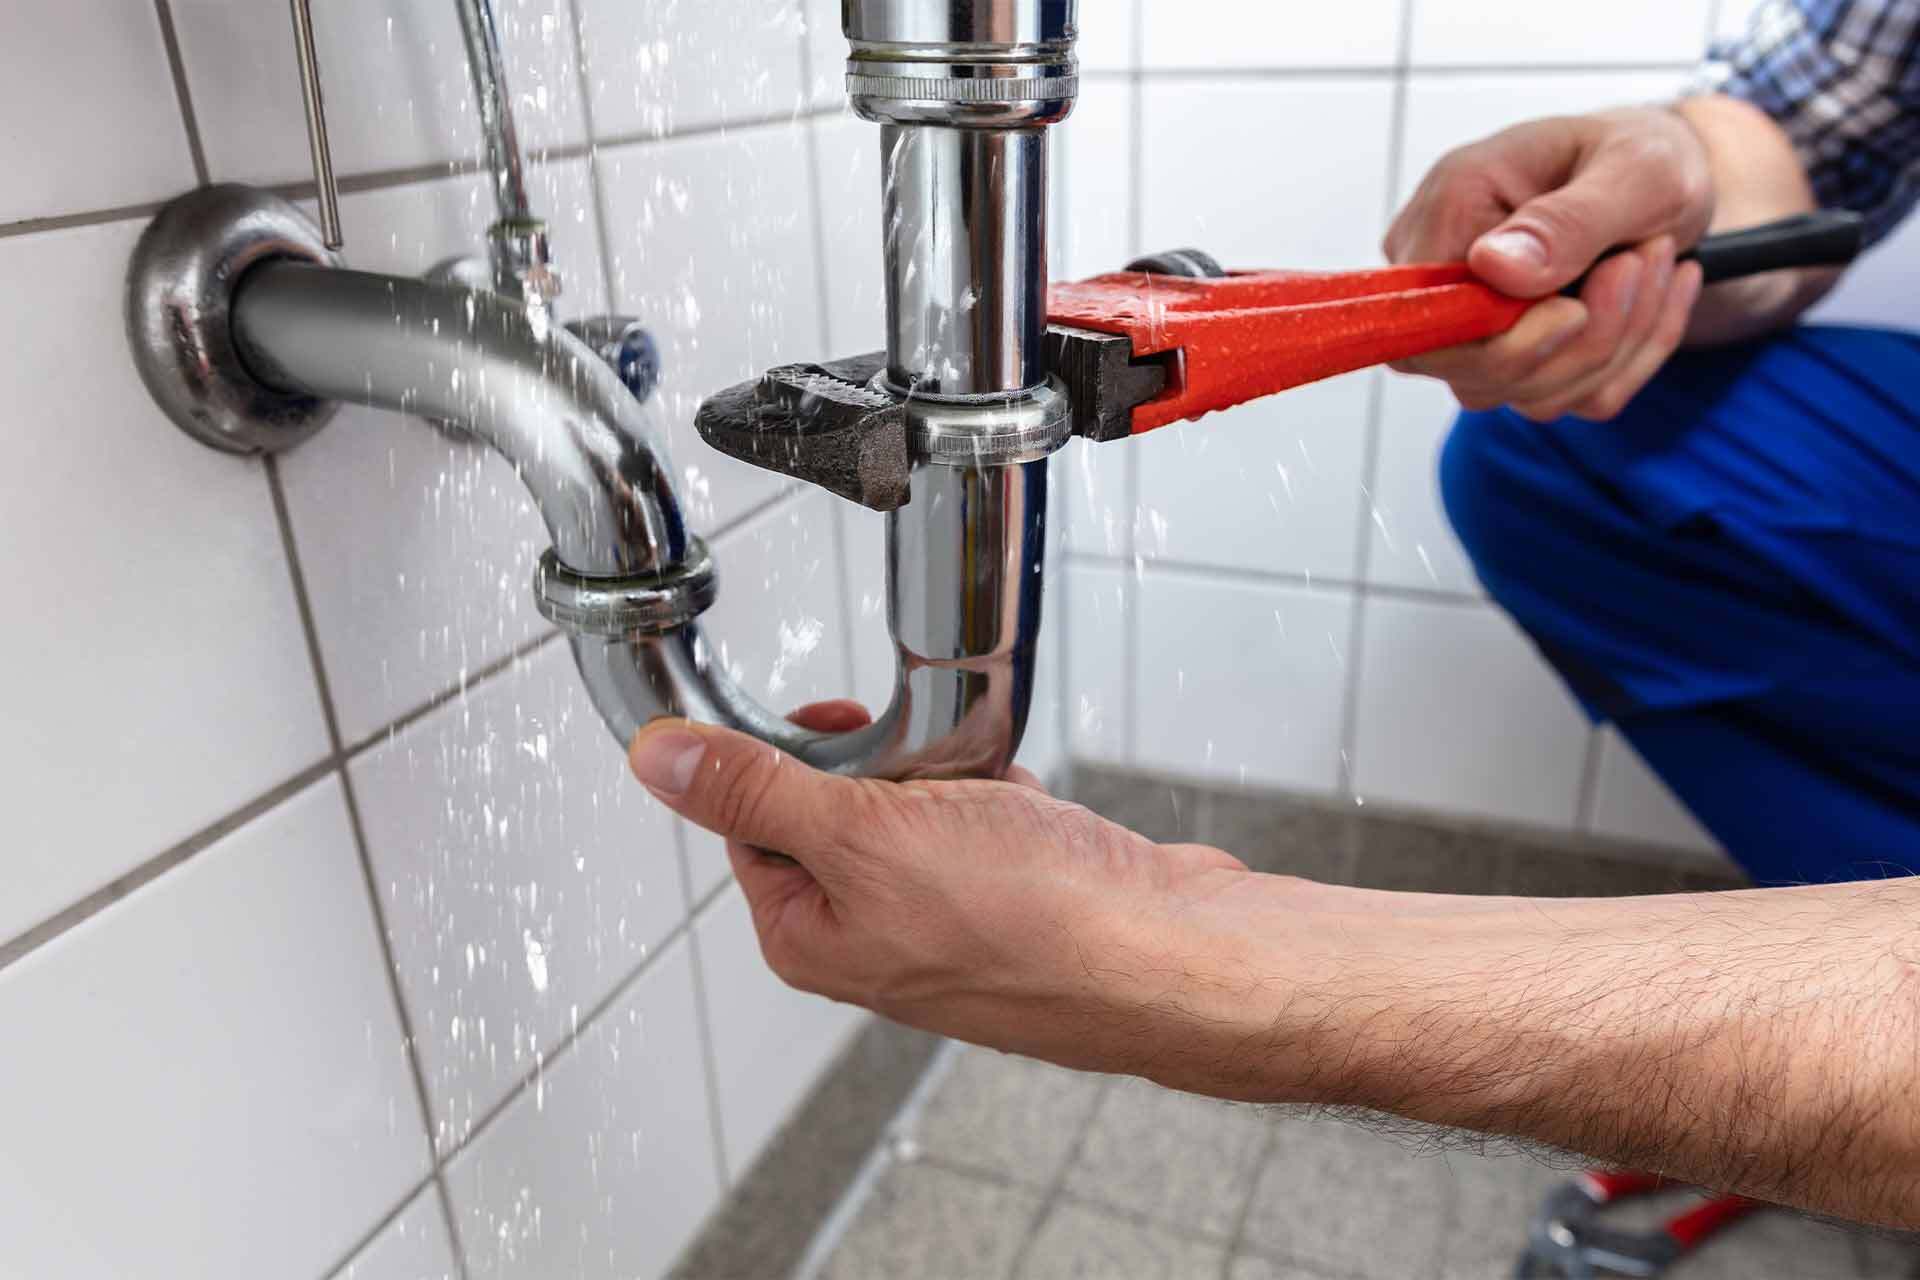
Plumber costs in the UK: 2026 price guide
Whether you are planning an exciting renovation or have a troublesome issue, our plumber cost guide contains daily, hourly and emergency rates.
When to call a plumber instead
Fitting an isolation valve can be a manageable DIY job, as long as you're comfortable cutting pipe and making a compression joint.
But it's easy to get wrong - and a leaking joint behind a wall or under a floor can cause real damage before you notice it.
Call a plumber instead if:
You're not confident cutting copper pipe squarely
The valve needs to go somewhere hard to access
Your home is on a low-pressure, tank-fed system and you're unsure which valve type to use
A previous attempt is leaking or won't shut off fully
If your project doesn’t go to plan or you are unsure how to proceed, your best option is to hire a plumber. They can assist you at any stage of the job - or take it off your plate entirely.
Enter your postcode - or download the Checkatrade app - to get started.
Find a plumber to install your valve

FAQs
An isolation valve lets you cut off the water supply to a single fixture, like a toilet, tap, washing machine, or dishwasher, so you can repair or replace it without shutting off water to the rest of the house.
You'll typically find isolation valves just behind or below the fixture they control - for example under a sink, behind a toilet, or on the pipework feeding a washing machine or dishwasher.
A stopcock controls the water supply to your whole property, and is usually found under the kitchen sink or near the mains entry point. An isolation valve only controls the water supply to just one fixture - such as an appliance, sink, or toilet - and will be found near that fixture.
Yes, possibly. For most copper, plastic, or push-fit pipework, fitting an isolation valve is a manageable DIY job with basic tools.
If you're not confident cutting pipe cleanly, or the valve needs to go somewhere awkward, it's worth calling a plumber.
Choose a full bore valve, which won't restrict flow the way some standard valves can. Avoid gate valves on these systems, since they're prone to jamming or failing to shut fully.
This is often a sign the valve has worn out, has debris caught inside it, or was a lower-quality gate valve to begin with. Replacing it with a full bore lever valve usually resolves the issue.
Yes. Even though the valve itself only controls one fixture once installed, you'll need to shut off the mains stopcock while you cut the pipe and fit it.
Yes. Fitting an isolation valve is generally fine as DIY work - but any plumbing work should still meet the Water Supply (Water Fittings) Regulations 1998, which exist to prevent water waste and contamination. If in doubt, a qualified plumber can confirm your setup is compliant.

From installing a new tap and unblocking drains, to boiler maintenance and bathroom installations, take a look at our plumbing hub for help with all your plumbing needs.
See the tradespeople we've checked for your job