HOW-TO GUIDES
How to remove wall tiles
Updated 08/26
By: Tom Blake
Reviewed: Alex Peters
Whether to remove tiles or tile over them
How much wall tile removal typically costs
How to protect plasterboard while working
Which tools make the job easier and safer
When you'll need a plasterer, not just a tiler
How to dispose of tile waste and rubble safely
If your wall tiles are chipped, cracked, dated or just not your taste anymore, ripping them out is often the best way to get a proper fresh start.
It's a genuinely doable weekend job for anyone with reasonable DIY confidence, but it's also messier, slower and more physically demanding than most people expect - and it's easy to damage the wall underneath if you rush it.
This guide walks through removing tiles from solid walls and plasterboard, stripping off the leftover adhesive, and knowing when it's worth calling in a professional instead.
Find a checked tiler near you
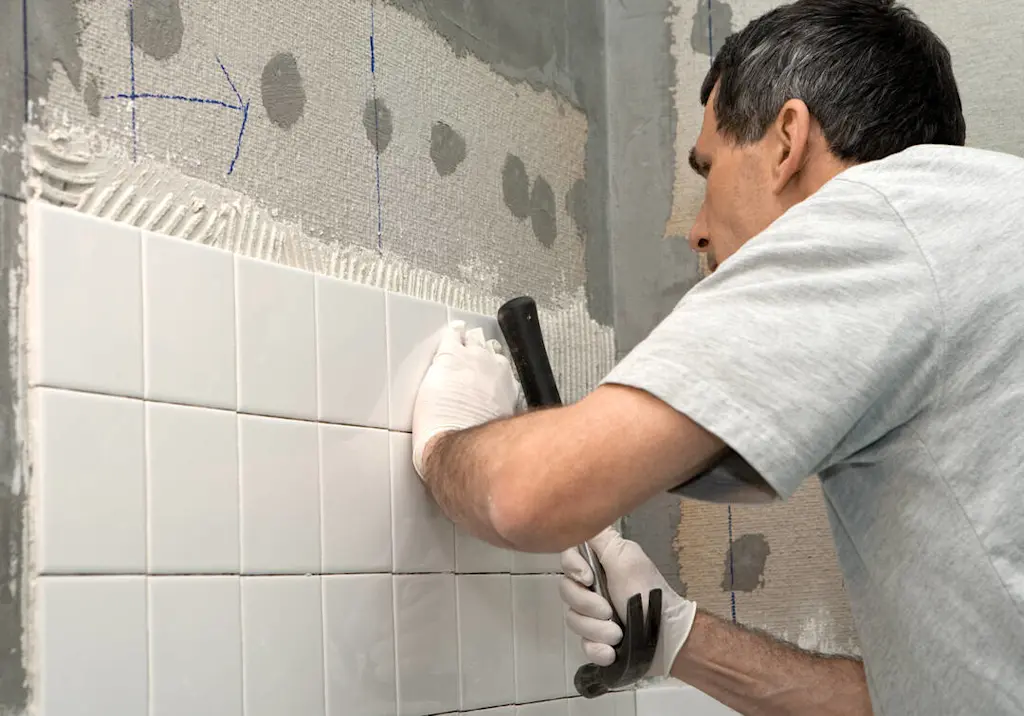
Should you remove your wall tiles, or tile over them?
If your existing tiles are firmly fixed, flat and in good condition, tiling directly on top with a suitable tile-on-tile adhesive can save you a full day of hard, dusty labour.
Removal is the better choice once damage, damp or a layout change is involved.
Removal is usually the better option if:
Tiles are cracked, loose, or hollow-sounding when tapped
There's damp, mould or damaged adhesive underneath
You're changing the layout (for example, moving a shower or sink)
The extra thickness of tiling over would cause problems with sockets, door frames or fittings
If you do decide to remove and start again, it's worth reading up on how to tile a splashback or getting inspiration from kitchen wall tile ideas before you commit, so you know what you're aiming for on the other side of this job.
Tap each tile gently with a knuckle before you decide. A dull, hollow sound usually means the adhesive has failed and the tile is already loose - a solid "thud" means it's still well bonded.
What you'll need
Removing tiles produces sharp fragments and a surprising amount of fine dust, so don't skip the safety kit.
Safety goggles
Dust mask (FFP2 or better)
Work gloves
Drop cloths or plastic sheeting
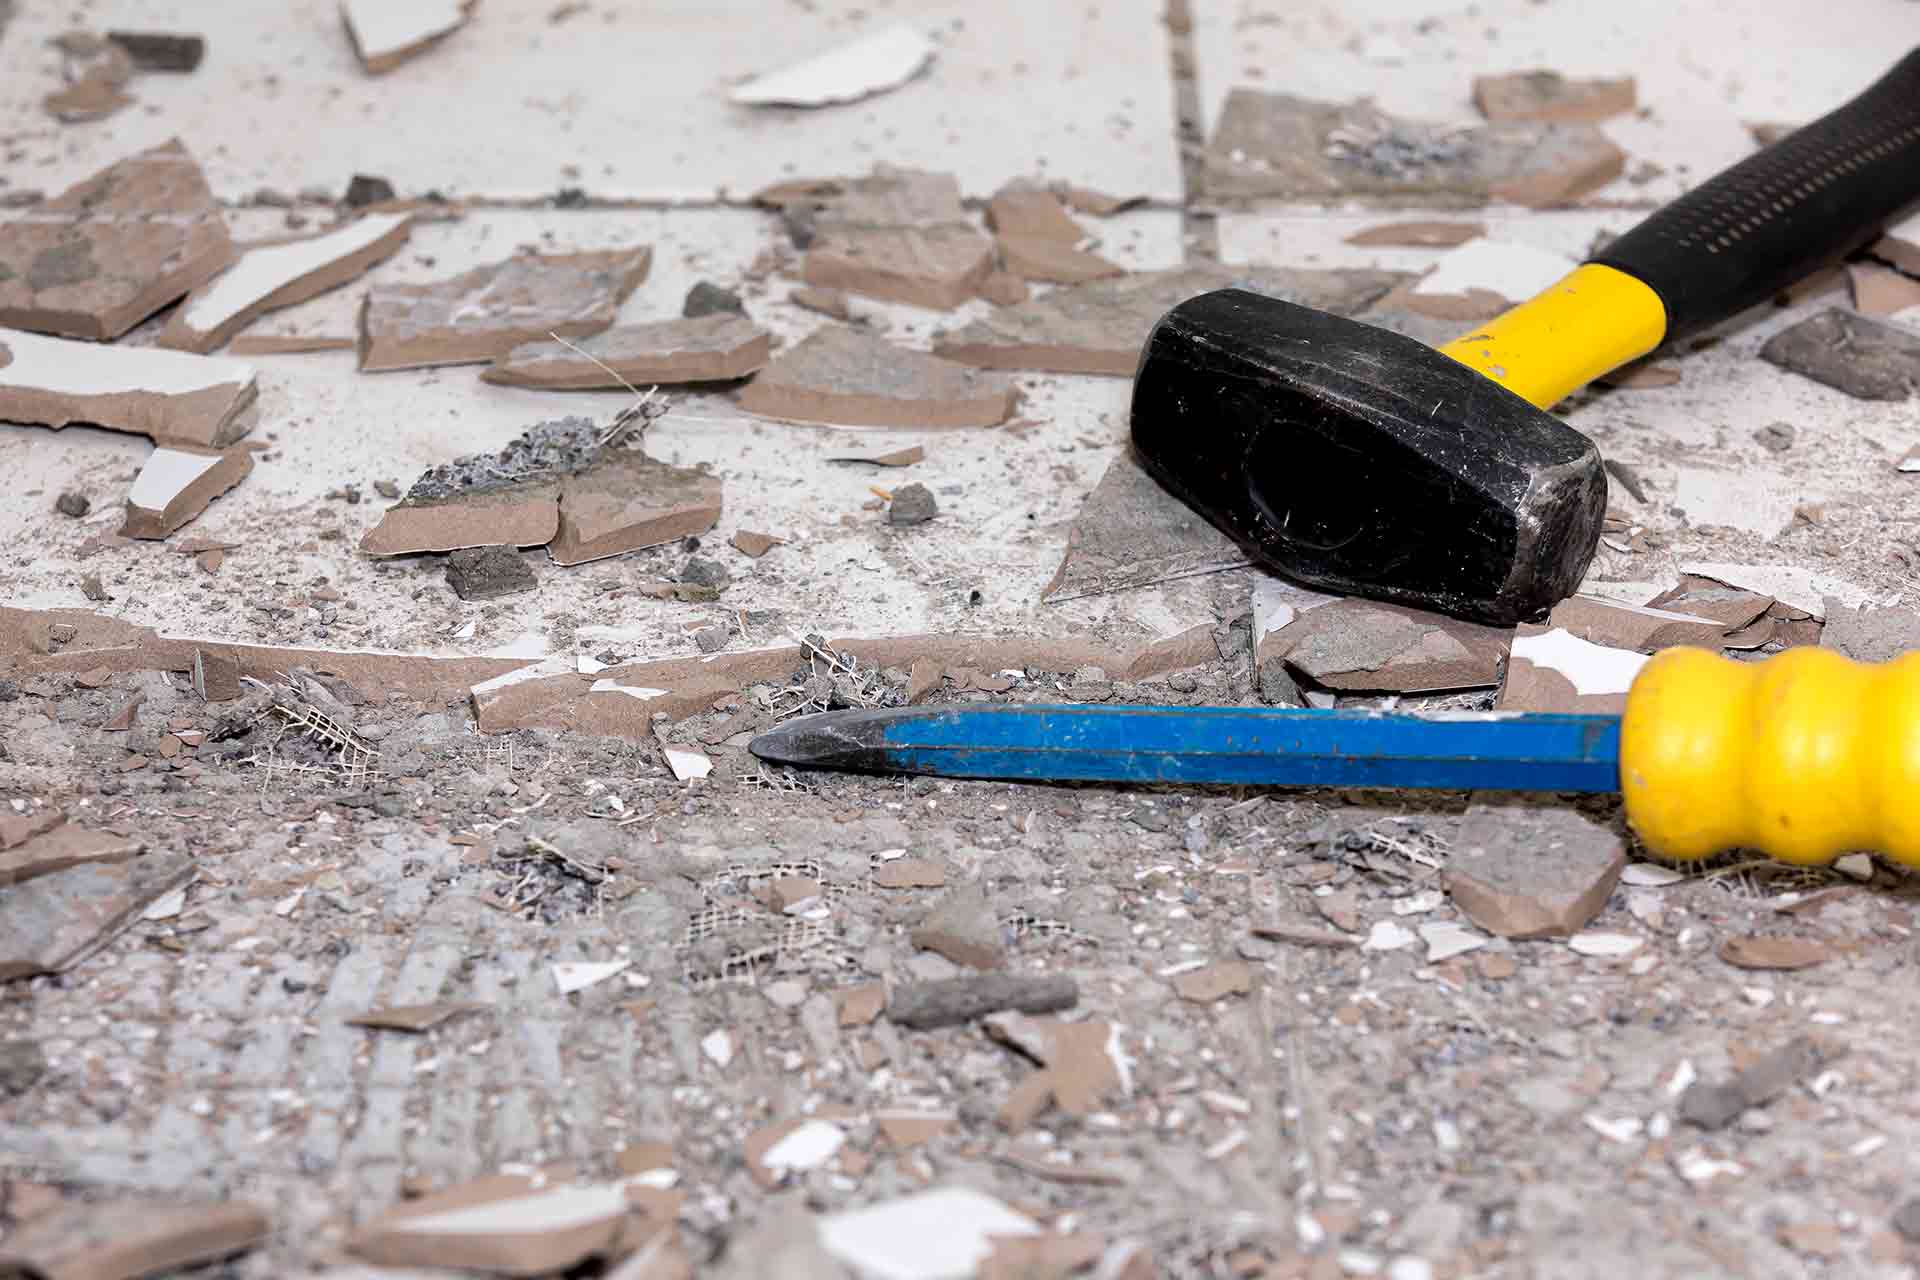
Chisel or small cold chisel
Club hammer
Putty knife or scraper
Oscillating multi-tool (optional, speeds up larger areas)
Bucket for warm water
Strong rubble sacks
Scraping out the grout lines first with a grout rake or flathead screwdriver loosens the whole grid of tiles before you start chiselling, making the first few tiles far easier to shift.
Safety first
Before you start, switch off the electricity supply to any sockets or fittings on the wall you're working on, and turn off the water if you're working near pipework, taps or a shower valve.
Tiled walls in kitchens and bathrooms often hide cables and pipes closer to the surface than you'd think.
Clear the room of furniture where you can, and lay drop cloths to catch debris and protect flooring. Keep pets and children out of the room while you're working.
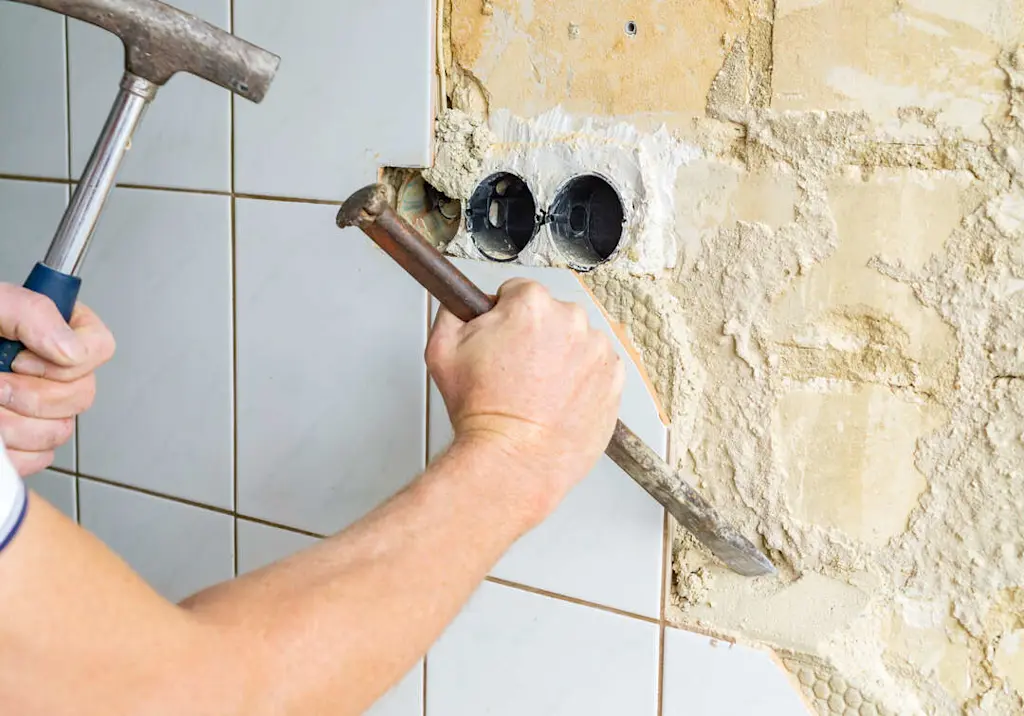
How to remove tiles from a solid wall
Different tile types come away differently, so it helps to know what you're dealing with before you start.
Tile type | What to expect |
|---|---|
Ceramic | Generally the easiest to remove, but can crack and shatter |
Porcelain | Very dense and tightly bonded - expect more effort |
Natural stone | Heavy and brittle, handle with care to avoid injury |
Glass | Fragile and prone to shattering, work slowly |
Mosaic | Often on a mesh backing, usually simpler unless heavily bonded |
Once you know what you're dealing with, here's the process:
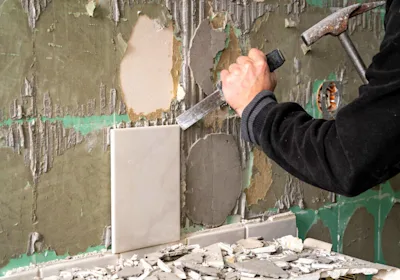
Start at a loose or damaged tile. If one's already cracked or hollow, prise it away first with a putty knife or scraper - this gives you an entry point.
No loose tile? Start at an edge. Place your chisel against the tile edge, angled slightly into the wall, and tap gently with the hammer to work it behind the tile.
Work the chisel behind the tile until you can lever it away from the wall. Go slowly - tiles are likely to crack, and that's fine unless you're planning to reuse them.
Move along the wall. Once the first tile is out, the gap makes the next ones much easier, since you've got somewhere to get your chisel in.
Clear debris as you go so you're not working on top of broken shards.
If you want every tile to come away in one piece (for reuse or resale), work far more slowly, dampen the grout lines first, and expect the job to take considerably longer.

How to remove tiles from plasterboard
Plasterboard walls need a gentler touch, since the board itself is much softer than brick or solid plaster and easy to dent, crack or punch through.
Take the same safety precautions as above - goggles, mask, gloves and a drop cloth.
Start with a loose tile or an edge, angling the chisel into the wall very slightly.
Tap lightly and patiently - plasterboard damages easily if you apply too much force in one spot.
Work across the wall in short sessions rather than trying to power through in one go; rushing is the main cause of blown-out patches of board.
Once tiles are off, check for dents, gouges or crumbling patches. Small marks are easy to fill, but larger areas of damaged board may need patching or replacing before you can retile or paint.
Removing backer board along with the tiles
If your tiles were fixed to cement backer board rather than directly to plasterboard, that generally needs to come off too if you're changing the wall build-up.
Score around the section you want to remove with a utility knife
Cut through any joint tape or compound at the seams
Gently pry the board away from the studs or wall with a flat bar
Check for leftover screws or fixings before lifting the board clear
This is a good moment to bring in a plasterer if the board or the wall underneath needs proper repair - a botched patch job will show through any new tiling or paint finish.

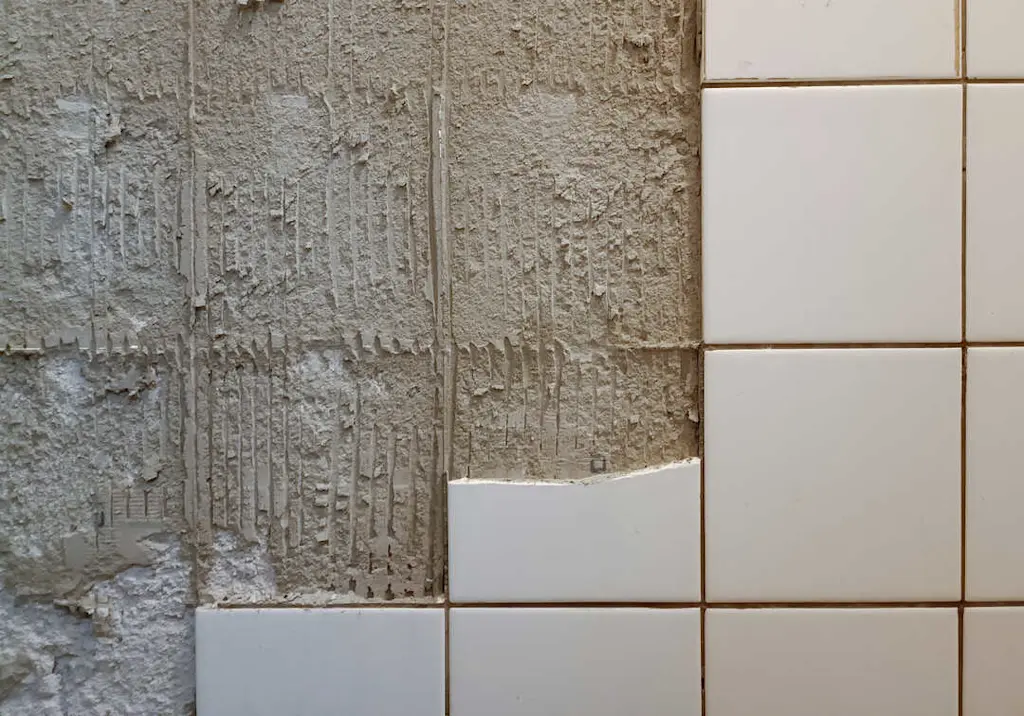
How to remove tile adhesive from the wall
Once the tiles are off, you're usually left with a patchy layer of adhesive (sometimes called mortar) still stuck to the wall.
This part is fiddly, but it's what determines how good your finish looks afterwards.
Dry scrape first. Hold a putty knife or scraper at roughly 45 degrees and push it under the adhesive to lift it away.
Try a hammer and chisel on stubborn patches. Tap lightly to chip away material without gouging the wall underneath.
Dampen and repeat. Many adhesives soften when wet - dampen with a cloth, leave for a few minutes, then scrape again.
Use a commercial adhesive remover if needed, following the manufacturer's instructions.
Wash the wall down with warm, soapy water once the bulk of the adhesive is gone.
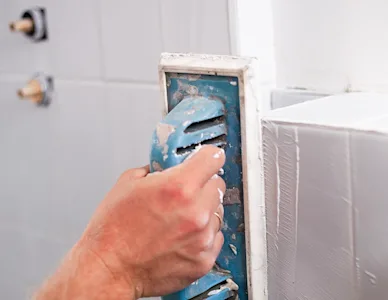
Sand solid walls (brick or plaster) to remove the final residue - skip this step on plasterboard, as sanding can damage the surface.
Always test any commercial adhesive remover on a small, inconspicuous patch first, particularly on plasterboard or painted surfaces, in case it reacts with the material underneath.
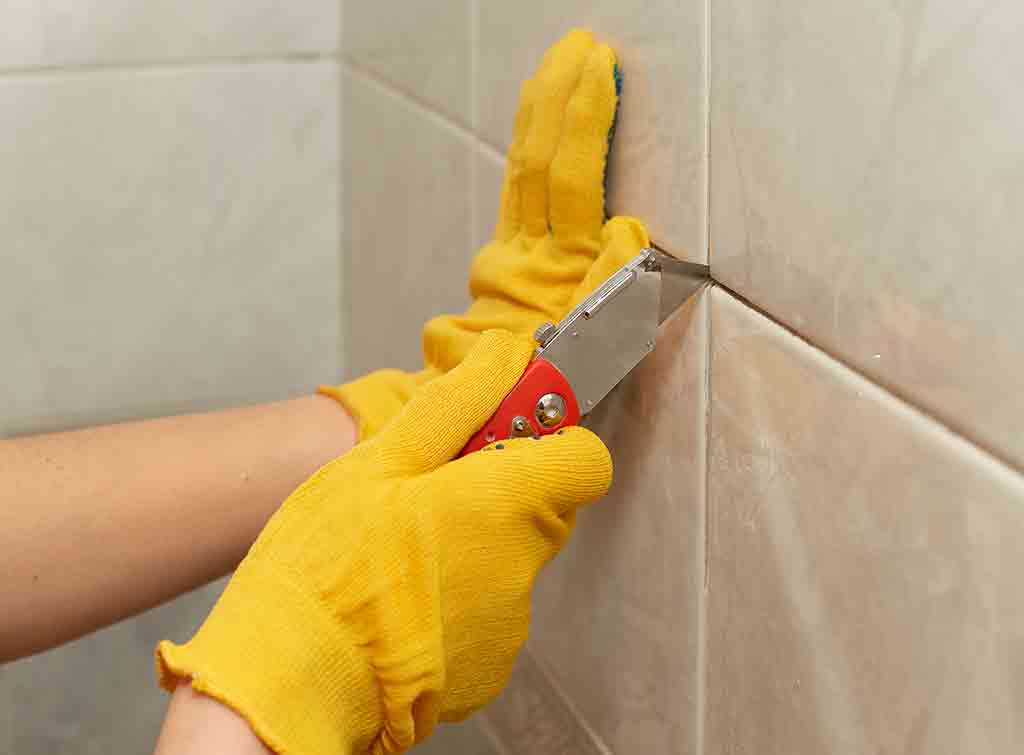
How to remove grout: A step-by-step guide 2026
Wondering how to remove that tough old grout? Follow these steps to do the job right.
Wall tile removal cost calculator
Costs vary depending on the size of the wall, the tile type, and whether the adhesive comes away easily or fights you every step.
As a general guide, professional wall tile removal costs around £13 per m², with a further £6 per m² typically charged to prepare the surface for re-tiling.
If you're removing tiles as part of a full retiling job, budgeting £800–£900 for stripping out old tiles across a typical room is a sensible starting point.
Want a more tailored figure for your own project? Try Checkatrade's AI-assisted Job Estimate Calculator to get a guide price based on real, past Checkatrade jobs.
Job Estimate Calculator

If you'd rather talk it through, compare quotes from checked tilers working in your area.
Get quotes from checked tilers
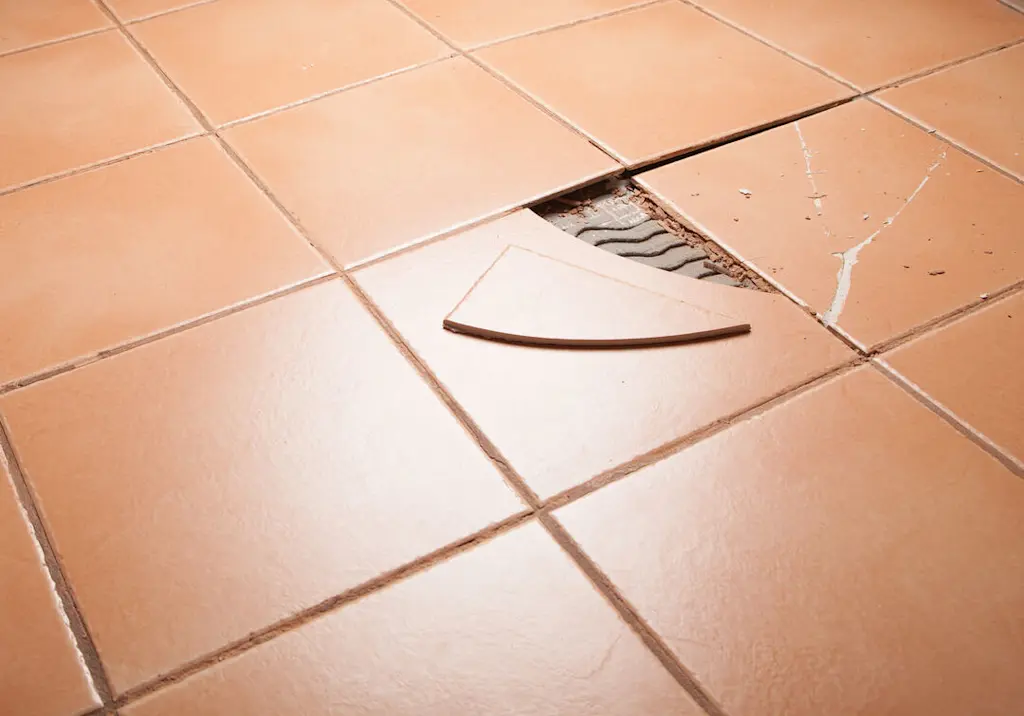
Repair instead of remove? When cracked tiles don't need full removal
Not every damaged tile needs the whole wall stripping back.
If it's just one or two cracked or chipped tiles among an otherwise sound wall, a spot repair or single-tile replacement is often quicker and cheaper than a full removal job.
Full removal makes more sense when damage is widespread, when there's damp or adhesive failure across the wall, or when you're changing the room's layout entirely.
How to repair cracked floor and wall tiles
Did you know that with the right knowledge and a little effort, you can repair cracked tiles and restore them? Want some step-by-step instructions?
Disposing of tile waste and debris
Broken tiles, old adhesive and grout aren't usually accepted in household recycling bins. For a small job, bag everything securely in strong rubble sacks - tile edges are sharp enough to tear standard bin bags - and take it to your local recycling centre, which will usually have a rubble or hardcore skip.
For a larger job covering a full bathroom or kitchen, a small skip hire or a licensed waste collection service will often work out cheaper and far less hassle than multiple car trips.

Finding a tradesperson to remove or replace your wall tiles
If the job turns out bigger than expected, the tiles won't budge without damaging the wall, or you'd simply rather not spend a weekend covered in tile dust, it's worth bringing in a professional.
A good tiler will remove your old tiles, assess and repair the wall underneath (or bring in a plasterer where needed), and get everything ready for your new finish - usually far faster and with less risk of damage than a DIY attempt.
Start browsing local tilers
Enter your postcode to find a top tradesperson near you
DE DECORATION
10.00
(19 reviews)Services & skills
Tiler - TilingBrick TilingFloor TilingEmergency Tiling ServiceSlate TilesMCA Construct
10.00
(5 reviews)Services & skills
Tiler - TilingBrick TilingTile RepairQuartz TilingVictorian TilesAG Oakes Tiling
10.00
(182 reviews)Services & skills
Tiler - TilingWall TilingPlain TilesCeramic TilingBrick TilingReda Builders Ltd
10.00
(36 reviews)Services & skills
Tiler - TilingWall TilingPlain TilesQuartz TilingFloor TilingSolakov Tiling
10.00
(8 reviews)Services & skills
Tiler - TilingBrick TilingEmergency Tiling ServiceCeramic TilingQuartz TilingIregal Renovations
10.00
(120 reviews)Services & skills
Tiler - TilingWall TilingFloor TilingMosaic TilesBrick Tiling



On Checkatrade, you'll only find trades who meet our high standards and pass up to 12 checks.
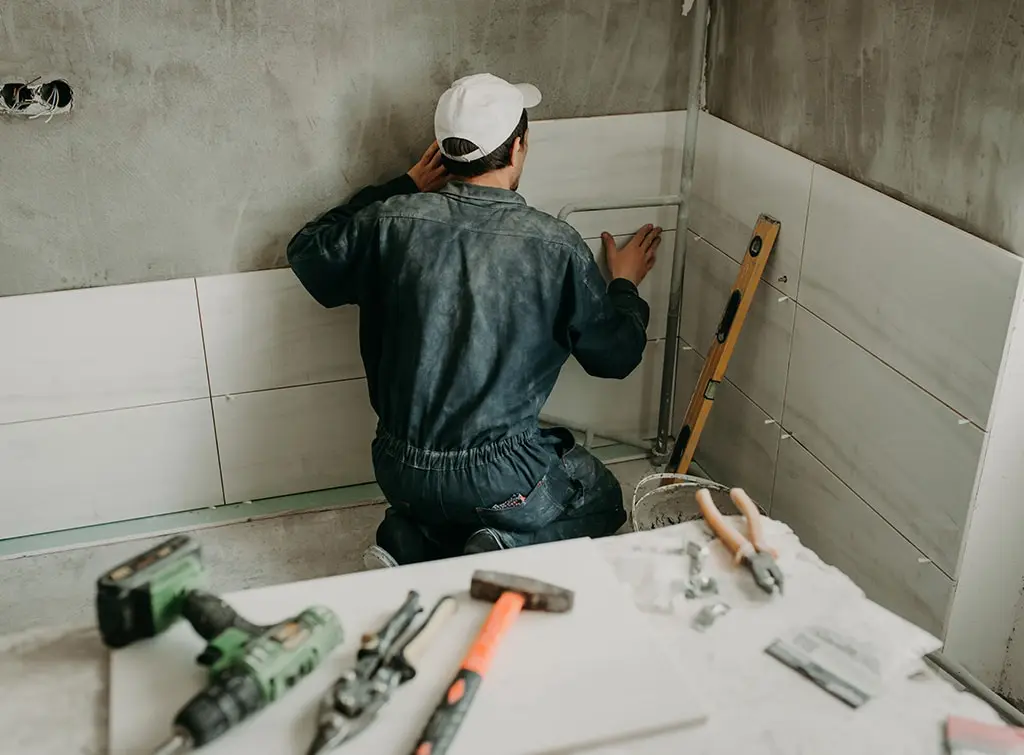
Preparing to retile
Once your wall is stripped back and repaired, it's the perfect time to rethink your tiling before committing to new materials.
Browse kitchen wall tile ideas for inspiration, or check our guide on choosing and installing tile backer board if you're starting from bare studwork rather than an existing solid surface.
Wall tile removal checklist

Before you start
FAQs
If your tiles are flat, firmly fixed and undamaged, tiling over with a suitable tile-on-tile adhesive can save time and mess. If they're cracked, loose, or hiding damp or adhesive failure, full removal gives you a more reliable, longer-lasting result.
Yes, wherever possible. Tiled walls in kitchens and bathrooms often have cables or pipework closer to the surface than you'd expect, so isolating the electrics and water supply to that area before you start is a sensible safety precaution.
Minor dents or scuffs can usually be filled and painted over. Larger areas of damaged plaster, plasterboard or backer board may need a proper patch or a full replaster before you retile or paint.
Dry-scrape as much as you can first, then dampen stubborn patches and scrape again, since many adhesives soften with water. A commercial adhesive remover can help with anything that won't budge, and solid walls (not plasterboard) can be lightly sanded for a final smooth finish.
It's possible but slow. Dampen the grout lines first, work from an exposed edge, and use a thin, flat tool to ease each tile away gently rather than prying quickly. Expect a much longer job than standard removal, where breakage doesn't matter.
Broken tiles and adhesive aren't usually accepted in household recycling bins. Bag debris in strong rubble sacks and take it to a local recycling centre, or hire a small skip if you're clearing a full room's worth of tiles.
Removing a handful of tiles is a reasonable DIY task for someone with basic tools and patience.
Larger areas, plasterboard walls, or any wall with hidden pipework or cabling are usually safer left to a checked tiler, especially if you want the wall left in good enough condition to retile straight away.


See the tradespeople we've checked for your job