Blog>How-To Guides>How to install a handrail in 6 easy steps
Last updated: 29 November 2021

How to install a handrail in 6 easy steps
Our how-to guide has everything you need to know about installing a handrail for your stairs, including the required building regulations.
Are you looking to install a handrail but not sure where to begin? Our how to install a handrail guide has everything you need to know about installation and the required building regulations.
Most stairways with two or more steps need to be equipped with a safety measurement in the form of a handrail or guardrail, which gives people ascending and descending the stairs extra security.
These regulations tend to apply to both indoor and outdoor stairways:
If stairs are more than 1m wide, they need to include a handrail on at least one side.
The height of the handrail needs to be between 90cm and 100cm from the top of the rail to the pitch (rake) line.
The handrails need to be fashioned so a person can grip them tightly if need be.
A handrail can't have any protrusions on either end that pose a safety risk.
The handrail should be able to withstand a weight of around 200lbs when applied in a downward or outward direction. The ability to support that weight needs to be maintained within 2 inches of the top edge of the rail.
Don't forget to check out our blog about handrail installation cost and glass stair railing cost for information about pricing up your project.
See the tradespeople we've checked for your job
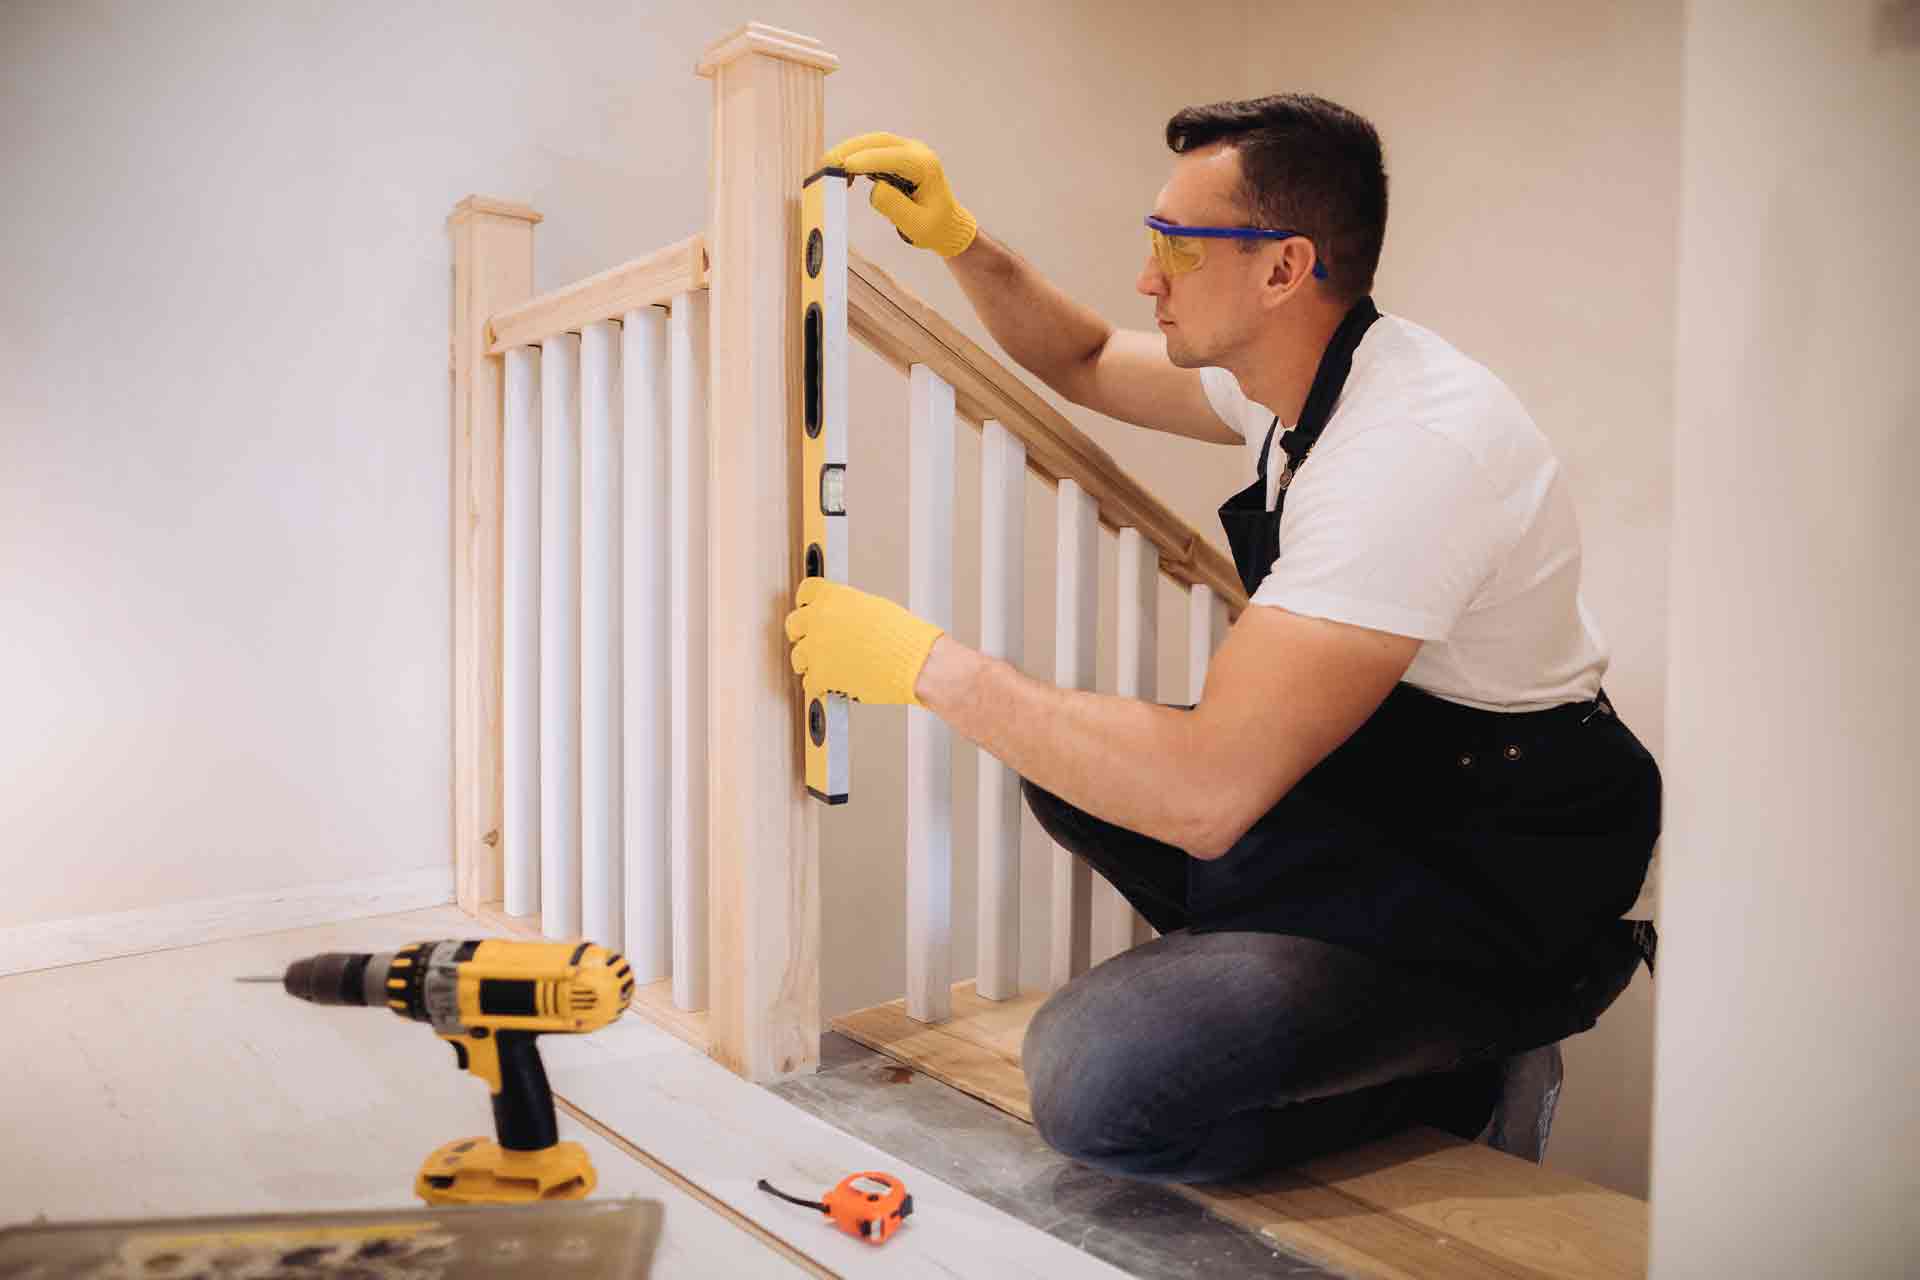
How to install a handrail
There are various types of handrails on the market to match your style and tastes. You may think that installing these necessities is an easy job; however, due to the safety requirements, it can be a bigger job than it seems.
For example, you need to place sturdy brackets to studs or posts to anchor the handrail, and they need to line up with the tread of your stairs. As a result, careful measurements will be required to make sure it's in the right position.
The easiest way to meet your building requirements and install a handrail is to buy a pre-built handrail bar, cut it to length, and attach it to the wall studs with sturdy brackets. Although this option is quick and inexpensive, it's not always the most attractive finish.
For guaranteed style and safety, why not hire one of our handrail installation experts? When you hire one of our trusted professionals, you’re able to see their profile and view their customer reviews.
If you're still looking to install a handrail yourself, read on for the tools you'll need and the steps you need to follow.
Tools you'll need for the job
Stud finder
Pencil
Tape measure
Masking tape (optional)
Spirit level
Mitre saw
Drill and bits
Screwdriver
Pretreated handrail
Handrail brackets
1/2-inch stainless steel wood screws
See the tradespeople we've checked for your job
How to install a handrail on your stairway
Whether you're looking for how to install a handrail on a wall, how to install a handrail on a deck, or how to install a basement stair handrail, these instructions have you covered.
Step one: Find and mark the studs
Take your stud finder and turn it on. Following the user manual's instructions, locate the studs on your stairway to find the best locations for the brackets and mark with a pencil. You want to make sure your brackets are no less than four feet apart. Any more than this risks an unsteady finish. Place the brackets about 30cm from the top and bottom of the handrail, and include one in the centre.
Once you've marked the locations, use your spirit level to mark vertical lines that let you know where the centre of each stud needs to go. If you don't want to mark your wall, use some masking tape.
Note: With open or exposed stairways that have balusters, the brackets might need to go on the newel posts instead of the wall studs.
Step two: Cut the handrail to the right length
Now you've completed your measurements and marking, it's time to measure and cut your handrail to the right length. To make it easy to grip, extend the handrail beyond the top and bottom steps. Keep it an equal distance to the width of a stair tread.
Top tip: Use a mitre saw to cut each end of the handrail to make a vertical edge perpendicular to the floor.
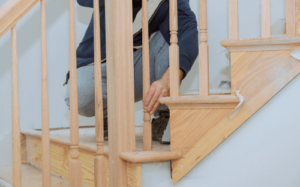
Step three: Mark out the height of the handrail
Take your tape measure and spirit level and mark the wall your handrail is being attached about 36 inches from the nose of the stair treads, including the top, bottom, and middle of the handrail's location. This creates reference marks that reveal the location of the top edge of the handrail. To ensure the right height, these vertical marks are the most important to get right. The regulations ask that the height of the rail remains between 90cm and 100cm from the top of the rail to the pitch (rake) line.
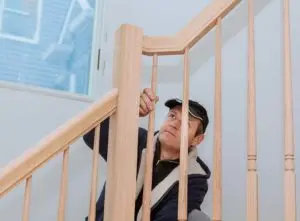
Step four: Mark out where the brackets are going to go
You might need to ask someone to help you with this step as it requires you to hold the handrail against the wall, making sure the top edge matches the reference marks you drew. This lets you draw the bottom reference marks on the handrail (the point where the handrail intersects the lines marking the studs) and show you where the top of the support brackets need to go.
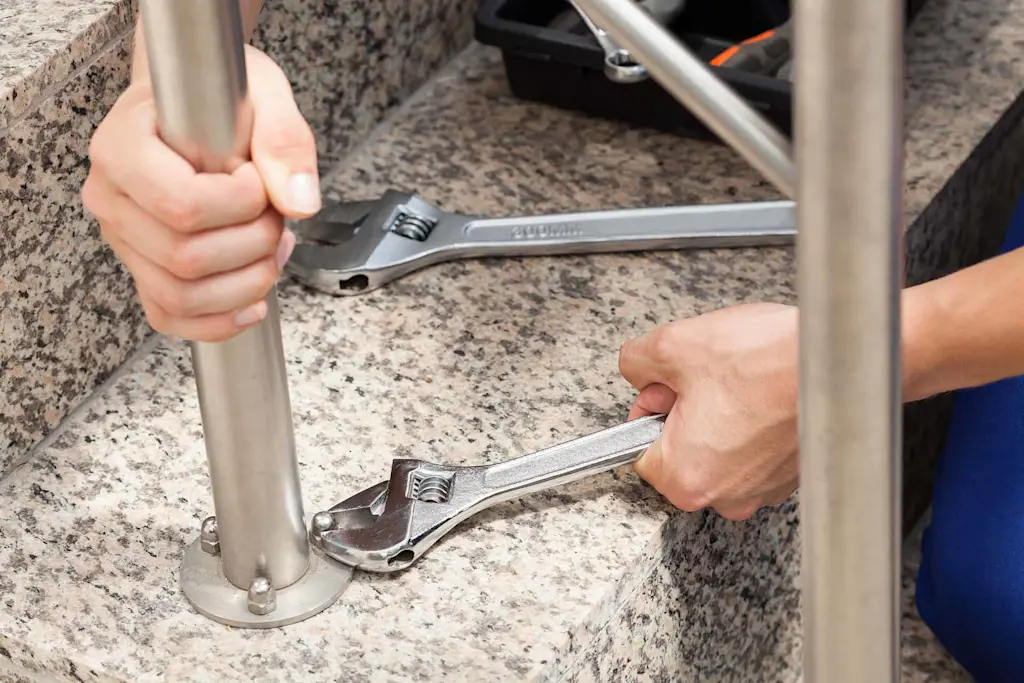
Step five: Secure the brackets to the wall
Now you know where to position the brackets, use your reference marks to attach them to the wall using your screwdriver and screws. Make sure the tops of the brackets are flush with the bottom edge of the handrail.
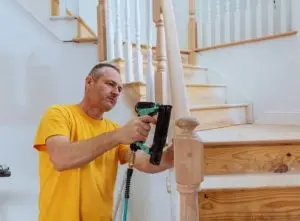
Step six: Attach the handrail to the brackets
Once your brackets are in position, attach your handrail on top of them, leaving enough overhang at the top and bottom. To secure the handrail, use the support brackets that have U-shaped sleeves around the arms and use your drill to tightly screw them in. It's worth drilling pilot holes if you have wooden handrails.
Voila! You've just secured your handrail.
See the tradespeople we've checked for your job
FAQs
Should I hire a professional?
For the best results, we recommend hiring a handrail installation expert. This will ensure that your handrail is secure and sturdy and meets building regulations.
When you hire one of our trusted professionals, you’re able to see their profile and view their customer reviews. Even better, those reviews are from your neighbours and checked by us to make sure they’re legitimate.
How can I install a handrail and balusters?
Installing balusters as well as a handrail is a job for a professional. Balusters are a trickier installation due to their fiddly nature. As a result, getting a perfect finish isn't as easy as it seems. However, if you do want to attempt adding them yourself, make sure you space them no more than 4 inches apart. They also need to be able to withstand 50 pounds of pressure. Take a look at our banister and spindle costs.
What height should a handrail be?
Handrails need to be between 90 and 100cm from the pitch line (the invisible line that runs from the lip of a stair to another one) to the top of the rail.
Where should a handrail start and end?
Handrails need to follow the pitch line from the bottom of the stairs to the top.
More Handrails Articles

See the tradespeople we've checked for your job