HOW-TO GUIDES
How to lay artificial grass or astroturf in your garden
Updated 05/26
By: Olivia Scammell
Reviewed: Kim Staples

Laying astroturf comes with a host of benefits - and if you're handy, it's perfectly possible to lay it yourself. Read on for the instructions you need, as well as our top tips around fake grass installation.
Fast Facts
Start by creating an edge with log rolls or lawn edging
Lay a base of granite dust or sharp sand, followed by weed membrane
Finally, roll out the artificial grass and pat it in
For the best results, you can also hire artificial grass installers
Tools you need for laying artificial grass
Before you get started, there are a few things you need to equip yourself with. Add these to your arsenal:
Turf cutters
Large shovel
Sharpened Stanley knife
Joining tape and adhesive
Tape measure
Compacting planks
Ground pins or galvanised nails
A medium-sized hammer
Garden broom or stiff brush
Find local artificial grass layers near you

How to lay astroturf or artificial grass: Step by step
Now you're ready to begin laying artificial lawn to turn your garden into a low maintenance oasis. Follow this step-by-step guide to ensure a perfect finish.
1. Plan and tidy the area
Before your begin laying astroturf or artificial grass, work out what area you want to cover. Do you want a pattern? A curve? A straight edge?
When you've decided on the aesthetic, clear your garden and remove any existing turf to a depth of 5cm (2 inches). To do this, use your cutter or spade and remove any obstructions as you go (e.g. stones or bricks).
When the area is clear, lay a type 1 stone sub base (e.g. crushed gravel).
Make sure any cables or pipes are below the digging level.
2. Create an edge
Unless you have an existing perimeter, such as a fence or bricks, then it's worth creating an edge. Consider an edging system such as log rolls or classic lawn edging. The beauty of these products is their ease of use. You can create wavy borders, circular patterns or neat squares that hold their shape all year long.
Just lightly hammer the edging into the soil using a piece of wood to soften the blow. Leave around 3cm above the soil line.
Use a tape measure to check your measurements. Remember: measure twice, cut once!
3. Lay the base
Now things are starting to take shape, your next step is to lay your base. For this, you want to use granite dust or sharp sand (preferably the former) to create a smooth surface.
Apply around 6mm and use a piece of straight timber to level it out. If you're using sand, make sure the depth doesn't breach the 20mm mark.
4. Apply weed membrane
Weed membrane will help prevent and limit weed growth whilst allowing water drainage. Lay the membrane down and secure it with 4-inch galvanised steel nails around the perimeter. Hammer the nails around 0.75m apart for a sturdy finish.
Once this is complete, trim the edges. If the membrane overlaps anywhere, secure them together with gaffer tape.
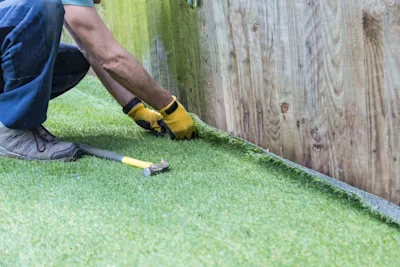
5. Roll out your artificial grass
You're almost there! The penultimate step is to carefully roll out the artificial grass. Ensure the weed membrane stays intact as you lay the astroturf in vertical lines from your house.
When it's in position, trim the excess with an edging knife and pat it in.

6. Add the finishing touches
Finish your handiwork by applying kiln sand to the turf. Use a blower or your stiff brush to ensure an even finish and create a natural-looking aesthetic. Most lawns need around 6-8kgs of sand per square metre of turf.
Leave for a day to settle, and then dress your outdoor space. Check out our garden design ideas for some high-level inspiration!
Apply the kiln sand on a dry day to ensure the best results.
7. Enjoy your new artificial grass
Hurrah! You're ready to dress your low-maintenance garden and bask in the glory of your artificial grass laying skills. However, if this all sounds a little laborious, then there are tradespeople ready to help you.
And don't forget to check out our artificial grass cost guide for a comprehensive break down of pricing. You can also check out our gardener prices for the most up-to-date information.
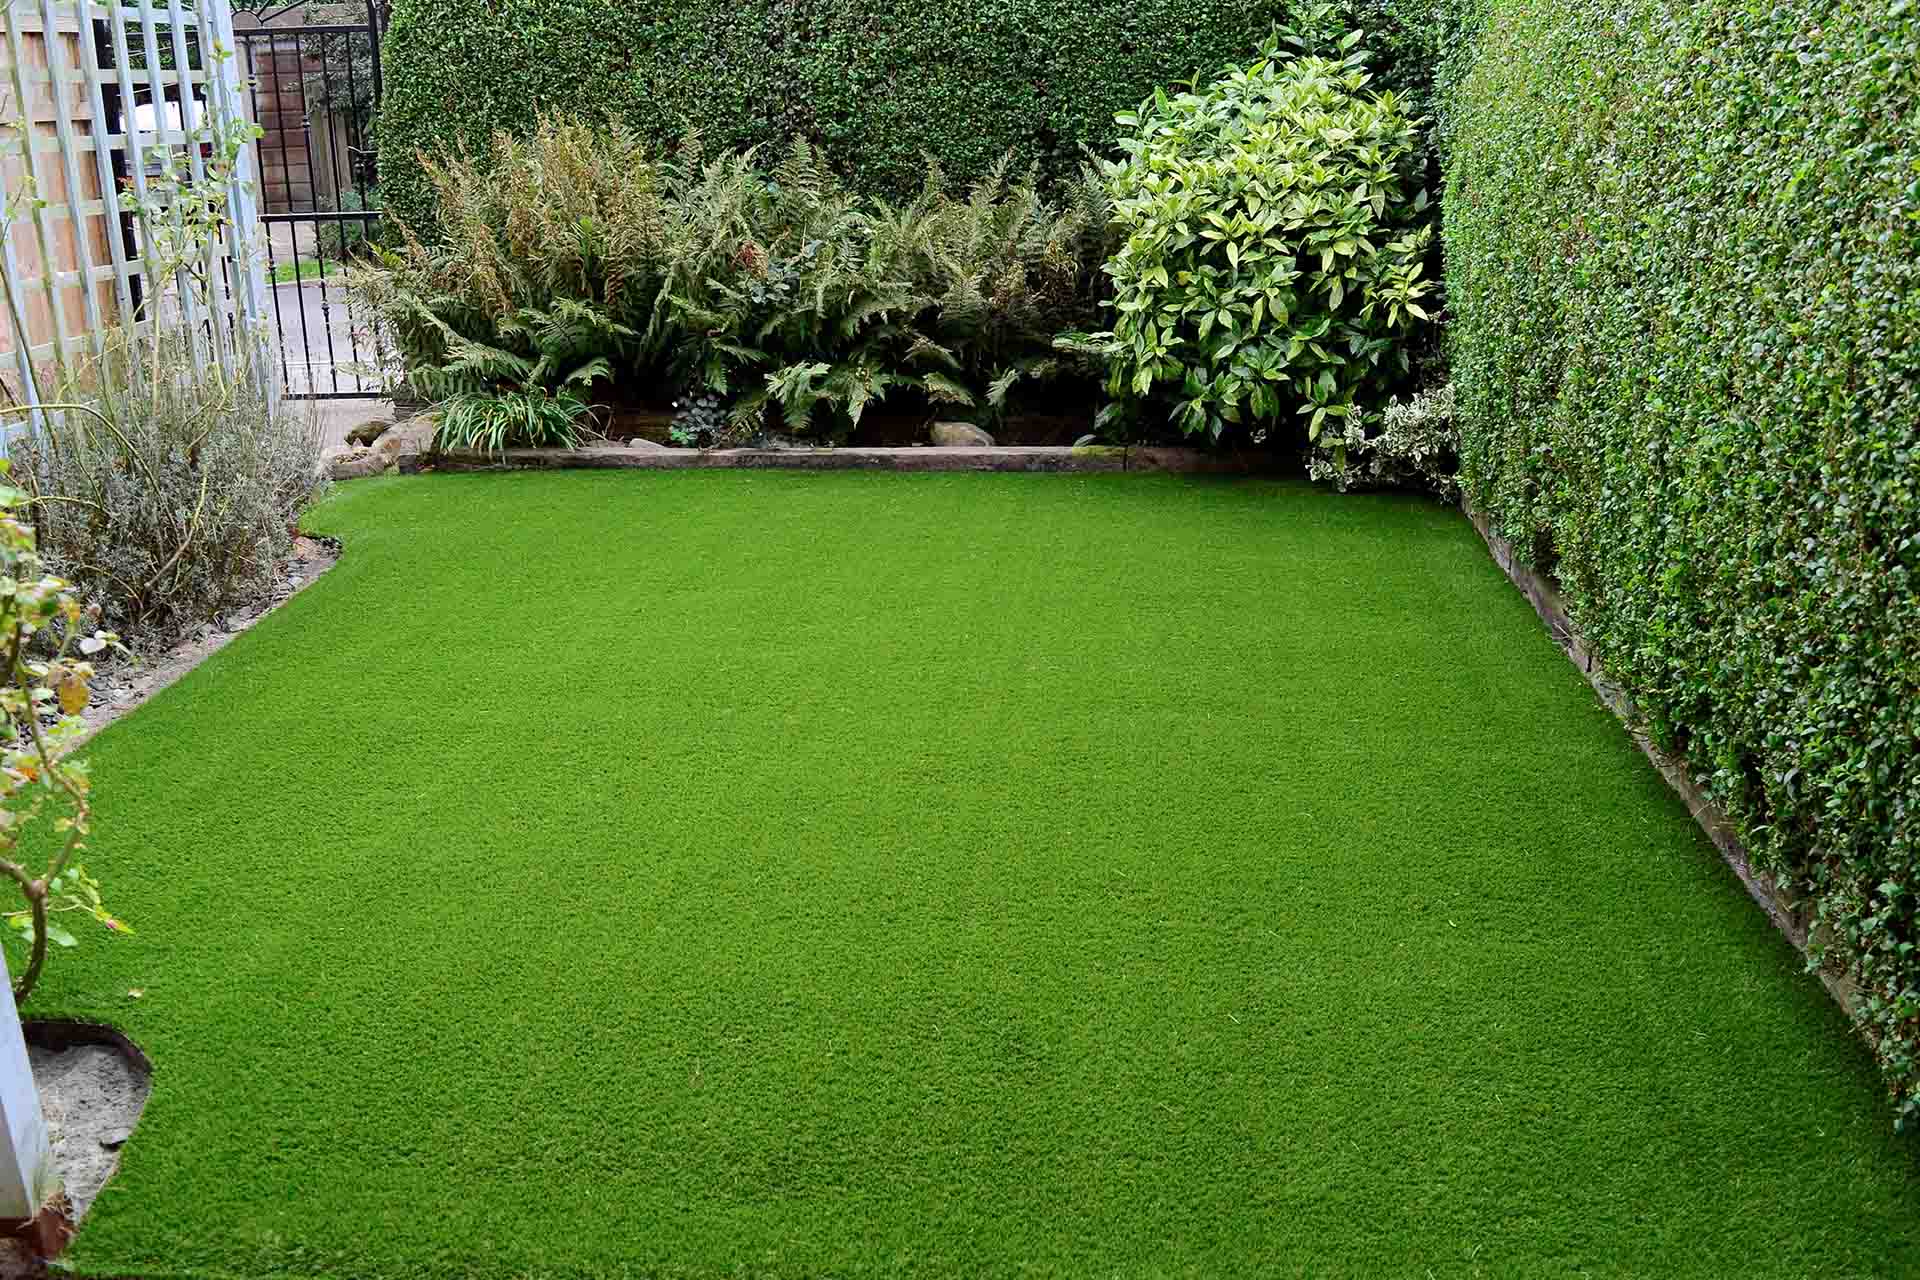
Why choose artificial grass?
There are a number of reasons why you might opt for artificial turf rather than a grass lawn. It can be a great idea if:
You want a low maintenance outdoor space
You're renting and want a garden you can easily remove when you move out
Grass and plants struggle to grow in the space (especially if it's low light or has poor soil)
You have pets who might dig up real soil
You're installing a specific-use area, such as a putting green
It's also a popular choice for businesses such as restaurants and pubs - you can create an attractive outdoor look without ever getting your customers' shoes muddy.
What are the benefits of artificial grass or astroturf?
Some of the benefits of installing fake grass in your outdoor space include:
Reduced water usage (and consequently reduced water bills)
A low maintenance garden
Playground safety all year long
Weatherproof aesthetics
Low installation expense

Who can I hire to lay artificial grass?
Many gardeners and landscapers offer artificial grass installation, though you can also hire companies who specialise in laying it.
To start finding a tradesperson or company who offers astroturf installation in your area, enter your postcode to search Checkatrade and compare your options.
Find local artificial grass layers near you
FAQs about laying artifical grass and astroturf
If you are in any way unsure about your gardening abilities, then hiring an artificial grass installer to help you is a great idea. It also eradicates costly mistakes that might set you back more in the long run.
Read our garden landscaping cost guide for more information.
It costs around £45-80 per m2 to have artificial grass supplied and fitted, including the sub-base. You can save money by laying it yourself.
See our guide to artificial grass costs for more information.
No. If you lay artificial grass on top of soil, weeds to destroy your work within a few weeks.
You need to dig 3 inches and remove all grass, weeds and stones before following our step-by-step guide.
Yes you can! It's best to clean the concrete and install a foam underlay first. This helps mask slightly uneven surfaces, level the grass, and encourage drainage.
Absolutely. All that changes is the preparation.
Thoroughly clean the decking
Apply a damp-proof treatment and leave for 48 hours
Apply an underlay, such as marine plywood and shock pad to even out the surface and encourage drainage
Lay the grass and secure it with spot glue or screws
Leave for an hour to settle
Dress your garden
Some of the disadvantages of artificial grass or astroturf include the following:
It uses a large amount of plastic, which can leak microplastics
It's considered worse for the environment
It can cause soil deterioration
Artificial lawns can overheat in summer
It needs regular cleaning and maintenance
For the most realistic-looking artificial grass, think about:
Choosing a colour similar to other lawns in your area - preferably with a mix of different greens
Blade length - long blades (50mm) look most realistic on a garden lawn, while areas like playgrounds and terraces can look best with medium blades (35mm)
Matte finish to reduce shine
Density - the denser the fake turf, the more lush it will look
Polyethene fibres usually offer the most realistic look
A sub-base such as sand creates a solid base for your artificial grass. Without it, you may get unevenness, wrinkles, weed growth, and poor drainage.
With normal use, artificial grass usually lasts about 15 years. High quality, well-laid fake grass can even last up to 20 years.


See the tradespeople we've checked for your job