Blog>How-To Guides>How to stain decking
Last updated: 6 August 2021

How to stain decking
Looking to stain your decking to give it an attractive and protective finish? This how-to guide answers the common questions that arise with this project so you're fully prepped.
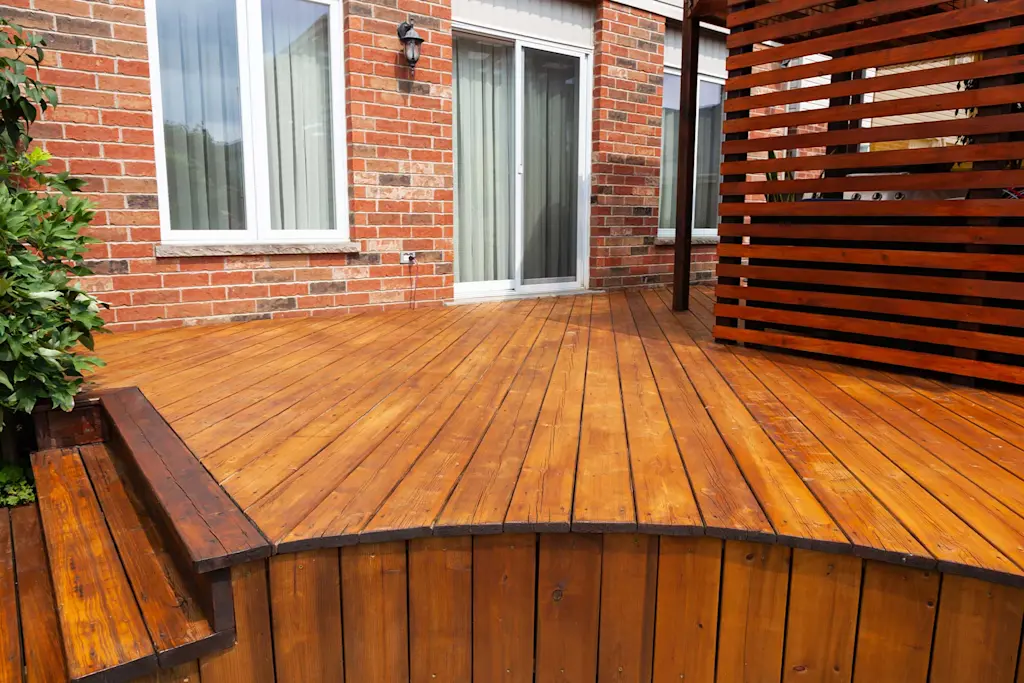
Adding a deck to your garden can transform it into a modern entertaining space that can be enjoyed all year round. However, timber decking does need maintenance to prolong its life and ensure it remains a practical surface to use. Leave it unprotected, and you'll be skidding across it like an ice rink in wet weather!
Whether you've just installed a brand new deck, or you’re keen to revive a weathered one that’s been battered by the elements, the best way to protect your decking is to apply a specifically formulated paint, stain, or oil, designed to weatherproof its surface and prolong its lifespan.
Check the weather forecast and set aside the right weekend to stain your deck. Then follow this step-by-step guide and you'll have a smart, protected deck in no time.
If you want advice on how to build a raised deck, see our comprehensive guide here. Or if you need some colour inspiration, read our decking ideas to nail your perfect look.
See the tradespeople we've checked for your job
How to apply decking stain in 5 steps
Before you can start staining your deck, you must decide whether you’ll be staining, painting or oiling. The main difference is that paint comes in an array of colours, including dark hues, and will fill in cracks, while also protecting weathered wood. Stains and oils, on the other hand, whilst also protecting and waterproofing the wood, are more subtle in colour and will naturally enhance the beauty of the wood.
However, when it comes to applying your chosen surface cover, the steps are the same. Here's what you'll need:
Gloves
Safety goggles
Knee pads
Decking cleaner
Decking stripper – if necessary
Dust mask - if sanding
Broom
Screwdriver – if necessary
A belt or palm sander - if necessary
Scrubbing brush
Pressure washer or garden hose
Pressure washer attachments for cleaning decks
Paintbrush, roller or paint pad - depending on how you'd like to apply it, see below
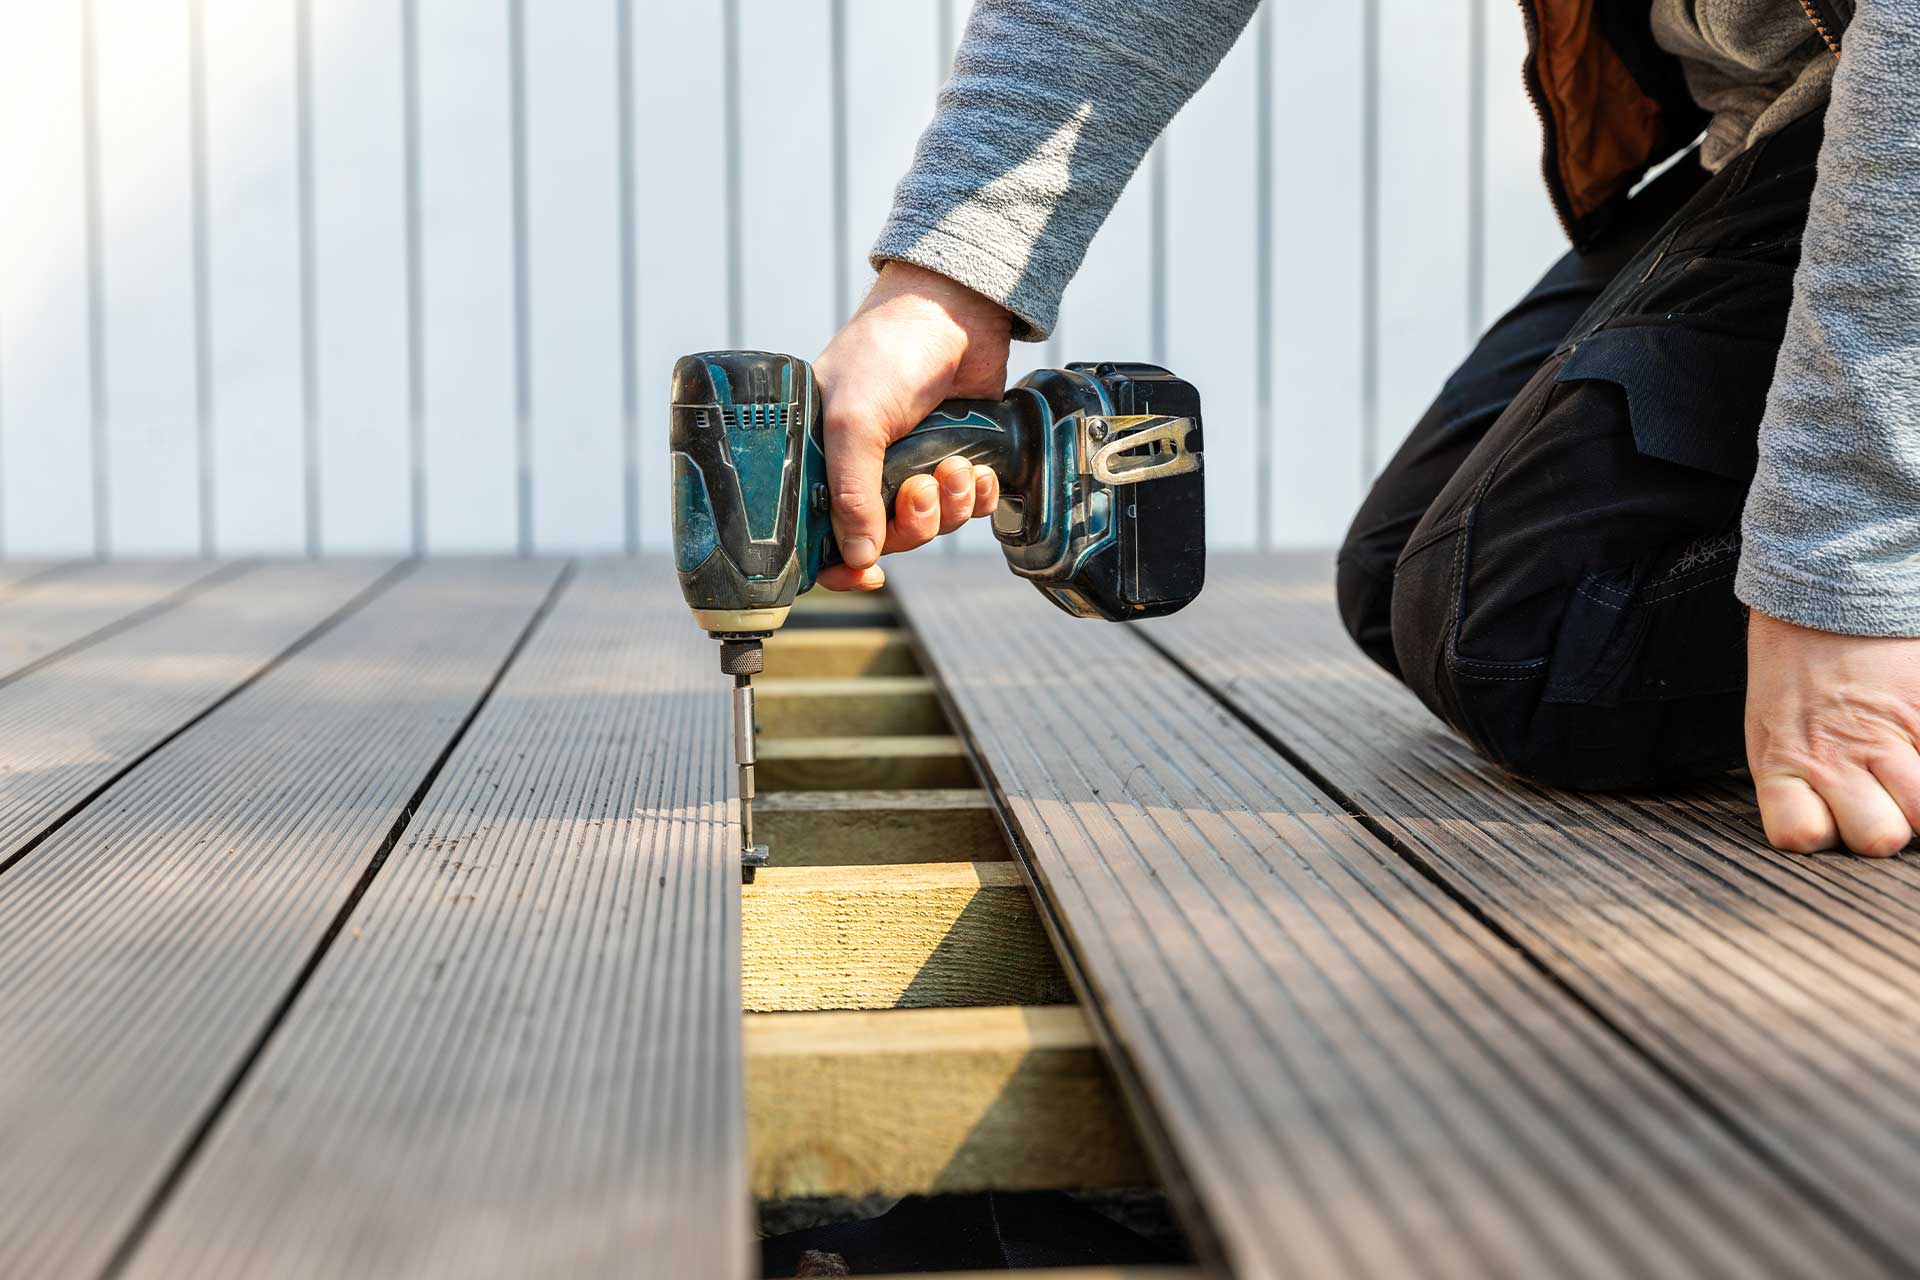
Step one
Clear your deck of furniture and pots and give it a good sweep with a stiff broom. Then investigate it closely for any loose or raised boards and screw them down tightly with a screwdriver.
Step two
If you have smooth decking boards, not grooved ones, and you want to remove layers of paint or stain, it's possible to sand the boards. A belt or palm sander is ideal, and sanding in the direction of the decking board will create a more natural look.
Step three
Whether you've decided to sand the boards down or not, you are now ready to give the decking a good clean, and we mean good! Using a specific decking cleaner, apply it directly to the wood and use a scrubbing brush, then rinse it off with clean water. A hose or pressure washer on its minimum level will provide a great finish. Allow 24 hours for the deck to dry before applying your stain. At this stage, you may also want to consider using a decking stripper if there's still traces of paint and stain. Follow the instructions on the decking stripper before applying.
Step four
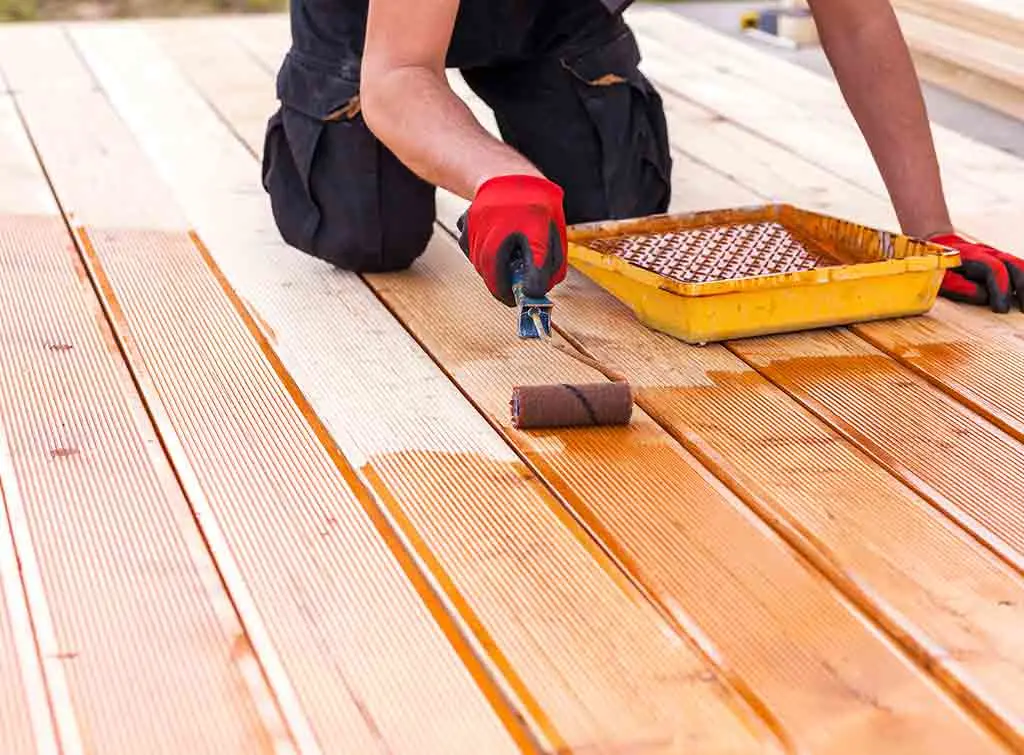
Choose the tool you'd prefer to use. Paintbrushes are good for getting into the gaps of grooved decking, however, they can take a long time to get the job done. If you have smooth decking you may want to consider a roller or paint pad. Both of these options can be used with a pole and work more quickly than a brush. Start in the furthest corner to ensure you have an exit path and work your roller, pad or brush in long rolls or strokes along the length of the boards for an even finish.
Common mistakes: Rollers are prone to splashing, while paint pads can also leave marks on the bottom of walls and fences, so be sure to cover up fence panels, exterior walls and outdoor furniture. If you can't trust yourself to create a neat and tidy finish, call in a professional for help.
Step five
Leave the stain, paint or oil to dry and apply another coat if needed.
If you've not yet got a deck and would like to give it a go yourself, take a look at our how to lay decking guide.
See the tradespeople we've checked for your job
How to remove decking stain in 5 steps
It's important to remove any existing stain or paint from the decking before applying your new colour. The best way to remove decking stain is by using a decking stripper that only needs one application. Grab these tools and follow these steps:
Decking stripper
Stiff broom
Stiff brush
Dust sheets
Gloves
Hose
Paint scraper
Step one
Before starting, wait for a warm, dry day and use a stiff broom to remove any dirt.
Caution: Cover any nearby plants and grass with dust sheets to protect them from the chemicals. |f you're not confident about using a chemical stripper, it's worth asking an experienced professional for advice.
Step two
Make sure you're wearing gloves and pour the decking stripper directly onto the wood and use a stiff brush to spread it out. Work in small areas, ensuring the whole deck is covered.
Step three
Leave it to do its job for 30 mins, but keep an eye on it and ensure areas don't dry out. If this occurs, you'll have to re-apply the stripper in these areas.
Step four
After 30 minutes, the old coating should lift with a paint scraper. If it doesn't, apply a bit more stripper and leave it for another 10 minutes.
Step five
Finally, give it a good scrub with a stiff brush and some water, be sure to scrub along and across the grooves to remove any remaining coating. A hose or jet wash will give it a final clean finish.
What people don't realise: Stripping old coating from a deck is a long, laborious and messy job. If you're not keen on embarking on it yourself, seek help from an expert who won't mind getting messy!
See the tradespeople we've checked for your job
How to stain composite decking
Generally, composite decking isn't designed to be stained as it doesn't weather like its timber counterparts, however, some types of composite decking can be stained if properly cleaned, and prepped as mentioned in the steps above. Adding a deck stain can, in fact, restore the colour to a faded composite deck and even extend its lifespan.
Caution: It's important to note that newer styles of capped composite decking cannot be stained, so check with your decking installer or manufacturers before attempting to stain it.
How to stain decking grey
Grey is becoming a popular decking stain colour thanks to its cool, neutral tone that will create an edgy, modern finish. If you're unsure about what shade of grey to choose for your decking, try a few samples out on an inconspicuous area and see which one works with the rest of your garden scheme. A garden landscaper or designer can offer expert insight into the right shade of grey.
FAQs
How long does decking stain take to dry?
Check your manufacturer's instructions as all product drying times are slightly different. But as a rule of thumb, leave your decking for at least 24 hours before walking on it, and test it before you do.
How long does decking stain last?
While your deck stain should last a few years, you can always apply another coat each year to help prolong its life. After approximately four years it is likely you will want to completely remove the old stain and reapply fresh coats.
Can you stain decking straight away?
If your decking is newly laid and untreated, it should be left to weather naturally for around six months before being stained or oiled. This helps to make sure that any existing treatment has eroded and the paint or stain can adhere to the deck properly.
How do I stain my deck for the first time?
As long as it has been exposed to the elements for at least six months, then you can follow the tips above but skip the part about stripping any old coatings.
Is it better to paint or stain a deck?
As long as you choose a paint or stain that is specifically designed to protect your deck, then both work as well as each other. It all comes down to your style preference, and whether you'd prefer the block finish of paint or the natural opaque look of a stain.
What is the best way to stain a deck?
Simply follow the steps above. Make sure you prepare your deck first as this will ensure the best finish.
How much decking stain do I need?
Firstly, work out the square footage of your deck by multiplying the length and width. Then compare your total square footage with the coverage on the side of the can of stain, as all products will have different coverages.

See the tradespeople we've checked for your job