HOW-TO GUIDES
How to fix a shower leak
Updated 07/26
By: Olivia Scammell
Reviewed: Kim Staples

Whether it's the dripping, the wasted water or the resulting mould and mildew that's triggered you to learn how to fix a shower leak, we'll help you dry out in no time.
How to work out where a shower leak is actually coming from
Whether it's the drain, the tray, the head, or behind the wall
Step-by-step fixes for each common cause
When resealing is enough, and when you need a bigger repair
How to find a plumber to fix it
How to stop it happening again
Not only are shower leaks an annoying issue, the cost of repairs soon add up if left untreated. Mould, dampness, and water buildup that can cause rot, damaged ceilings and roof collapse are just a few nightmares you don't want to deal with.
Sadly, most severe shower leaks require a professional repair to avoid disastrous consequences - but there is plenty you can do to help limit the damage before your plumber turns up to save the day.
Find a local plumber today
Work out where the leak is coming from first
Before reaching for tools, spend a few minutes diagnosing the leak.
Fixing the wrong part wastes time and can mean the real problem keeps causing damage underneath.
Run the shower and watch closely. Check the showerhead, the tray edges, the drain, and any visible pipework while the water's running.
Check for movement in the tray. Stand in different spots. If the tray flexes or rocks, the leak is likely structural rather than just a seal issue.
Look at the grout and silicone. Hairline cracks in grout, or silicone that's gone hard, yellowed, or come away from the wall, are one of the most common causes of shower leaks.
Check the ceiling or floor below, if you have access, for damp patches, mould, or discolouration that shows where water is actually tracking to.
A shower leak that only appears when the shower is running (rather than when it's off) usually points to a seal, tray, or drain issue rather than a supply pipe problem.
Tools you'll need
Rubber gloves
Limescale remover
A cleaning brush
Replacement washers
Screwdriver
Plumbers putty
Pliers
Silicone sealant and a sealant or profiling tool
How to fix a shower drain leak
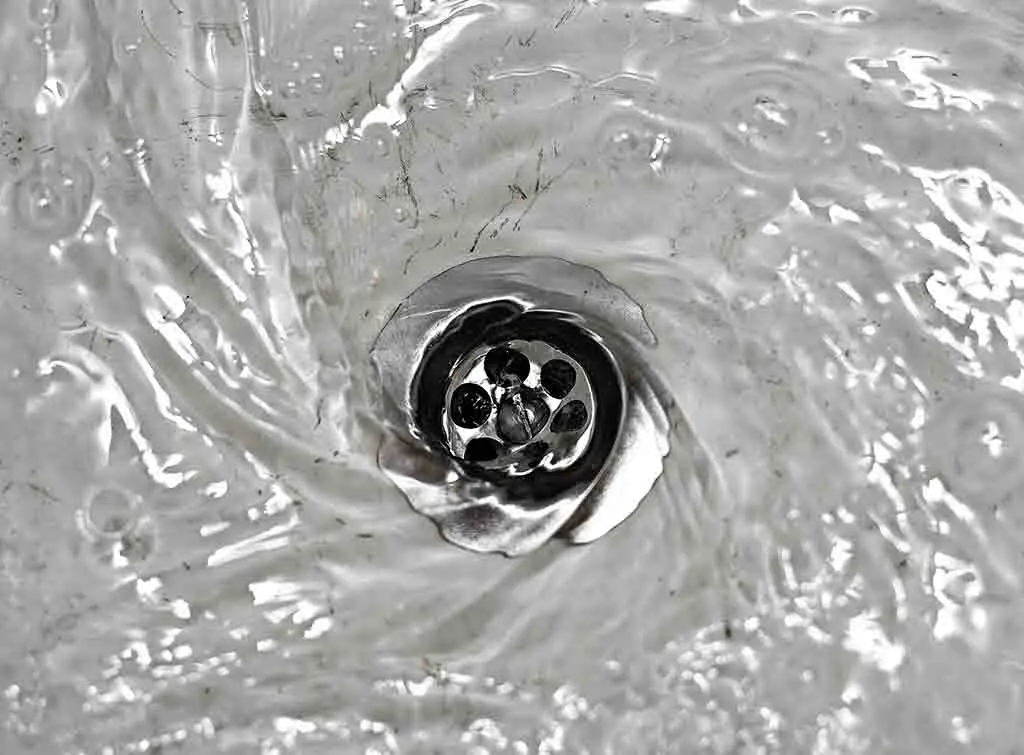
If you'd like to try and fix your shower drain leak without removing the pan, here is our cost-effective method.
Note: This method requires purchasing a new gasket from your local hardware store. Be sure to buy the right size!
Remove the drain cover using a flathead screwdriver to 'flip' it off it. a crosshead to remove the screws. Place these in a plastic cup so you don't lose them.
Use your pliers to loosen the compression gasket anticlockwise. Pull it out of the drain and then remove the nut, which will be revealed, from the drain with pliers too.
Take your hacksaw and cut two vertical inch long cuts through the body of the drain. Next, you'll need to slice through the flange but avoid the shower pad and pipe riser. (If this is sounding too tricky already, hire a plumber to do the job for you!) Then use the flathead screwdriver to prise the shower drain body out of the drain and remove any plumbers putty.
You should now see the pan's rim, which will need cleaning thoroughly. Use the brush to clean the drain opening too to make sure the new gasket installation goes smoothly.
Install the gasket by sliding it into the opening you've just created and cleaned. Then, take the plumber's putty and smear it over the strainer body. Make sure there's a generous amount under the rim too.
Take your new shower drain body and tightly screw it in clockwise. Clean up any residue and leave for 24 hours before taking a shower.
Find a local plumber today
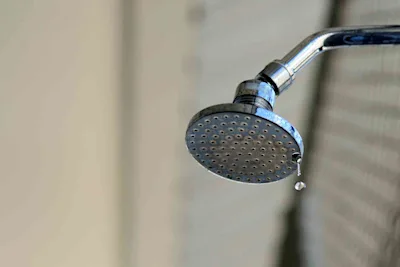
How to fix a leaking shower head
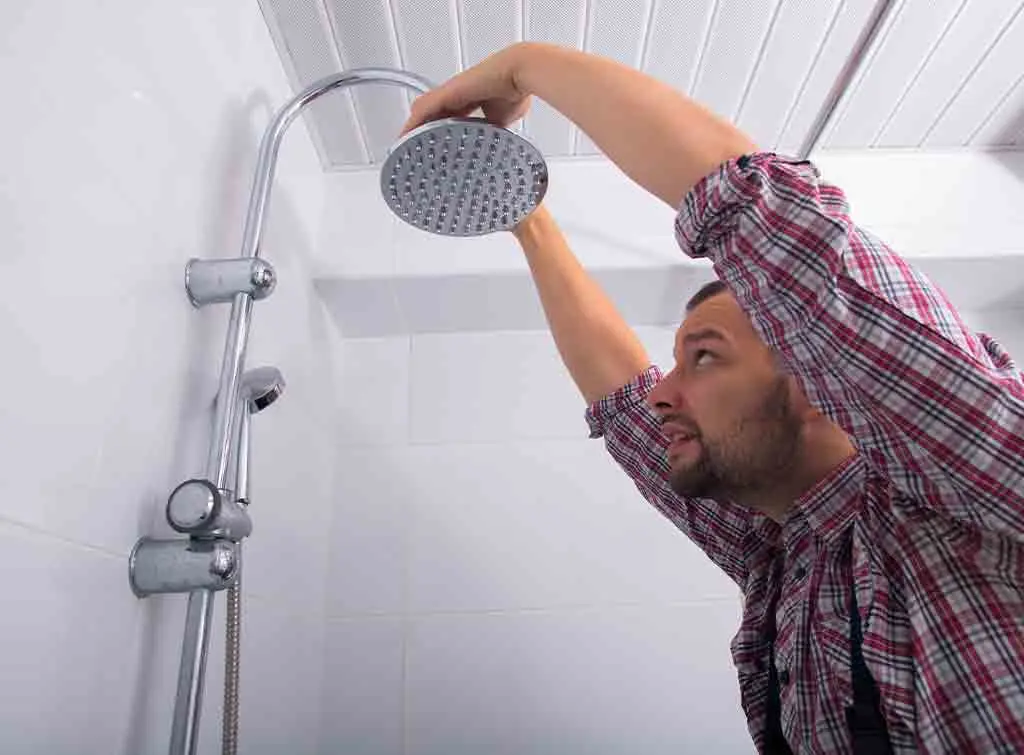
One of the most common shower leaks is caused by a damaged head or faucet. Knowing how to fix shower head leaks is useful for simple fixes.
If possible, remove the showerhead from the hose pipe.
Use your limescale remover to spray the showerhead and leave for an hour or so to dissolve any water residue.
Clean with a stiff brush and rinse thoroughly. Leave to dry.
While drying, check the washer (a small rubber disc) and replace if damaged, worn or cracked.
Reassemble all the parts and check whether the shower still leaks. If so, call in a plumber to help diagnose the issue.
How to fix a leaking shower tray
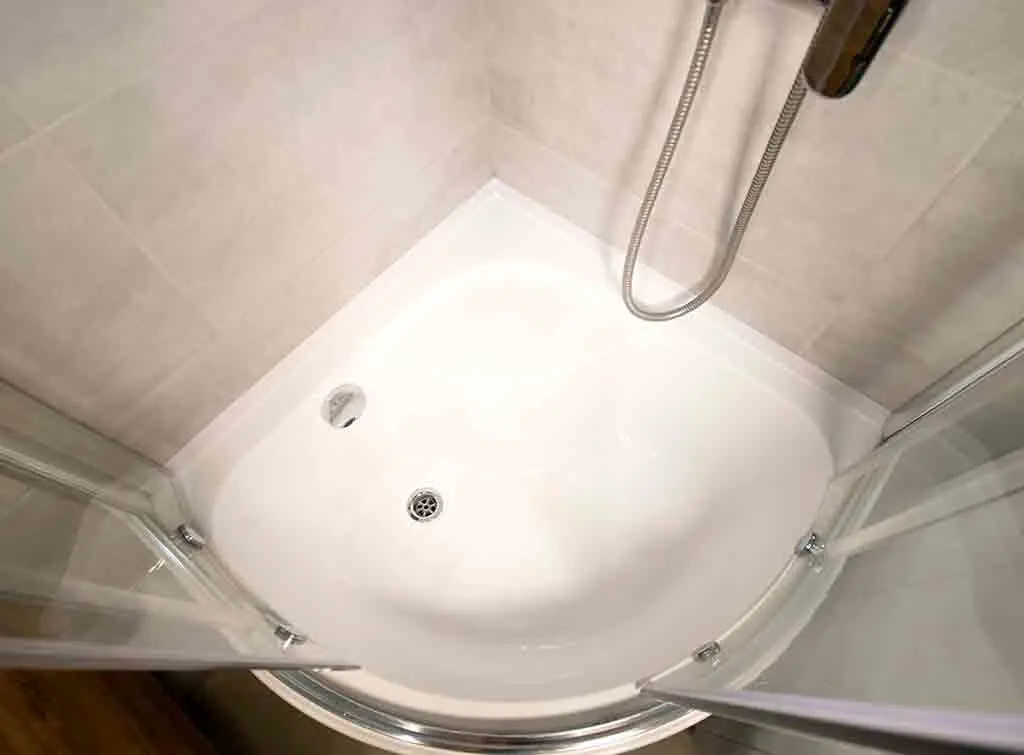
Leaks from a shower tray (the part you stand on) often come down to movement or a failed seal rather than a fault with the tray itself.
Check for movement first. If the tray rocks or flexes underfoot, that needs fixing before resealing, or the new silicone will fail again quickly. Bracing the tray with battens underneath is a common fix.
Remove old silicone completely and clean the joint thoroughly, letting it dry fully before applying anything new.
Reapply sealant using a profiling tool for a clean, continuous bead around the tray-to-wall joint, then leave to cure for at least 24 hours before using the shower.
Repair or regrout tiles if cracked grout is letting water through behind the tray.
Replace the tray liner if the leak persists after resealing. This is a bigger job that usually means lifting the tray, so it's one to hand to a plumber.

How to fit a shower tray
Explore our comprehensive guide to quickly learn how to fit a shower tray. With step-by-step guides on installing raised shower trays, shower wastes & more.
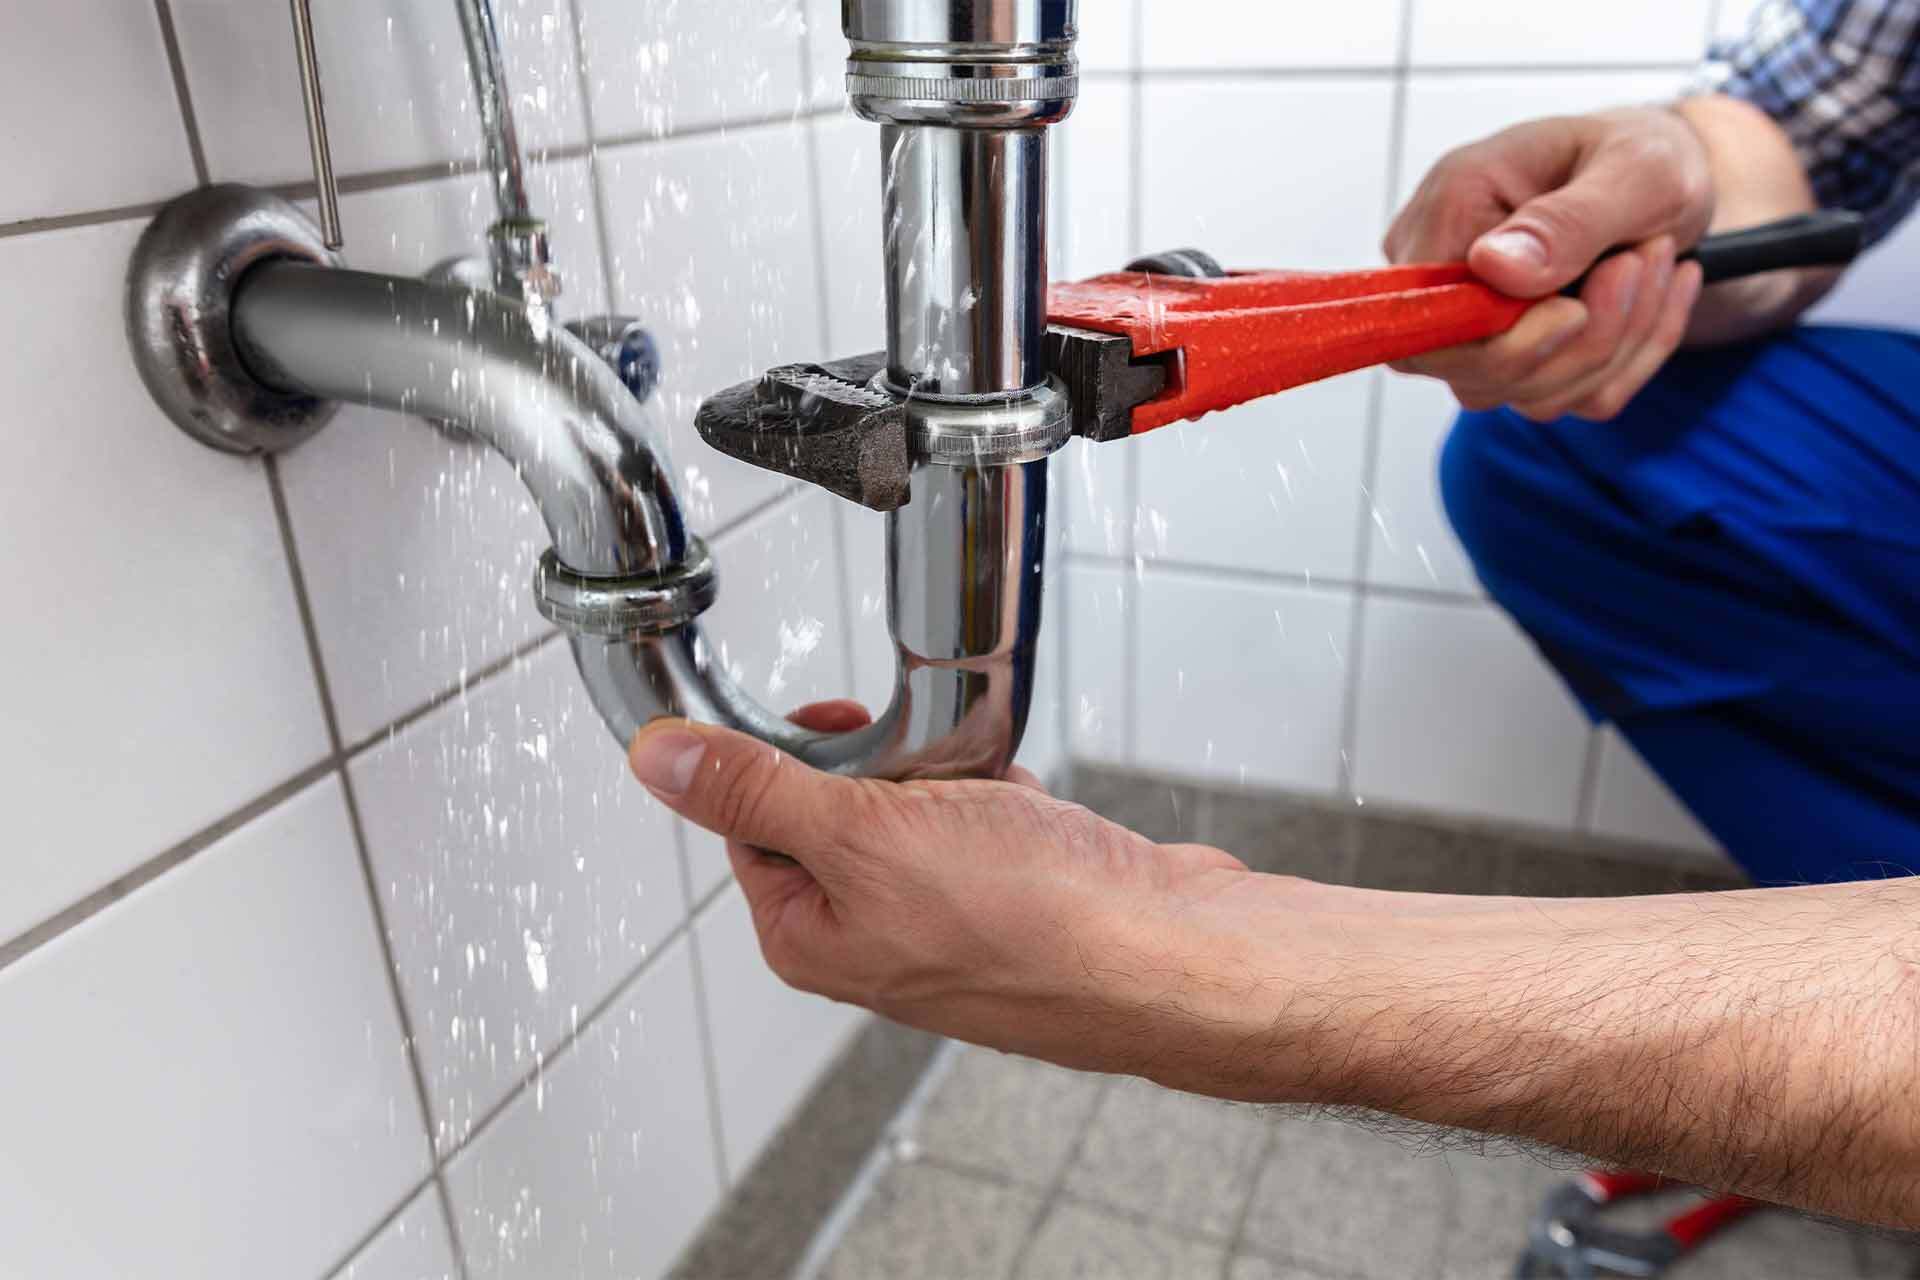
How to fix a shower leak behind the wall
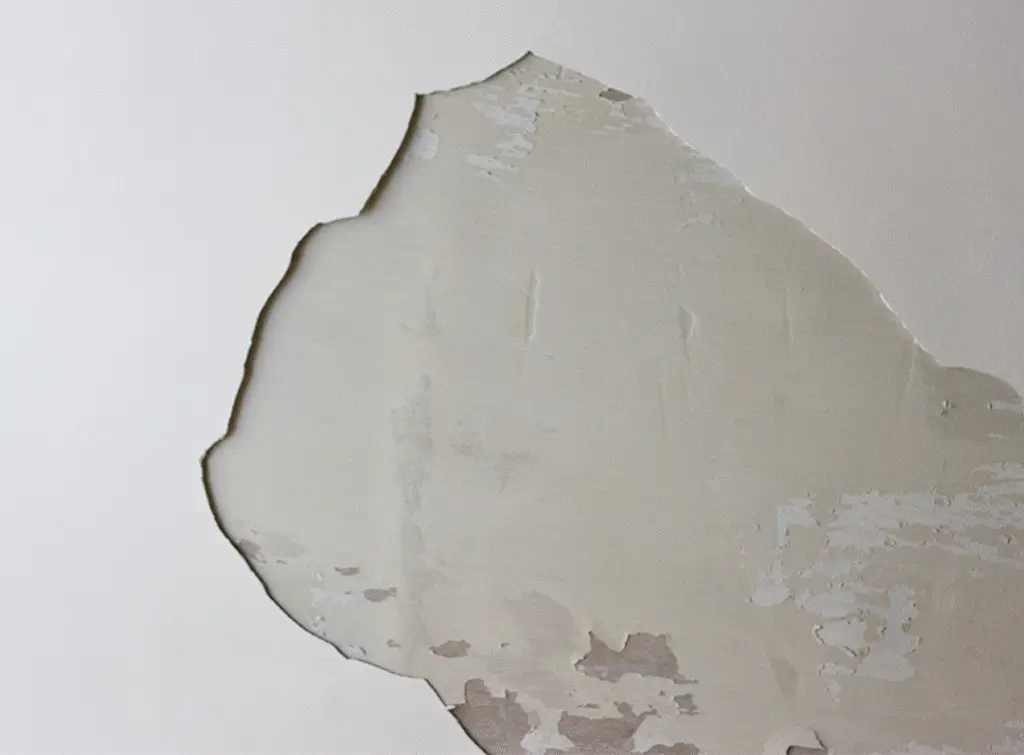
Whether your shower is hidden or on show, leaky pipes cause wall damage such as mould, rot, and in some extreme cases, floor collapse. Stains, detached tiles and the smell of mould are all signs that there's a leak behind the wall.
This is tough to DIY. A leak behind a wall is best solved by a plumber, who can to sort the issue out safely and thoroughly.
However, if you're confident enough to take on this project, follow these steps:
Remove the shower plate to check the valve connections or remove some of the wall to inspect the piping and valves.
Use a saw to cut a small window into the drywall, which will allow you to inspect the pipes. A torch and small compact mirror will be helpful here.
Turn on the shower to see where the water is escaping. This will help you identify it better.
Dismantle the shower and fix the issue, be it the valve, shower arm or pipe that's causing the leak. You'll need to clean the joints, wrap any threads with plumbing tape, and replace the cartridge. If the valve is the issue, hire a plumber to fix it.
How to fix a leaking shower mixer valve
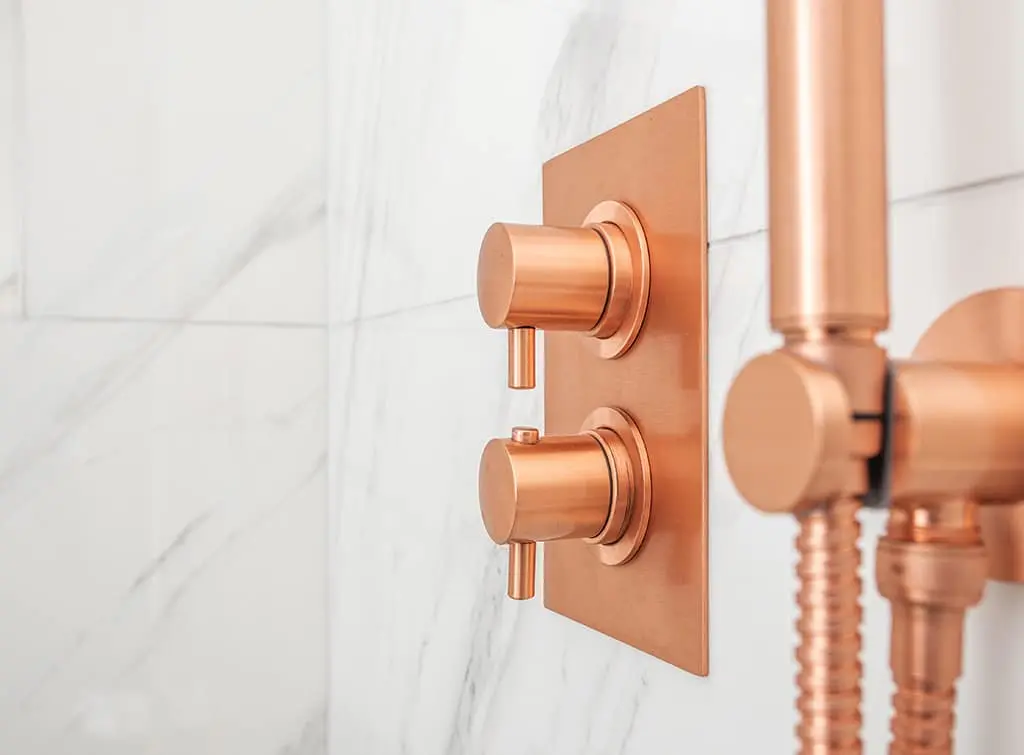
For those with a leaky shower mixer tap, you'll need to repair or replace the cartridge by following these steps:
Turn off your water at the mains.
Drain excess water from your shower mixer tap and then remove the cover under the handle.
Use a flathead screwdriver or Allen key to unscrew the small grub, which will let you remove the tap handle.
Take off any rings or plates before unscrewing the retaining nut with a pair of pliers, revealing the cartridge.
Pull out the cartridge and make sure the replacement matches.
Line up the new cartridge and reassemble the parts in the right order.
Turn the water back on and test your shower. If it still leaks, hire a plumber!
How much does it cost to fix a shower leak?
Costs vary a lot depending on the cause. A quick reseal or washer replacement is a low-cost job, while a leak behind the wall that needs re-tiling or a new tray liner costs considerably more.
As a guide, plumbers charge an average of £50 per hour in the UK. A small fix can be done in as little as an hour, while a larger job - such as a leak behind a wall - can take a day or more to fix.
For the full breakdown of costs you can expect, see our plumber cost guide.
If you're facing a bigger repair, our shower installation cost guide covers what a full replacement typically costs.
When to call a plumber
Most severe shower leaks, especially anything behind a wall or under a tray, are best left to a plumber. Trying to chase a hidden leak yourself risks making the damage worse before it's fixed properly.
Your best option is to hire a plumber to take care of it for you - and Checkatrade is the perfect place to start your search.
Enter your postcode into our search tool to start browsing plumbers who work in your area.
Find a local plumber today

FAQs
Start by identifying the source - which could be the drain, tray, showerhead, valve, or behind the wall - and focus on fixing the damaged part. If the leak persists after a DIY attempt, it's worth calling a plumber before any damage spreads.
Common causes include worn washers or seals, cracked grout, failed silicone, a loose drain gasket, or a faulty diverter valve. If our steps above don't resolve it, a plumber can diagnose the exact cause.
If the cause is failed silicone or a tray seal, cleaning and resealing is usually enough. If the leak is coming from behind the tiles themselves, you'll likely need to remove and refit them to fix it properly.
This is usually a sign the tray has movement underneath, often because the flooring or supports beneath it aren't fully rigid. Resealing alone won't fix this. The tray needs bracing, or in some cases lifting and refitting on a solid base, before a new seal will hold.
Yes. Water tracking through a floor from an upstairs shower is one of the most common causes of ceiling damage and can lead to mould, staining, or in severe cases structural rot if left unresolved.
It's not usually dangerous, but a persistent leak wastes water and can cause damage over time. If the leak is inside a valve embedded in the wall, get it checked by a plumber rather than leaving it.
Simple fixes like washer replacement, resealing, or cleaning a showerhead are manageable DIY jobs. Anything involving the mixer valve, hidden pipework, or a leak behind the wall is best left to a plumber to avoid making the damage worse.

From installing a new tap and unblocking drains, to boiler maintenance and bathroom installations, take a look at our plumbing hub for help with all your plumbing needs.


See the tradespeople we've checked for your job