PLANNING GUIDES
How to plan and manage your tiling project
Updated 07/26
By: Sarah P
Reviewed: Kim Staples
Get your tiling right for that beautiful finish you've been dreaming of. Read our full planning guide for how to prepare a wall for tiling, things to consider, potentional costs, and more.
How to prepare a wall or floor before tiling
How to choose the right tile and layout for your space
What to budget for a typical tiling project
How to brief a tiler so nothing gets missed
Which order to tile walls and floors in
How to find a trusted tiler for the job
Changing your tiles is one of the easiest ways to revitalise a room without a full renovation. But there's more to a good result than picking a tile you like - wall condition, layout, grout choice, and hiring the right tiler all play a part in how the finished job looks.
This guide walks through everything you need to plan and manage a tiling project from start to finish, whether you're taking on tiling at home yourself or briefing a professional tiler.
Find a tiler near you
How to prepare a wall for tiling
Before any tiles go up, a bit of planning goes a long way. But knowing where to start with any home improvement project can be daunting.
So, how do you prepare a wall for tiling?
1. Choose the right tile
Firstly, pick a tile size and material suitable for the room.
Bathrooms, wet rooms, and kitchen floors need water-resistant materials. Think ceramic, porcelain, or natural stone.
But stay away from porous stone tiles for kitchen splashback. Or, if you're extending outside your kitchen, check your tiles are suitable for exterior use.
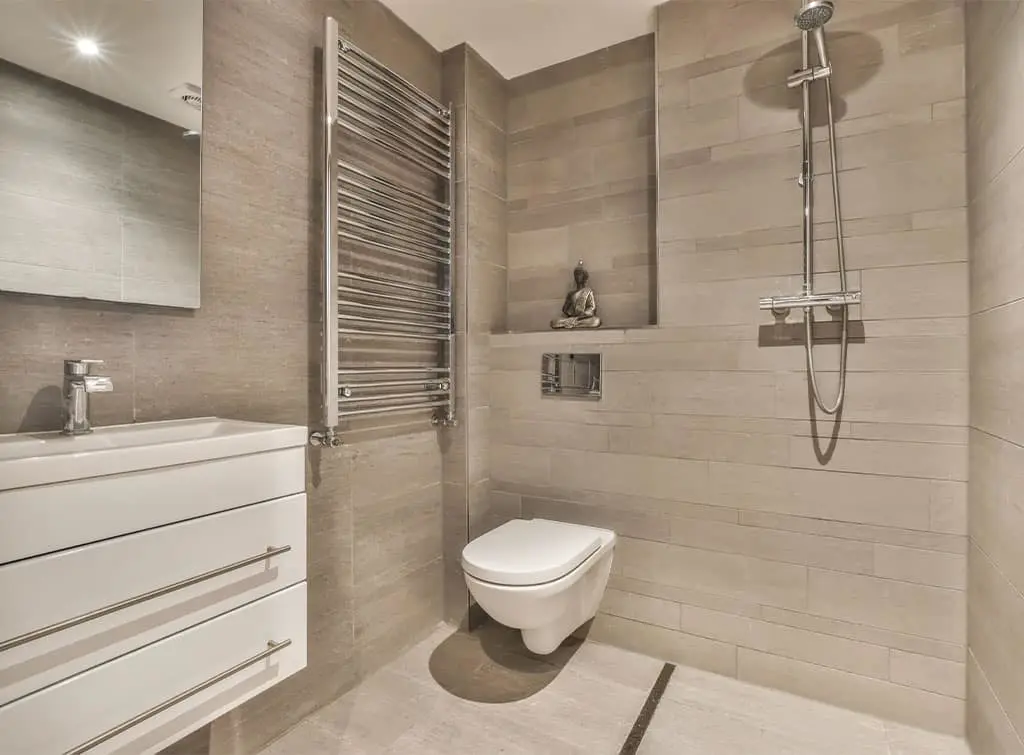
2. Plan your tile layout
Next, consider some planning tile layouts. Choose a tile layout or format that suits your area best.
This is where home tiling designs really come to life. A simple subway tile gives a modern, minimalist look, while a diagonal herringbone layout adds visual interest.
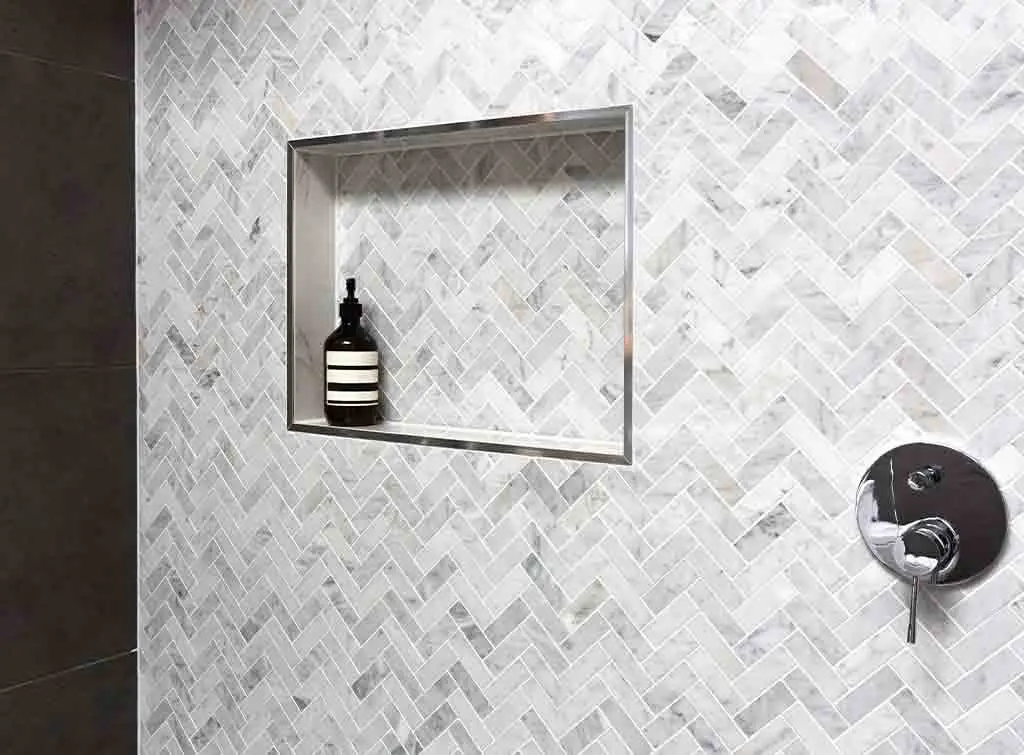
For more home tiling ideas, our bathroom tile designs and kitchen wall tile ideas guides are worth a browse before you commit.
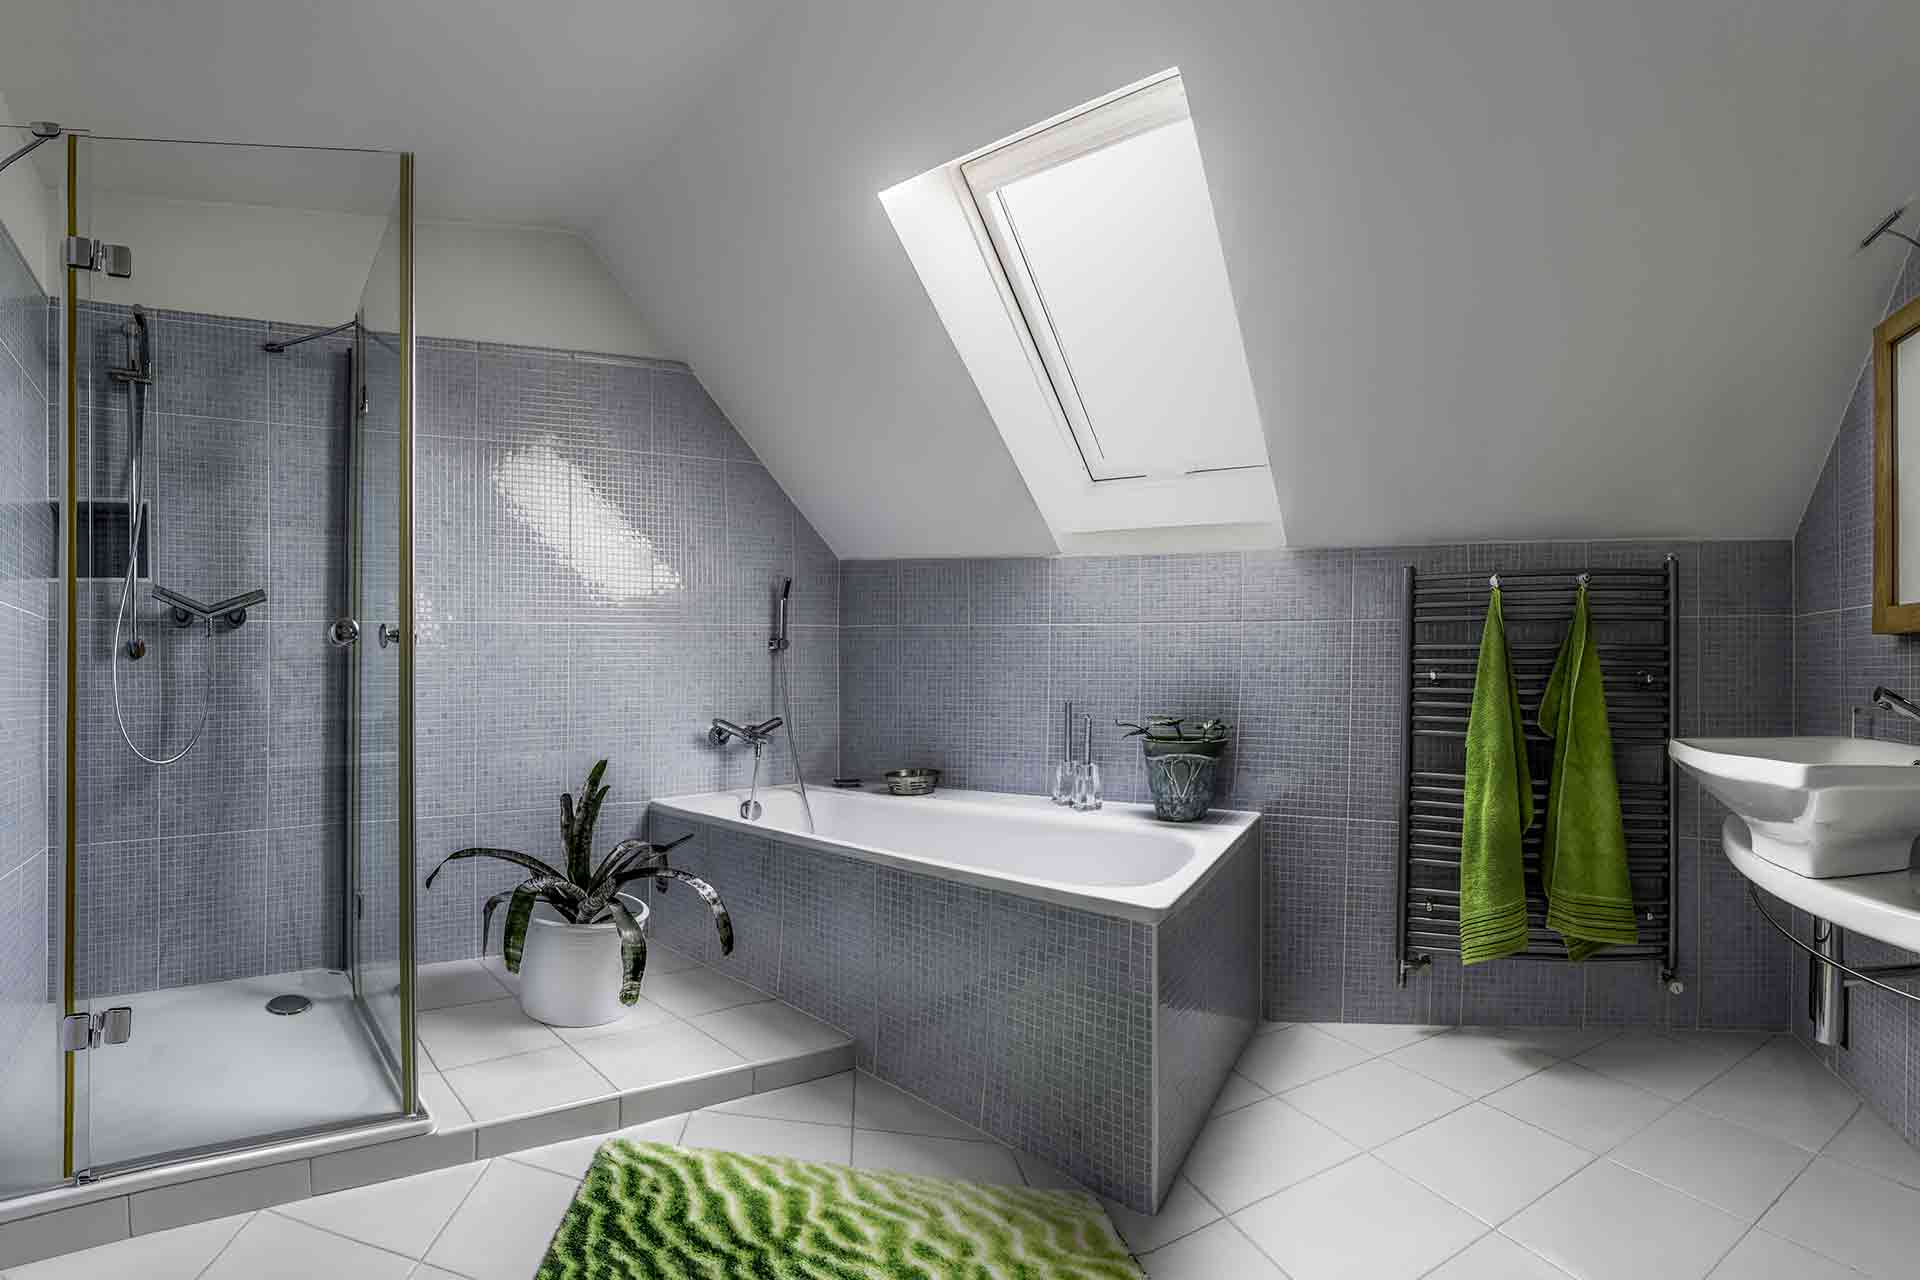
Bathroom tile ideas for 2026: small, modern and statement looks
Explore bathroom tile ideas, from small-space tricks to bold statement looks, plus tips on materials, cost and hiring a tiler.
3. Get grout and spacing right
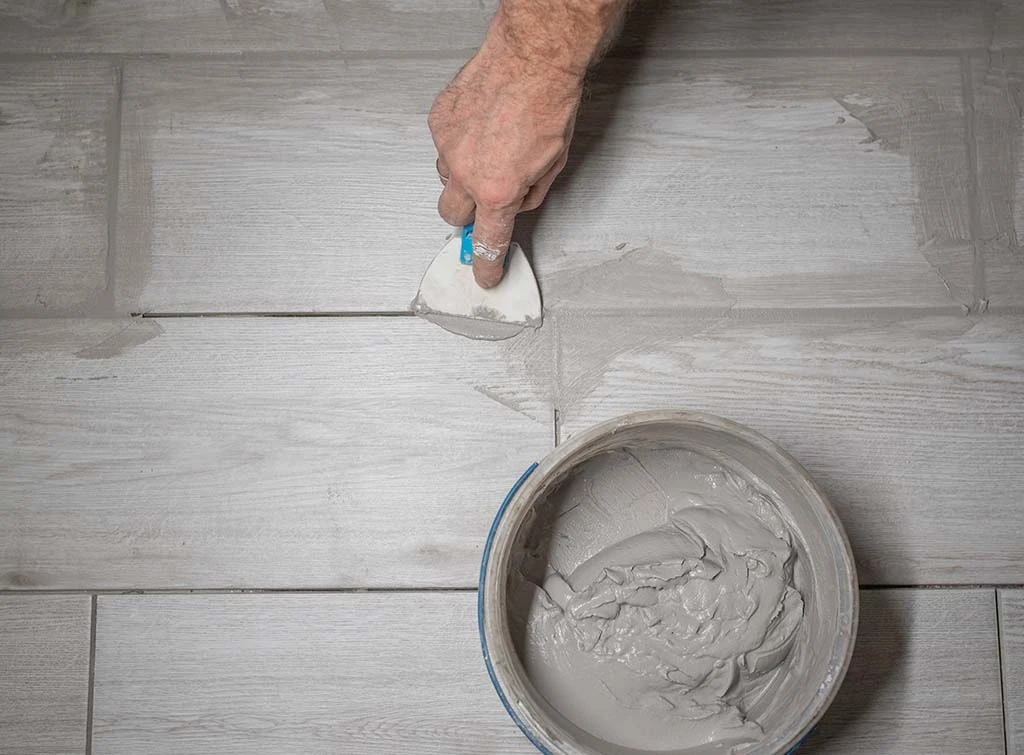
Grout colour and line width can significantly change the finished look, especially with dark or bold tiles.
A shade close to the tile colour usually gives the cleanest result.
Most tiles are spaced 2-3mm apart on walls, or 3-5mm on floors. A good tiler will advise on the best spacing for your specific tile choice.
4. Get all your tiling materials in one order
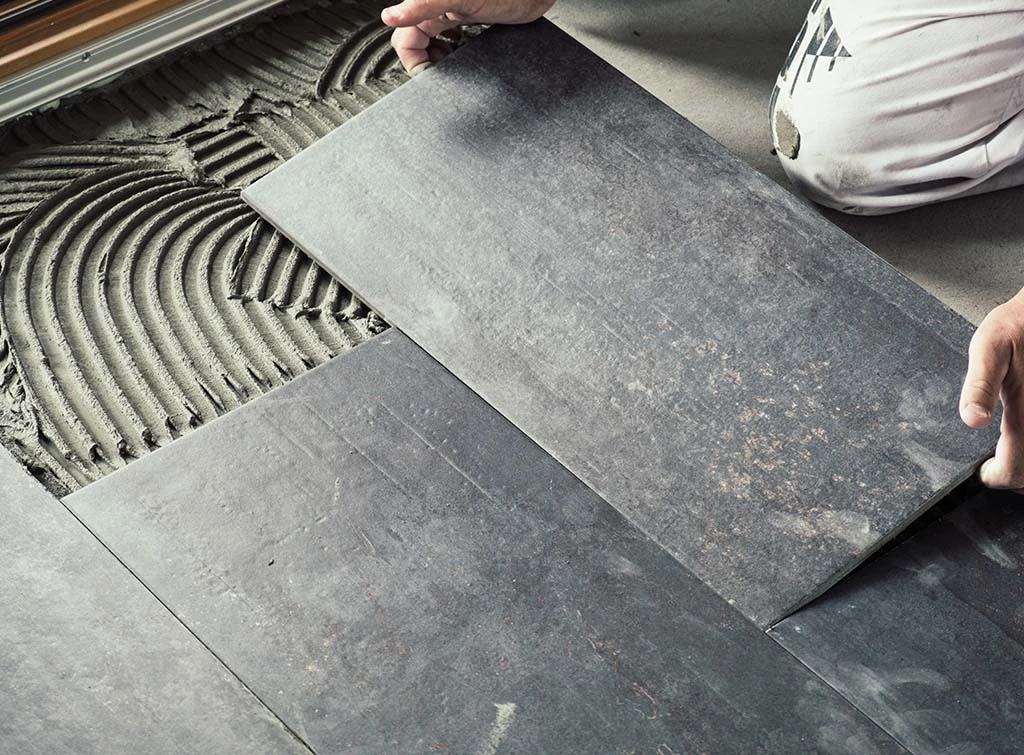
Putting all your tiling materials in one basket (online or in-store) is great.
Get your grout, tile adhesive, silicone and spacers together, if possible.
Lastly, work out how many tiles you need in advance and get them in one order. This way, you can be sure they're from the same batch.
Always order 10% extra tiles for cuts, breakages, and future repairs. It's much harder to match a batch later if you run short.
5. Think about your trim
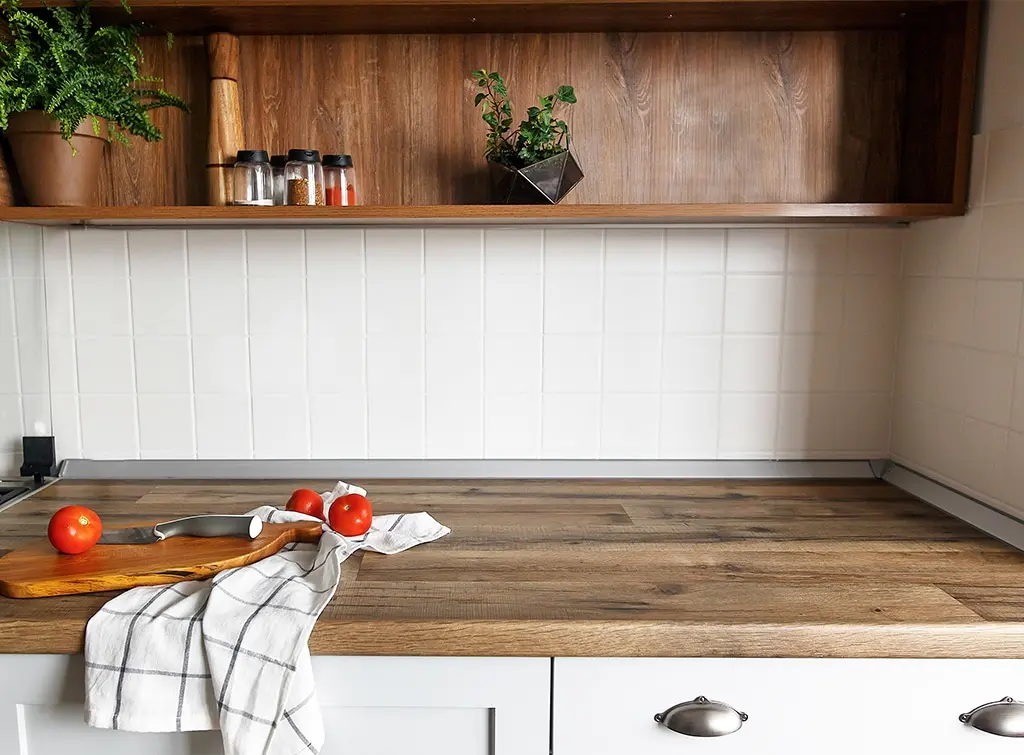
Usually, your tile edge will be visible when your tiling project is complete. So, decide on your trim or edges in advance.
You might consider:
A pencil edge to match your tiles
Chrome strips to conceal bare edges
Going without the trim for porcelain or tidy squares
6. Work around lighting and sockets
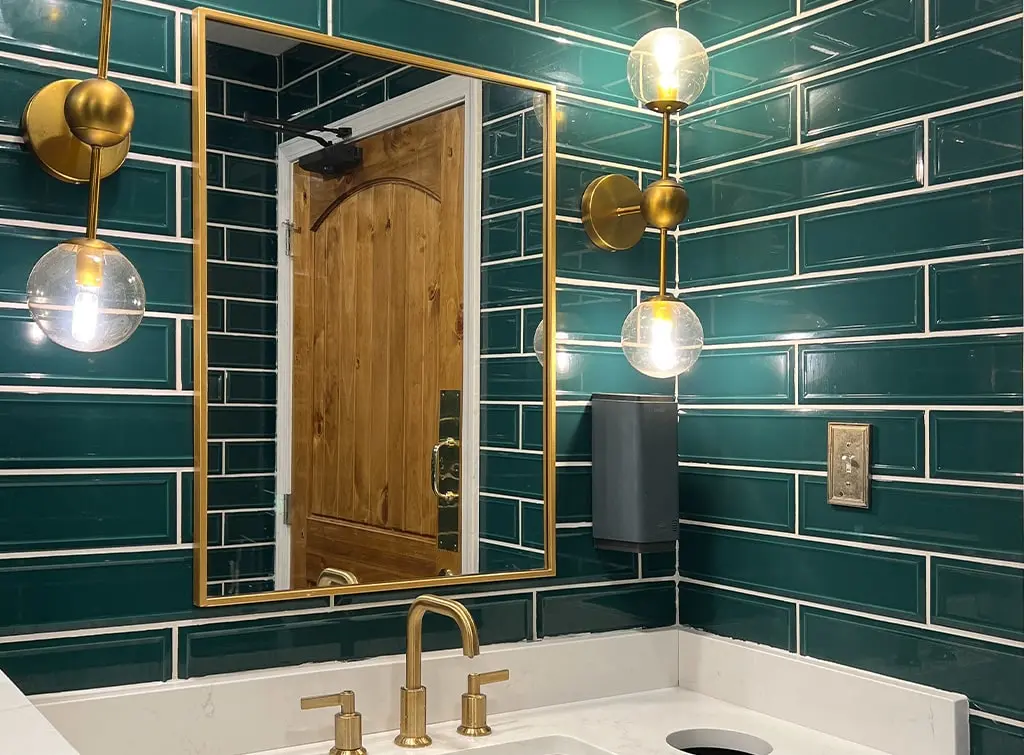
Forgetting bathroom lighting or sockets to be incorporated into your tiles can cause a real headache.
For example, you or your tiler must cut the tiles to fit recessed spotlights or a concealed LED strip.
So, if you plan on adding lighting features, tell your tiler in advance.
Find a tiler near you
How to install tile on walls and floors
Whether you're doing some tiling at home yourself or briefing a tiler, it helps to understand the process:
Clean and prep the area - remove any old tiles, but be careful, as they may be sharp
Check if your walls need plastering underneath so that your tiles have a level base
For floors, check if you need a new subfloor to strengthen or level the base and prevent movement or cracks
Plan your layout (as discussed above) - mark your reference lines with a level and measuring tape
Use a notched trowel to apply your tile adhesive in small batches, pressing firmly to secure (but not enough so they slip)
Use a tile cutter to cut around obstacles like shower fittings and sockets
Wait for the adhesive to set, then grout
Use a float to apply the grout, then wipe away the excess with a damp sponge
Get extra protection by sealing the grout
For best results on anything beyond a small DIY patch, your best bet is hiring a tiler.
Tiling project cost calculator
Before you even begin any tiling project, consider your budget.
Tiling costs vary a lot depending on the size and complexity of the project, so it's worth communicating your full budget with any tiler upfront - they'll be able to suggest tiles that fit within it.
But to give you an idea, you can expect to pay:
£675 for floor tile installation in 8m² kitchen
£1,290 for ceramic tile installation per 8m²
£2,425 for porcelain floor tile installation
Take a look at our guide on the cost to tile a kitchen or bathroom for more information.

How much does tiling cost in 2026?
Discover average tiling costs in the UK, including bathroom, kitchen, and floor tiling prices per m², alongside tips to budget wisely.
For a quick, rough quote, you can also use the Checkatrade job estimate calculator.
Enter some details and you'll get a tailored, AI-assisted estimate for your tiling project based on room size and tile type.
Job Estimate Calculator

Briefing your tiler: final tips
Some last but important points to remember when planning and arranging for new tiles:
Give your tiler a complete specification list so they can complete the job as you intend - check it includes all relevant info, measurements and materials
Try to be at home when the tiler measures up or does the work so you can check the progress
If you can't be there, don't hesitate to pop back - your tiler may also be waiting to check something with you
Always be clear and thorough with your vision, needs and budget
Remember to ask any questions you have before the work starts
How to find a quality tiler
For your best shot at finding a tiler whose work you're happy with, make sure everything is ticked off on our handy checklist.

Your tile project planning checklist
To get started, enter your postcode into our search tool. We'll show you the Checkatrade tilers who work in your area, so you can start gathering quotes and comparing your options.
Find a tiler near you

You can also request a quote with our post-a-job feature to hear back from tilers available near you - or download the Checkatrade app.

FAQs
Getting your measurements right reduces waste and saves money. Divide the area into small rectangular sections, work out tiles needed per section, add them together, then add 10% for wastage.
For irregular areas, measuring in square metres (length x width) is simpler.
Measure the area, sketch a rough layout factoring in tile size and shape, then find the centre point of the wall or room. Dry lay tiles from the centre outwards before committing to adhesive.
Most tilers start from the centre and work outwards, especially for patterned tiles that need correct alignment. Measure opposing walls, mark the centre of each, and draw a line between them to find your starting point.
It depends on the tile and room.
For wet areas like kitchens and bathrooms, walls are usually tiled first to avoid damage from flying mortar or water. For large or heavy tiles, floors first can establish a level surface.
Always check with your tiler, as they may have a preferred order.
Simple layouts like subway tiles or a single feature wall can refresh a room without the cost of a full re-tile. Ask your tiler about ceramic options, which are typically more budget-friendly than porcelain or natural stone.
Costs depend heavily on room size, tile type, and layout complexity. See our tiling cost guide for a full breakdown, or use the calculator above for a tailored estimate.
Simple, small-scale tiling at home is achievable for confident DIYers, but larger areas, wet rooms, or complex layouts are best left to a professional tiler to avoid costly mistakes and ensure a watertight finish.

A tiler can handle both repairs and full retiling, while a bathroom fitter is worth considering if the cracked tiles are part of a wider bathroom refresh. Need help with tile restoration near you?

See the tradespeople we've checked for your job